Ad blocker detected: Our website is made possible by displaying online advertisements to our visitors. Please consider supporting us by disabling your ad blocker on our website.
With the bottom, interior and firewall painted, it was time to come off the rotisserie. I had to think the steps through as I do not have a lift or helping hands.
First step was to position the rotisserie with good access all around and four jack stands underneath:
Nice thing about this rotisserie is you can take the two ends and use the jack screw and hydraulic lift to get a lot of lift ... which I need to roll the frame back under:
Just line up your body above the body mounts and lower in place. Worked much better than I thought it would; was forecasting a trip to the ER but hardly broke as sweat. As it now sits:
Do I wait for the expected ... 'why in the world did he not fix the rear fender flares before getting this far?'
Simple, I'm not doing the exterior paint. Real paint man will do that and his metal man will cut and repair the fender flares. I did spray PPG DT 90 on all of the wheel wells, but I only shot the 3M rubberized coating up to half way across (far from metal work). Once the fender flares are repaired, will spray the remaining 3M and the paint shop will paint the wheel wells. There's actually not much body work to do on what you see here. But I've still need to work all of the front end sheet metal, prime, block, and paint all of the non-exterior sides. Then assemble and deliver to paint shop.
1983 CJ7 Renegade "Stella"
1977 Cherokee Chief WT "Moytoy" (current project: engine start next step)
1967 Super Wag (next up)
1969 J3600 "El Presidente"
1983 Wagoneer "Hulu"
1979 and 1980 Wags ... for parts
2014 JKUR "Ruby"
Looks like a Dynamat bomb blew up inside the Chief. Using Dynamat Superlite on most of it as will add layer of Dynaliner on top. Will be curious to see what it sounds and feels like at highway speeds. The nooks and crannies for the inside of the exterior body panels are getting Dynamat Xtreme.
What are pros and cons of sealing off the air vent at kick panels? This Chief will have A/C, so what's the benefit of the vent? I was thinking of making an access panel instead, but essentially sealing off the vents.
We have been busy at work this year, little time to work on the Chief. Just some weekends here and there and on days off. To make some time up, got some help via soda blasting removing the remaining paint on the body panels. After cleaning, wiped them down with Fast Etch pending a coat of DTM epoxy primer.
Inside the tailgate and doors, used internal frame coating as it is meant to get into hard to reach spaces and seal off / coat any remaining areas that could rust. This is after removing most of the tape and paper; it shoots through a tube with a 180 deg. spray head so you actually want to seal off the area before applying.
I picked and chose smaller projects along the way as work schedule has been tight. The Cherokee badge on the tailgate was damaged. Used some clamps and a 2x4 to walk back to flat. It will need to go into the 'to be chrome pile'.
But there was some movement between the pieces that make up the panel, so I drilled holes and place some additional spot welds at the seams between the panels.
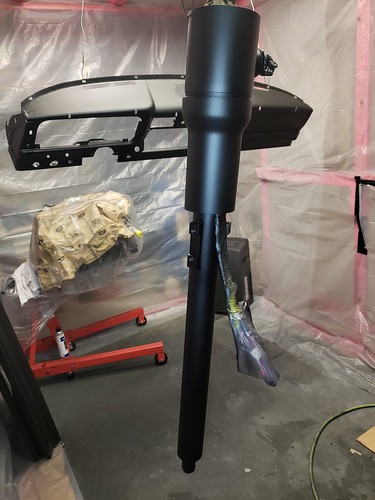
I had one more thing to do on the suspension; the steering stabilizer. I wanted to go with Bilstein for the stabilizer since I'm using Bilstein shocks, but no such thing for the FSJ. To keep the OEM location and looks for the suspension, just upgraded parts, I went with a Bilstein stabilizer for a mid 90's Dodge 2500. The compressed and extended lengths are about right and both ends are eyelets, just wrong size.
To adapt, I cut off the posts from the OEM mounts, keeping the mounting base, and drilled holes through the base for the right size posts:
Paint for the dash is what will also be used on the exterior flat black for the OEM Chief paint scheme; this is called PPG 'Hot Rod Black' which is an exterior quality flat black finish and is spot on to the original color code. Single activated stage paint; goes on very well.
The dash pad was in good condition other than some cleaning and color deterioration. Refinish the dash pad with SEM products first their soap applied with 3M grey scotch pad, then their vinyl cleaner and prep, then their paint for vinyl in Landau (flat) Black:
The windshield wiper motor and mechanism behind the dash are refurbished, tested and installed. I also installed the hydroboost unit and brake pedal assembly.
 IMG_3972 by Max Bouthillette, on Flickr
 IMG_3973 by Max Bouthillette, on Flickr
 IMG_3978 by Max Bouthillette, on Flickr
 IMG_3980 by Max Bouthillette, on Flickr
 IMG_3981 by Max Bouthillette, on Flickr
 IMG_4289 by Max Bouthillette, on Flickr
 IMG_4288 by Max Bouthillette, on Flickr
 IMG_4285 by Max Bouthillette, on Flickr
 IMG_4278 by Max Bouthillette, on Flickr
 IMG_4298 by Max Bouthillette, on Flickr
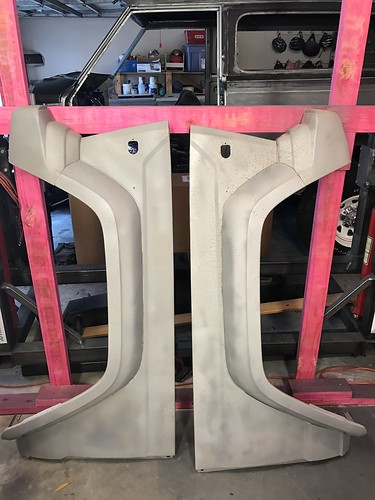 397 by Max Bouthillette, on Flickr
 IMG_4335 by Max Bouthillette, on Flickr
 IMG_4332 by [url=https://www.flickr.
 IMG_4330 by Max Bouthillette, on Flickrcom/photos/156384986@N06/]Max Bouthillette[/url], on Flickr
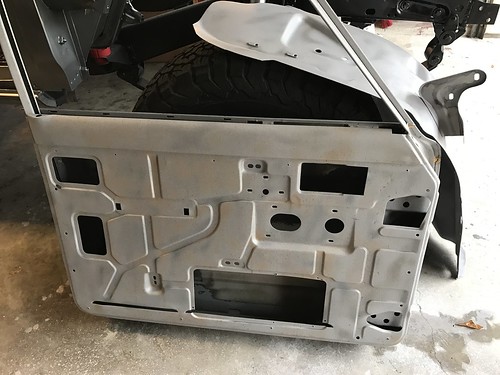 IMG_4331 by Max Bouthillette, on Flickr
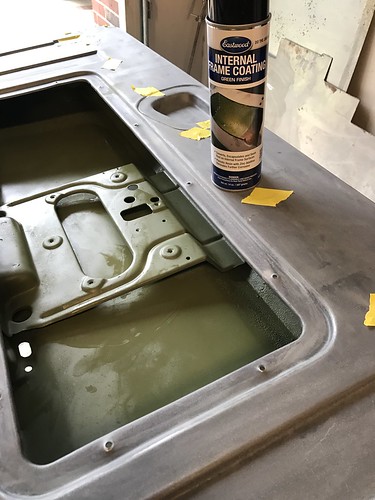 054 by Max Bouthillette, on Flickr
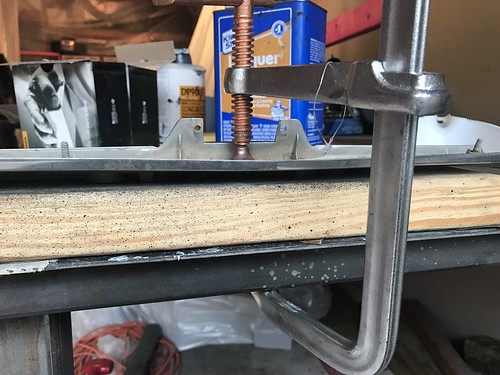 2160 by Max Bouthillette, on Flickr
 2161 by Max Bouthillette, on Flickr
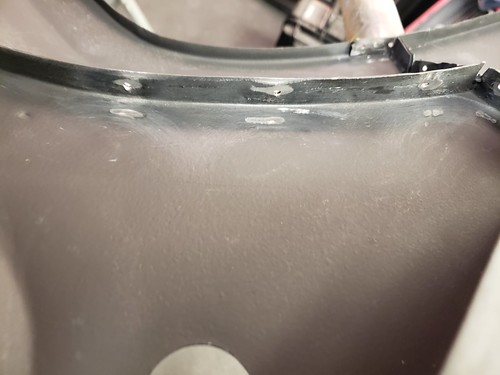 2761 by Max Bouthillette, on Flickr
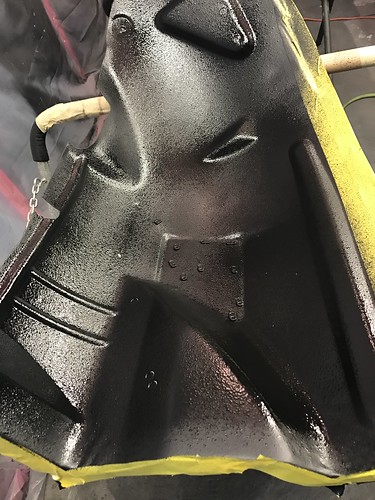 2278 by Max Bouthillette, on Flickr
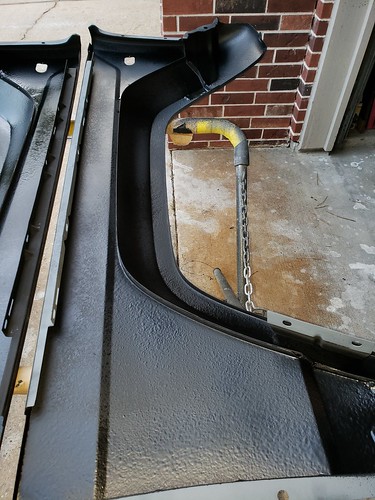 2907 by Max Bouthillette, on Flickr
 2909 by Max Bouthillette, on Flickr

 2895 by Max Bouthillette, on Flickr
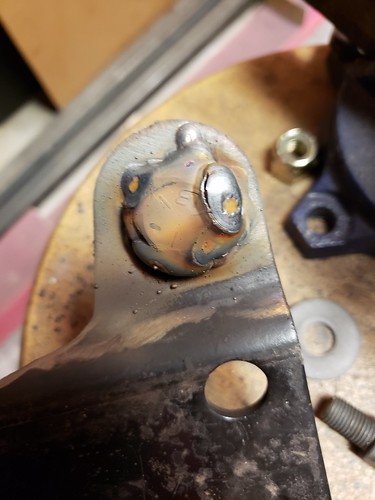 2897 by Max Bouthillette, on Flickr
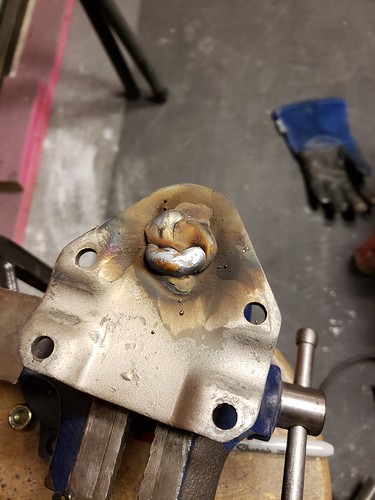 2898 by Max Bouthillette, on Flickr
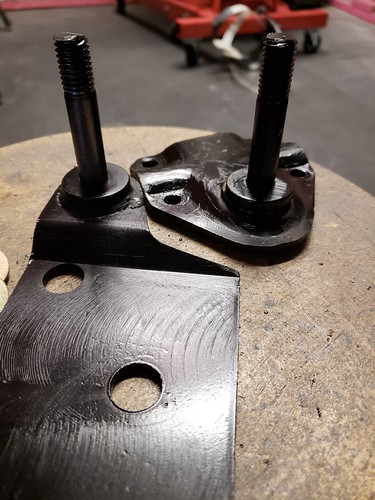 2901 by Max Bouthillette, on Flickr
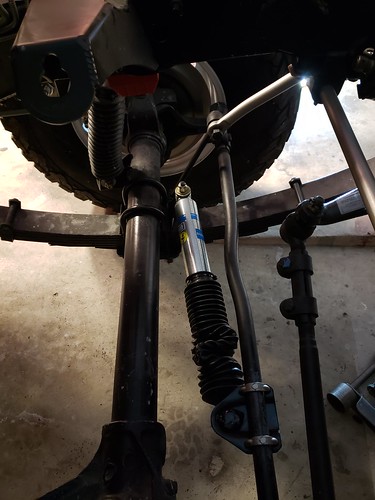 2902 by Max Bouthillette, on Flickr
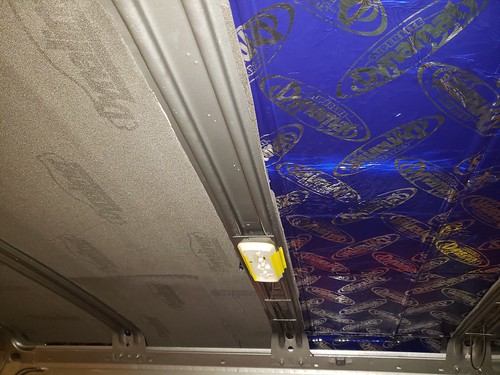 2913 by Max Bouthillette, on Flickr
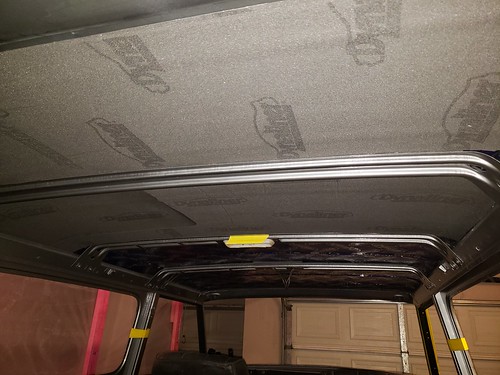 2911 by Max Bouthillette, on Flickr
 2925 by Max Bouthillette, on Flickr
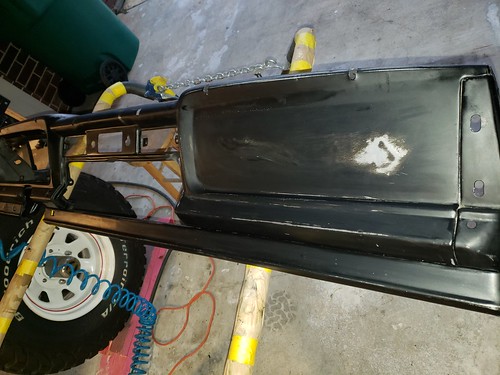 2926 by Max Bouthillette, on Flickr
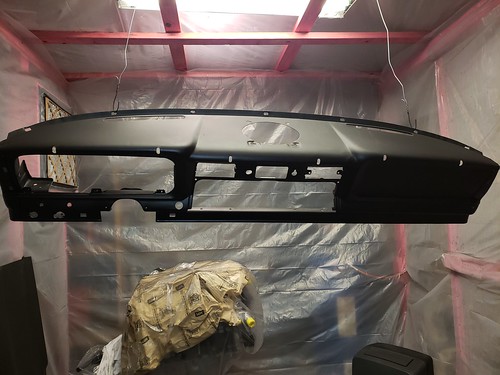 2930 by Max Bouthillette, on Flickr
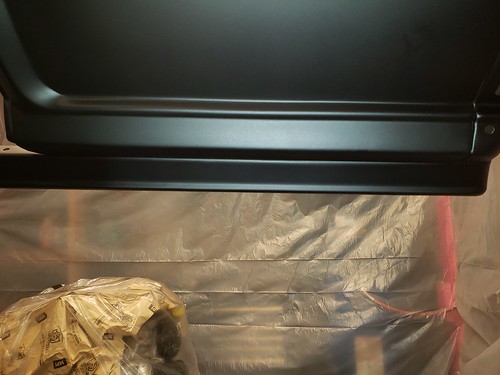 2931 by Max Bouthillette, on Flickr
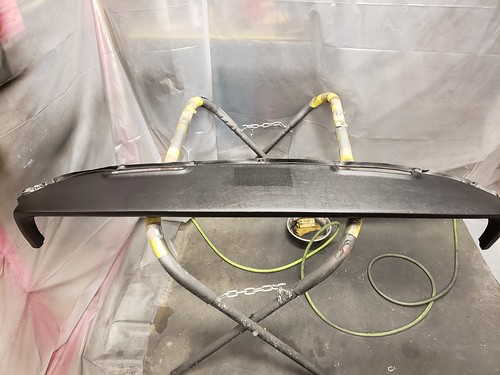 2968 by Max Bouthillette, on Flickr
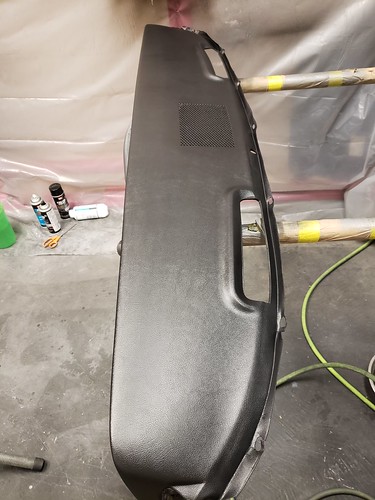 2969 by Max Bouthillette, on Flickr
 2966 by Max Bouthillette, on Flickr
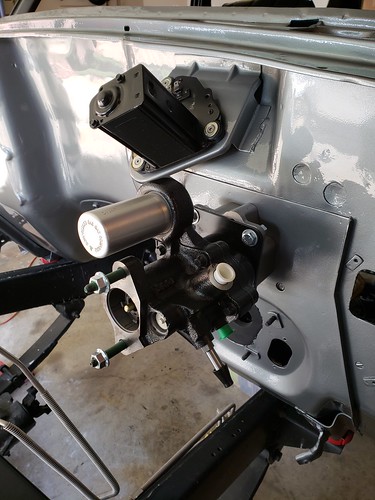 2943 by Max Bouthillette, on Flickr