Blacksmith forging project thread idea (pic heavy)

This is a place to share about tools and workspaces
Post Reply
User avatar

Topic author
Florida83FSJCherokee
Posts: 196
Joined: Sat Mar 09, 2013 7:53 pm
Location: Lakeland , Central Florida

Re: Blacksmith forging project thread idea (pic heavy)

Post by Florida83FSJCherokee »

This is a continuation of a large update that starts midway through the previous page so jump back and catch up if you need to...it starts right after REDONE explains his need for a Dennys meat and day old gravey skillet :D :-bd


Im going to skip the details of the next few steps since they have been covered in earlier post, so if you need info on differential hardening or on the tempering cycles look back a page or 3 and it should fill in the gaps.


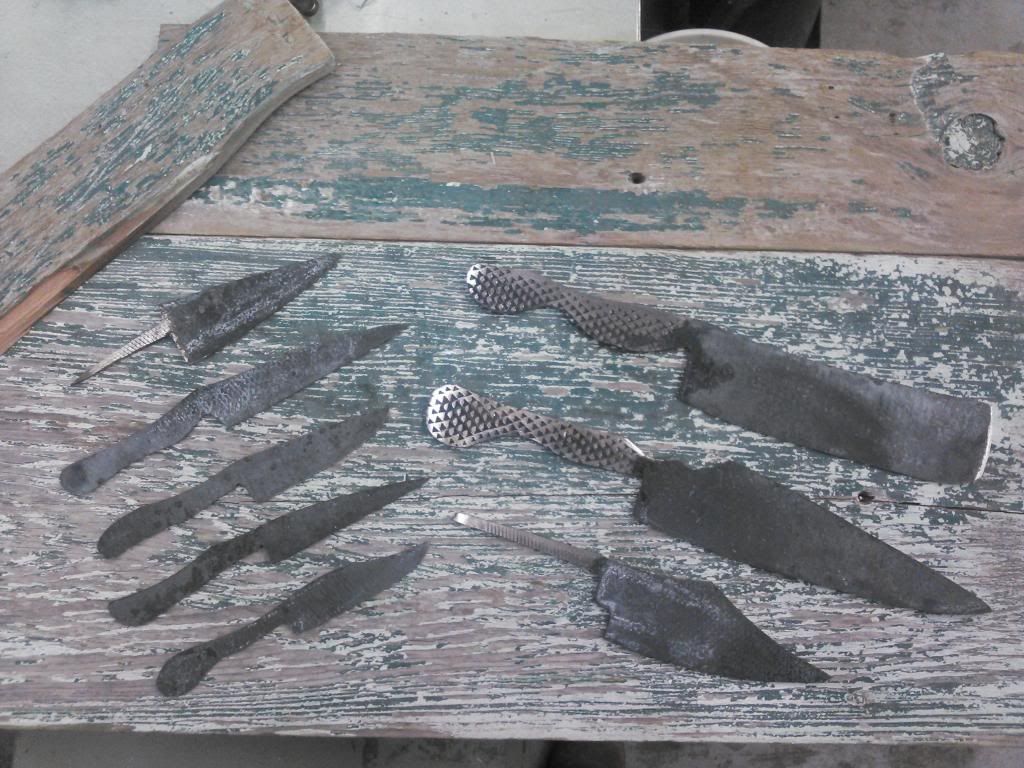
I choose to continue with the differential hardening for the larger knives and went with a more tradtional hardening for the smaller knives. These came out great. Had some minor warp in the prototype fish fillet, and some warp in the traditional straight Chefs knife (my fault for laying it uneven on the firebrick)
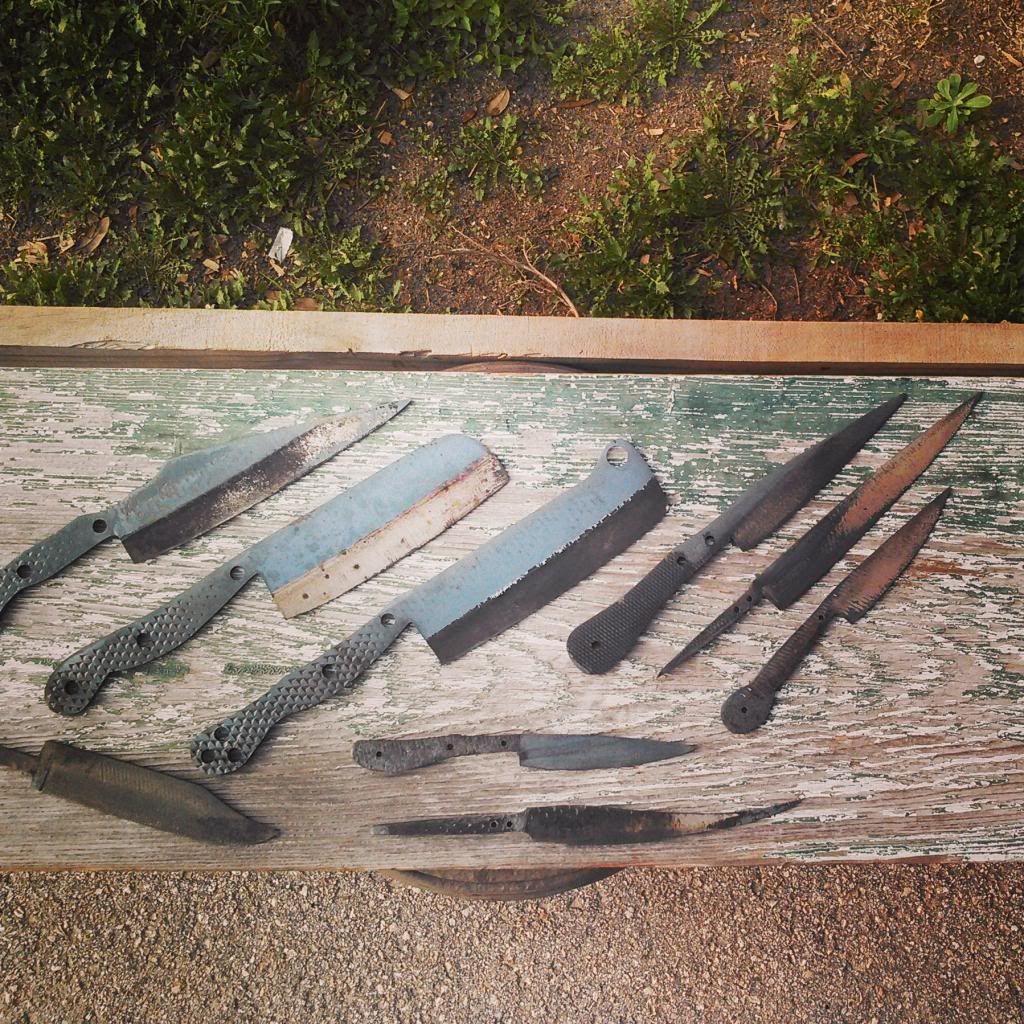
Image


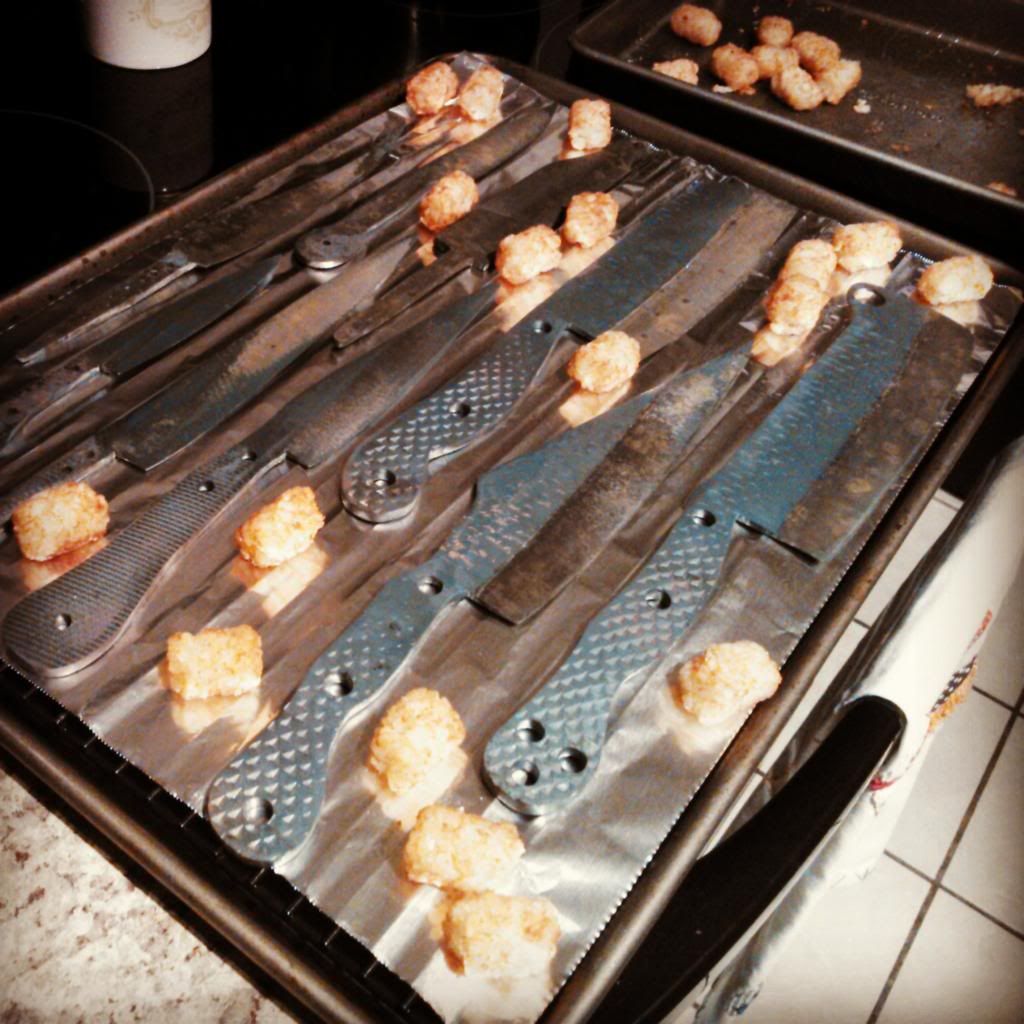
Home they came for the double temper cycle...i was hungry after all the tiring grinding I did while working the horseshow...:LOL:

Theres always room for totts, and hell yes Im going to eat mine naploeon!
Image


Tempered and back for the finish grinding
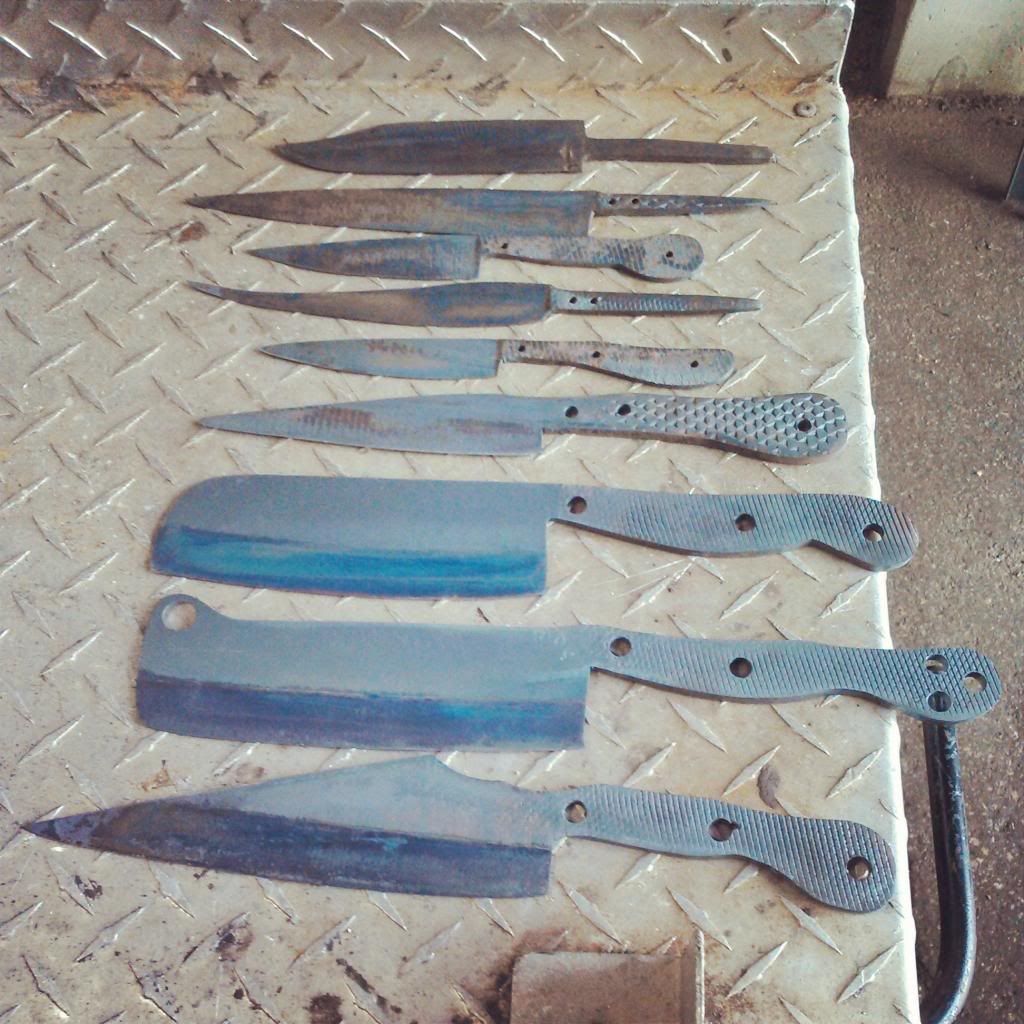
Image


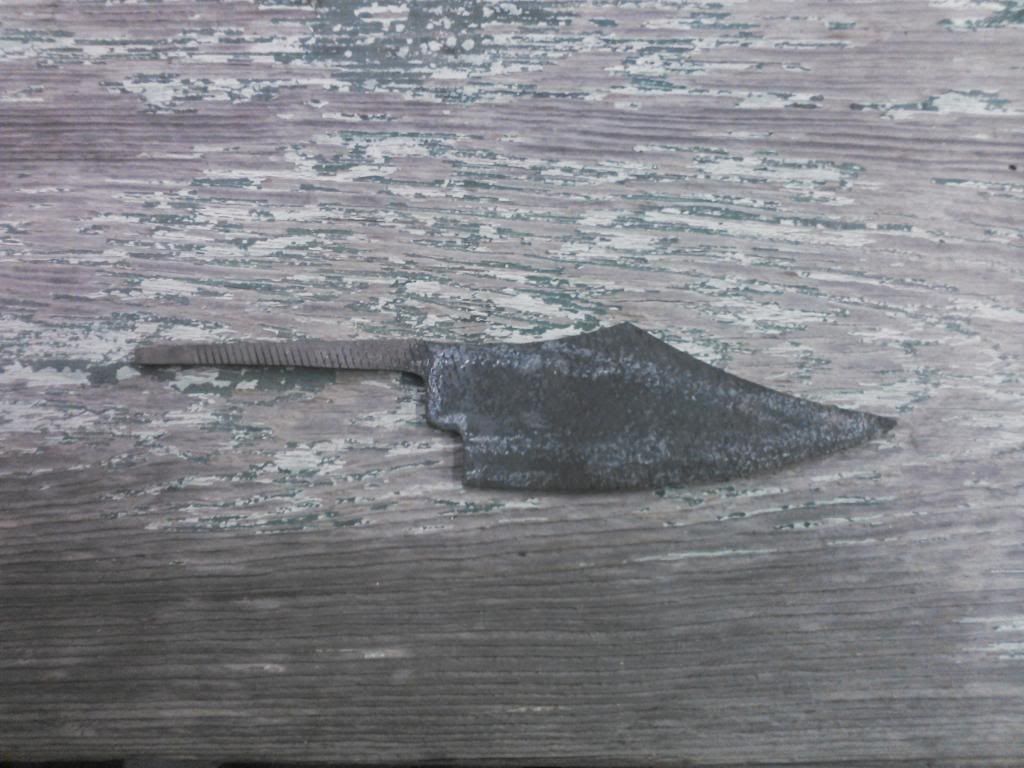
Before I could get started on the final edges and finishes I needed to address the warp in the chef and fillet knife.

The chef knife is extremely thin ground at the tip and even though is was heated slowly enough not to crack the thinner tip was heated first and was able to droop when I lifted the blade out of the forge...I tried to straighten it but I have found that once the metal changes the molecular spacing enough to stretch or bend; it goes right back to the shape you started with as soon as you harden it.

heres an example:

notice the even bow to the blade in the left hand photo and the right hand is after I did some tuning on it. not 100% but a third tempering cylcle should give me the last bit i need.
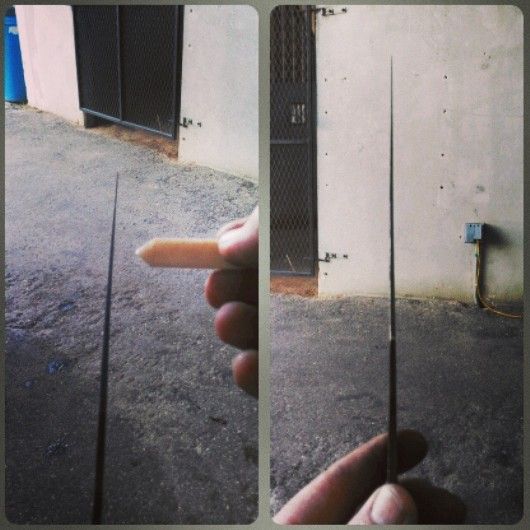
Image

The tuning method is pretty easy but takes alot of patients. NO RUSHING and only try to tweak it after its been tempered.

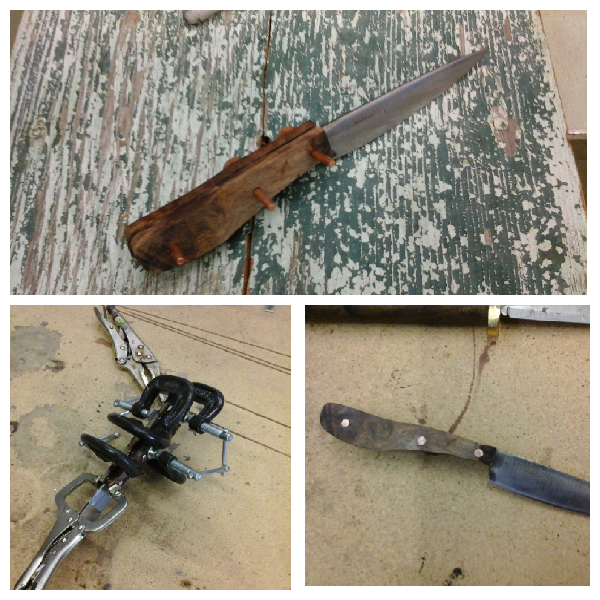
Use a flat plate (I choose aluminum 1/8" because it transfers heat well)
a handfull of washers and a C-clamp or two.

Just locate the apex of the warp and mark it with a soap stone. Then stack washers evenly spaced off of the apex mark.

Use the c-clamp on the center mark and tighten it enough to hold everything in place.

lastly use the propane torch and heat the apex mark (DO NOT HEAT IT HIGHTER THAN THE 550DEG YOU TEMPERED AT)

once its warmed up compress the c-clamp and overcorrect the bend slightly.

Let it cool and then unclamp, asses the warp and repeat again. each round you will gain a little memory back and eventually it will hold straight.
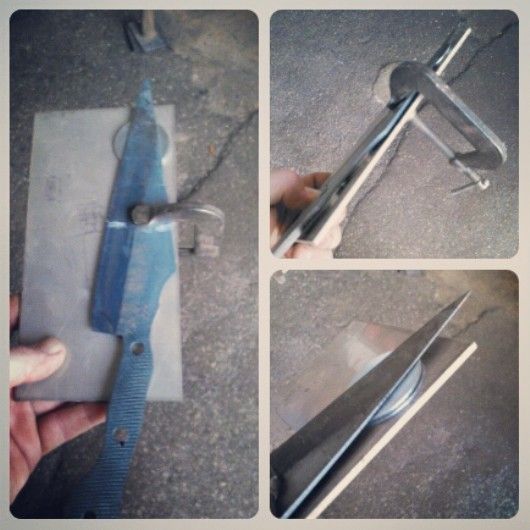
Image


Once I build or buy a heat treating oven I am going to introduce a second normalization to my process. This will occur after the main grinding and before the hardening phase. The general reset that the normalization gives the molecular make up of the steel removes stresses caused buy uneven grinding and forging. These stresses are what cause the warping in the blades. If you harden after the normalization there is no unven pressures to react with and you maintain a straight blade.


So at this point everyone was finish ground and sanded up to 300 grit. I will finish sanding them up to 800 and then various buffer rouges after the handling., but any higher before than handle fitting and glue ups is basicly a waste.
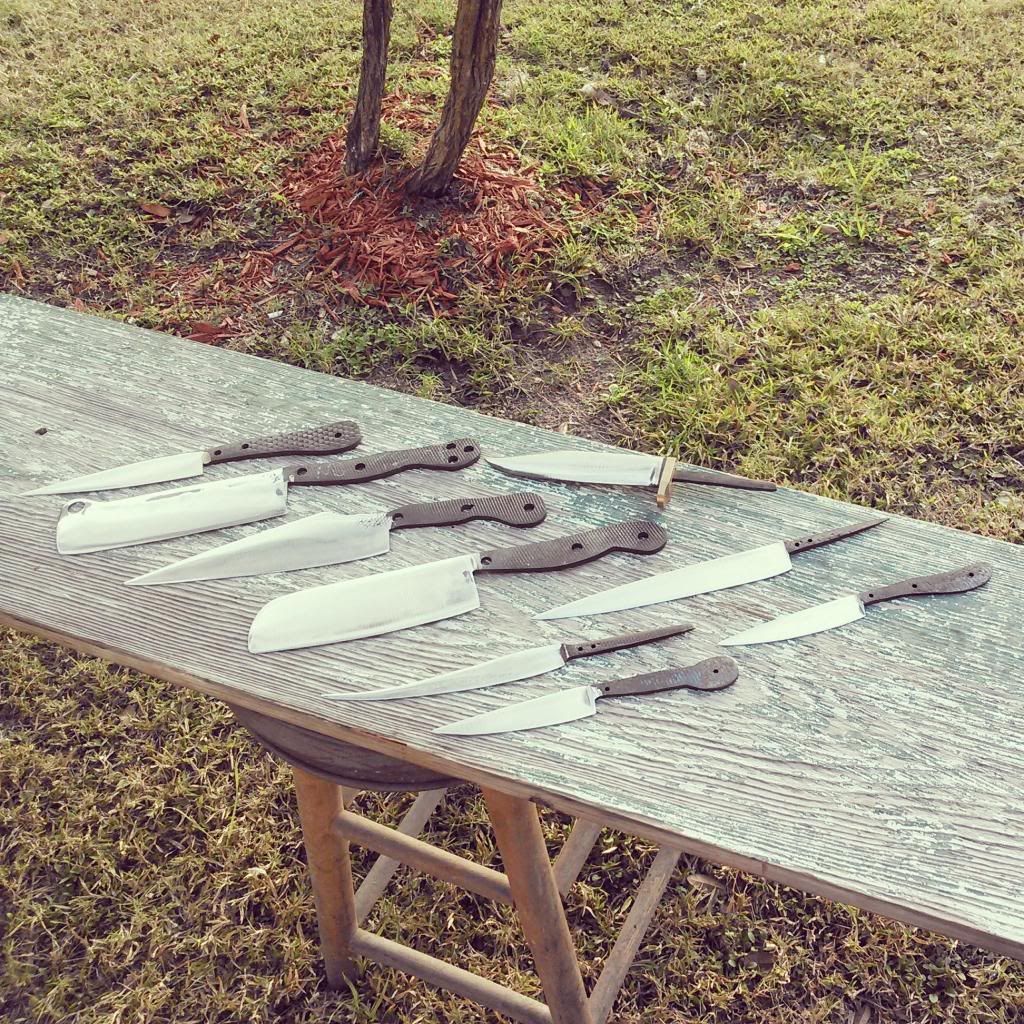
Image


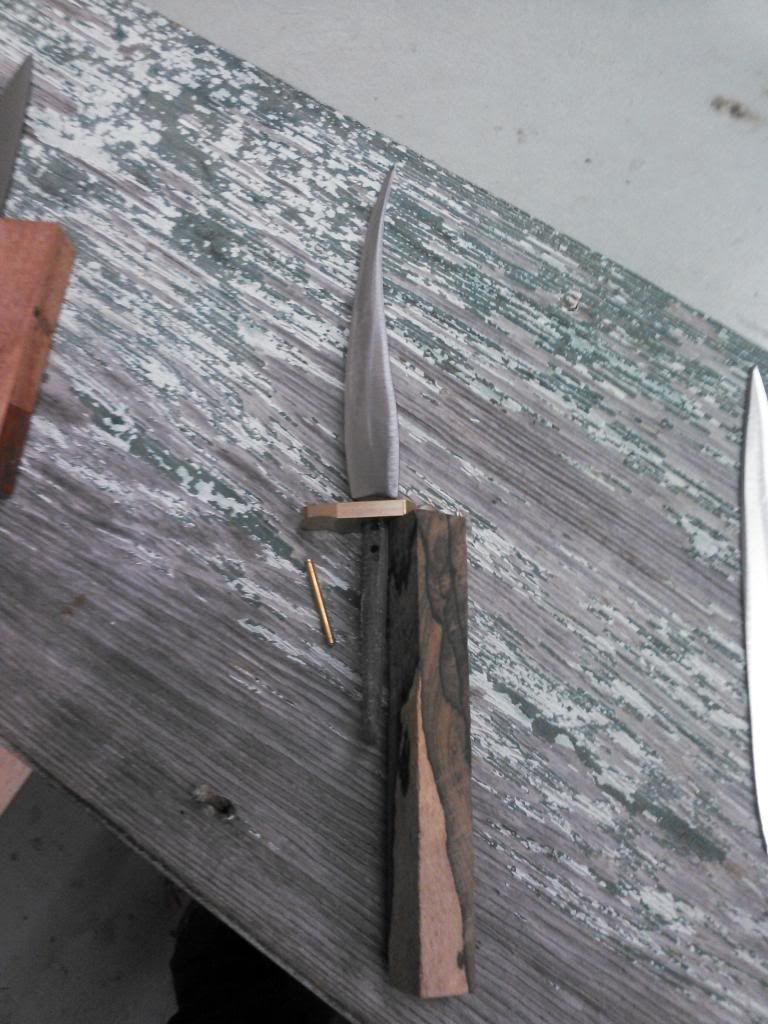
Unfortunalty the handle party will have to wait untill this weekend to start and probably will take me untill next weekend to finish...Im going full out on these with brass bolsters, brass end caps, multi layerd handles, multiwood handles, and three hidden tang handles...one of which is a drop point hunter/skinner with a brass guard, bubinga, walnut, and mule deer antler handle. The hunter blade needs some hand filling work to set the crisp lines at the top of the bevels edge but after thats done and the handle is finished it should be one fancy knife!

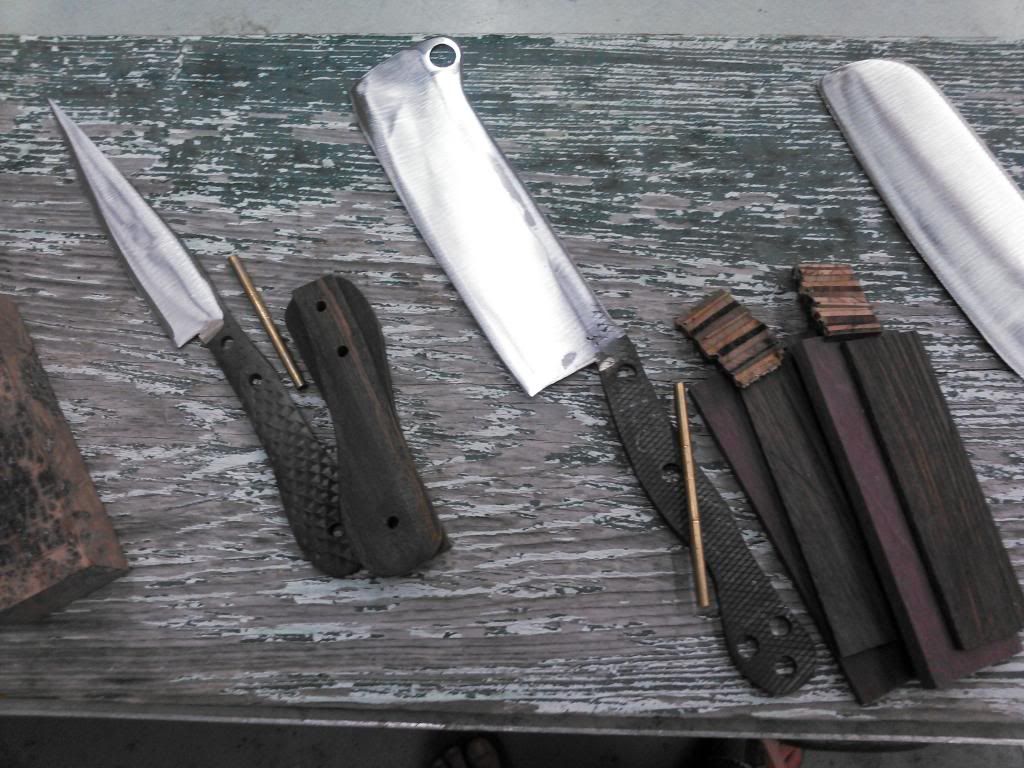
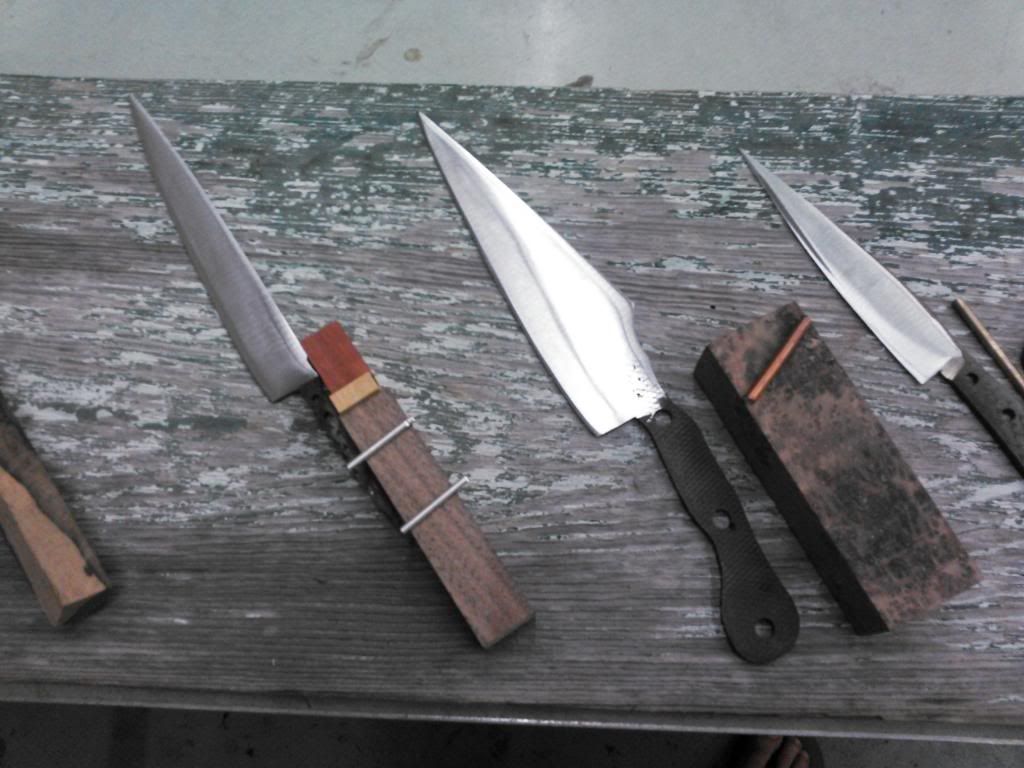
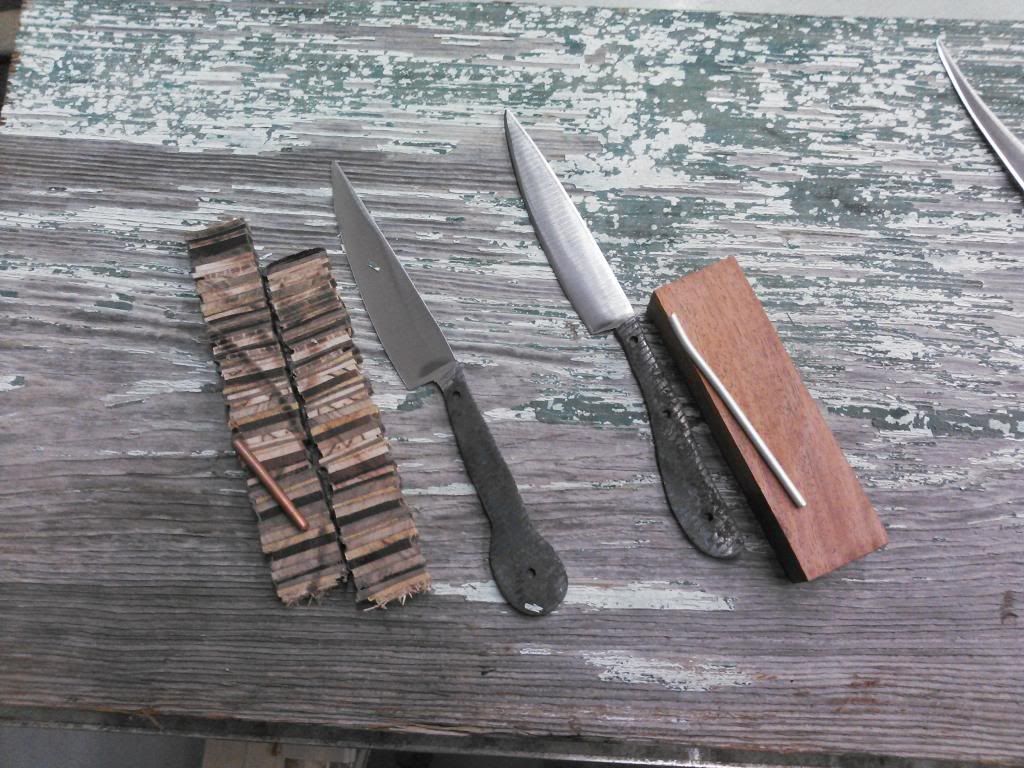
Heres the handle mock ups as they were left Sunday night...
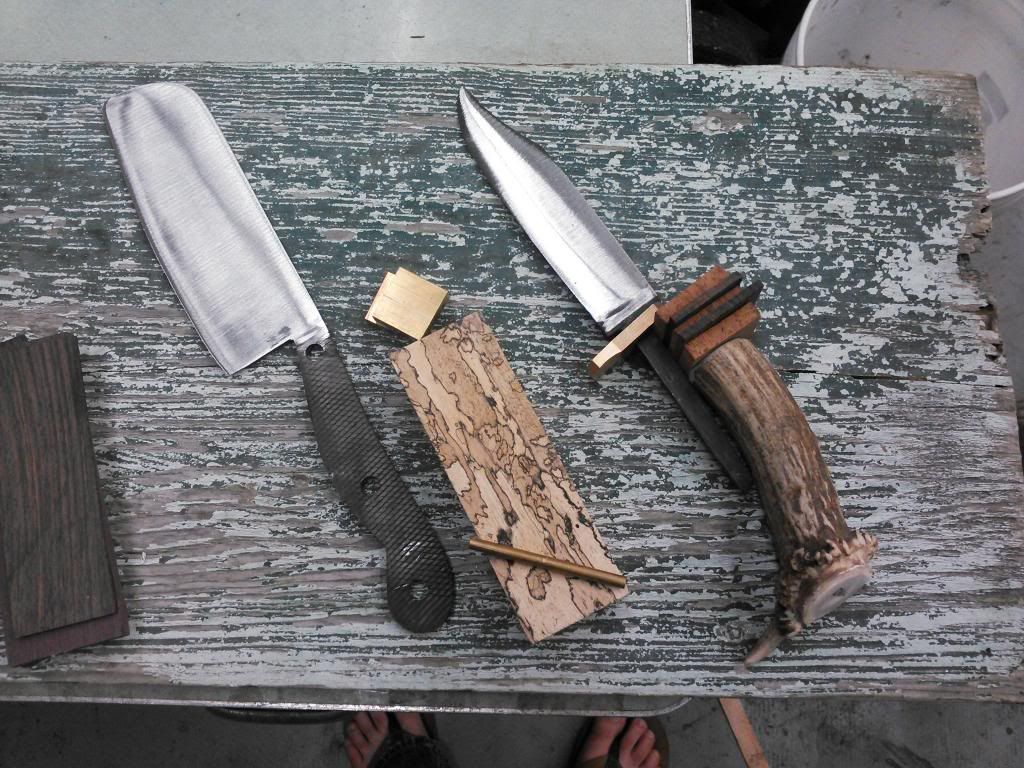
Image

Image

Image

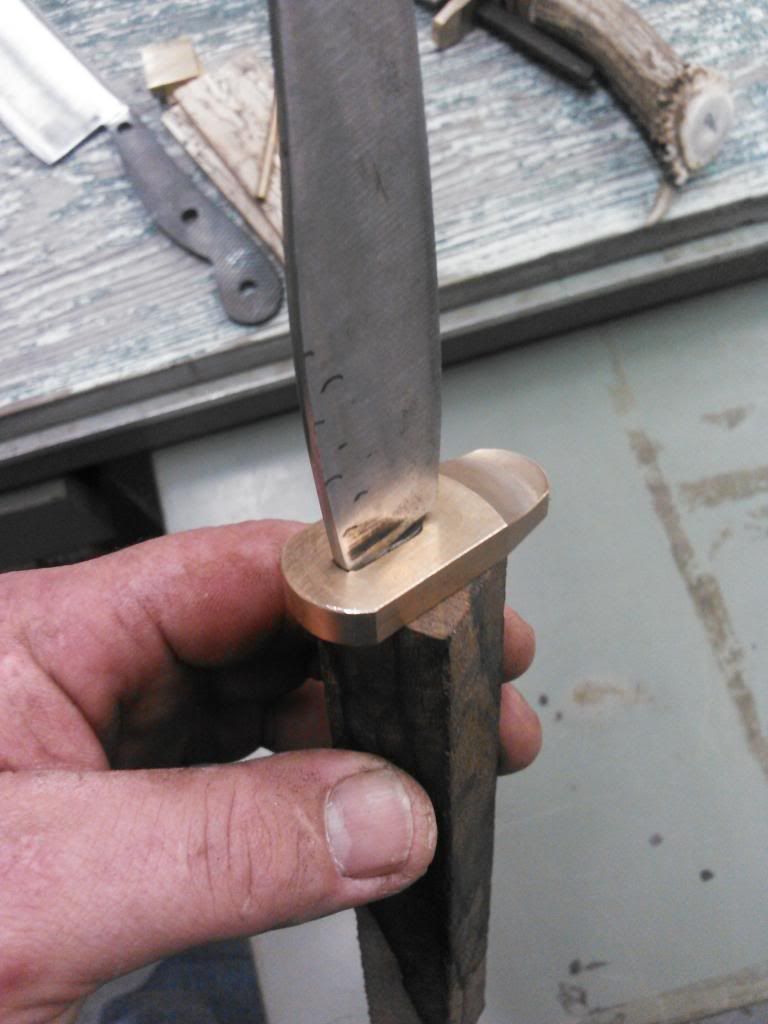
this brass guard will be ground into an oval but i needed the pre-milled slot so this ones getting sacrificed.
Image

Image

What a journey so far!


Thes first knives I made were - forged, shaped, ground , hardened(ish), tempered(ish), handled, and polished...

These knives are - forged, normalized, cut, shaped, ground, pin holes drilled, preheated, hardened/differentialy hardened, tempered, tempered, uninterupted cooling 3 hours, tweaked, finish ground, handles preped, handles cut and fit, pins cut and fit, assembled, finish shaped, and blade finished....

If you add the second normalization i plan to start doing thats - 20 steps! compared to the 7 steps we started with...

Feels good to be moving forward! :thumbup:

JP

Have a good rest of the week...
User avatar

REDONE
Posts: 2678
Joined: Tue Sep 13, 2011 5:48 pm
Location: Lakewood and Bailey, CO

Re: Blacksmith forging project thread idea (pic heavy)

Post by REDONE »

Wow. I don't know what to say except, wow. I'm proud of what I do. I'm proud of what I know how to do, but still, just wow. Keep it up!

P.S. hows your arm?
79 J-10 (Honcho Mucho) KE0LSU
304/Performance Fuel Injection TBI/MTA1/SP2P/Magnum rockers
T18/D20/D44s&4.10s/33" Mud Claws
Grizzly Locker Rear
4" front spring drop, 5" rear shackle flip
Chevy style HEI (ECM controlled)
Dolphin "Shark" gauges in a fancy homemade oak bezel
3/4 resto, rotting faster than I've been fixing it.
User avatar

Topic author
Florida83FSJCherokee
Posts: 196
Joined: Sat Mar 09, 2013 7:53 pm
Location: Lakeland , Central Florida

Re: Blacksmith forging project thread idea (pic heavy)

Post by Florida83FSJCherokee »

REDONE wrote:Wow. I don't know what to say except, wow. I'm proud of what I do. I'm proud of what I know how to do, but still, just wow. Keep it up!

P.S. hows your arm?

Thanks man! believe me im just as amazed at the stuff you guys do with all those machienes...

The Arm is doing fine now, its still wierd looking in the morning before I get everything loosend up...if I flex that arm right after I get up the scar sucks in about 3.4" but by the time i get home from forging all day it doesnt suck in at all...


I finished up a couple knives this weekend inspite of the fact that I worked both saturday and sunday...

heres the post for them:


Quick little photo update tonight...

I had to pull a couple knives from the big order to get a return client some last minute valentines day gifts for her boyfriend.

Lucky dude...he got the huge butcher block and matching laminate knife for christmas and now he's going to be adding these two into the collection.

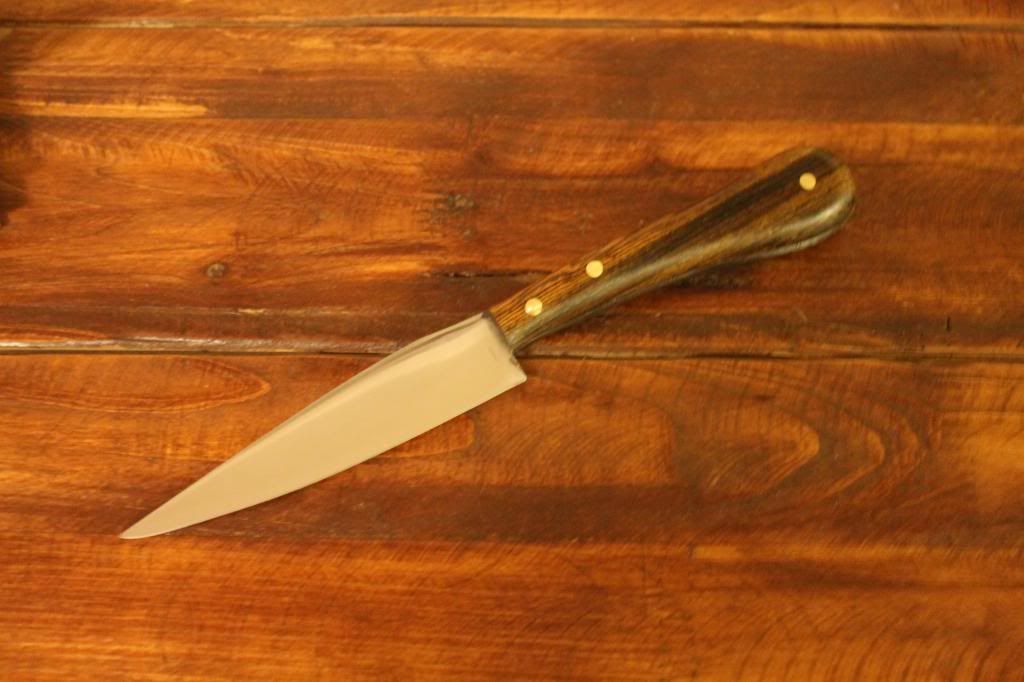
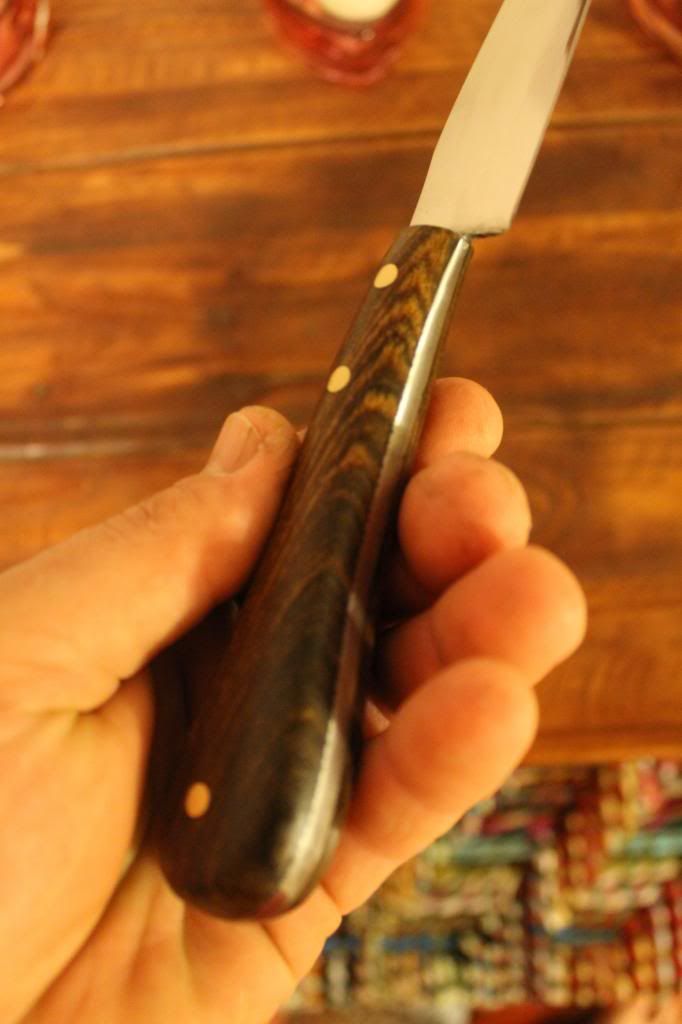
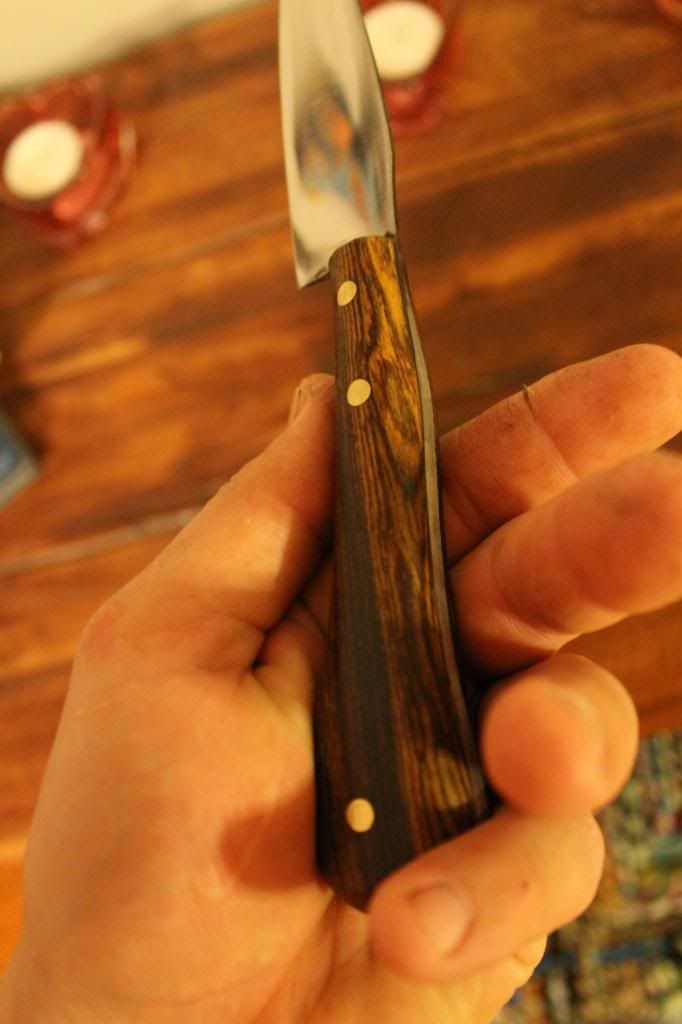
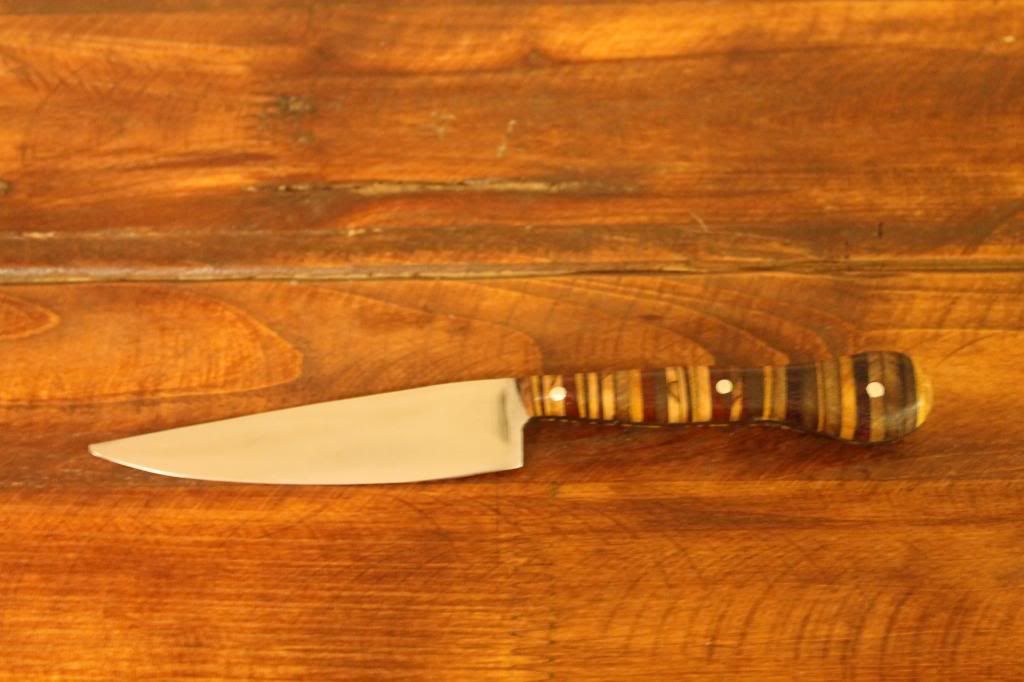
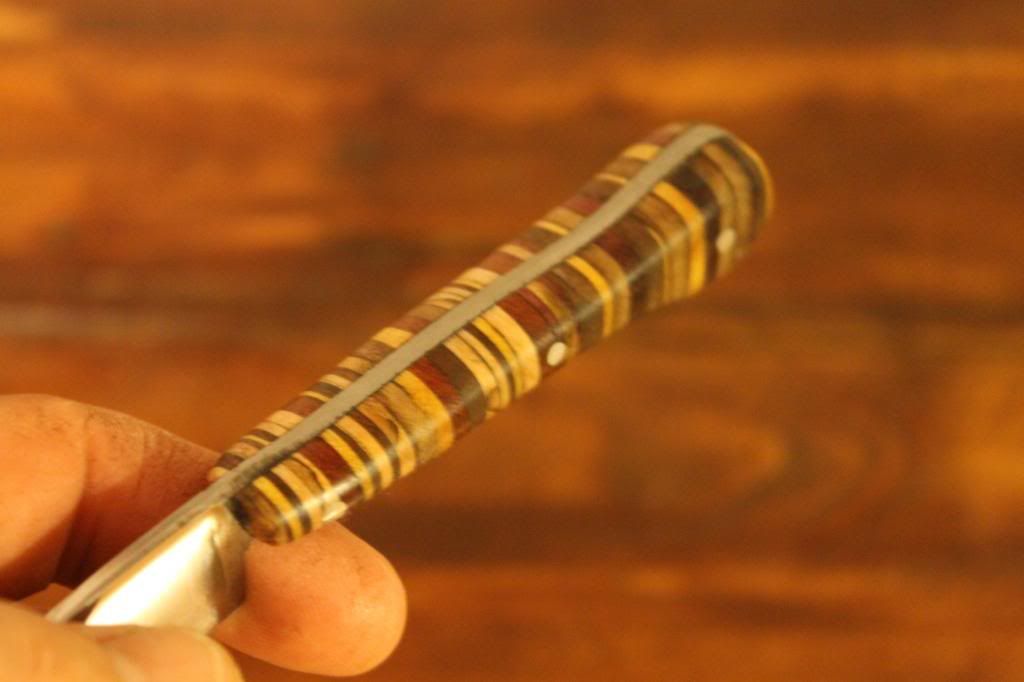
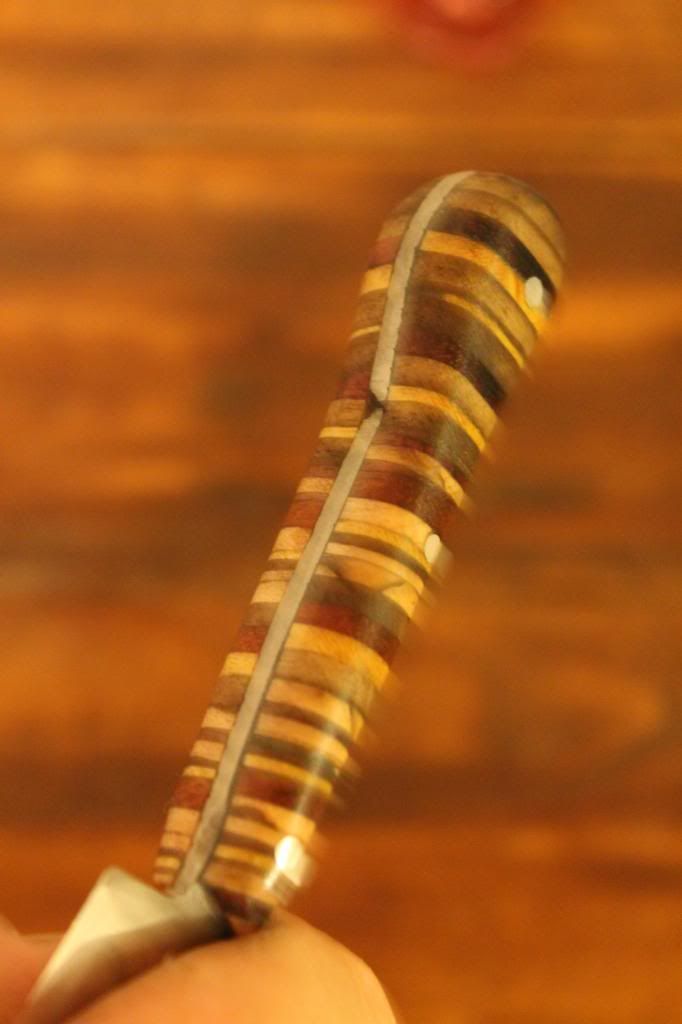
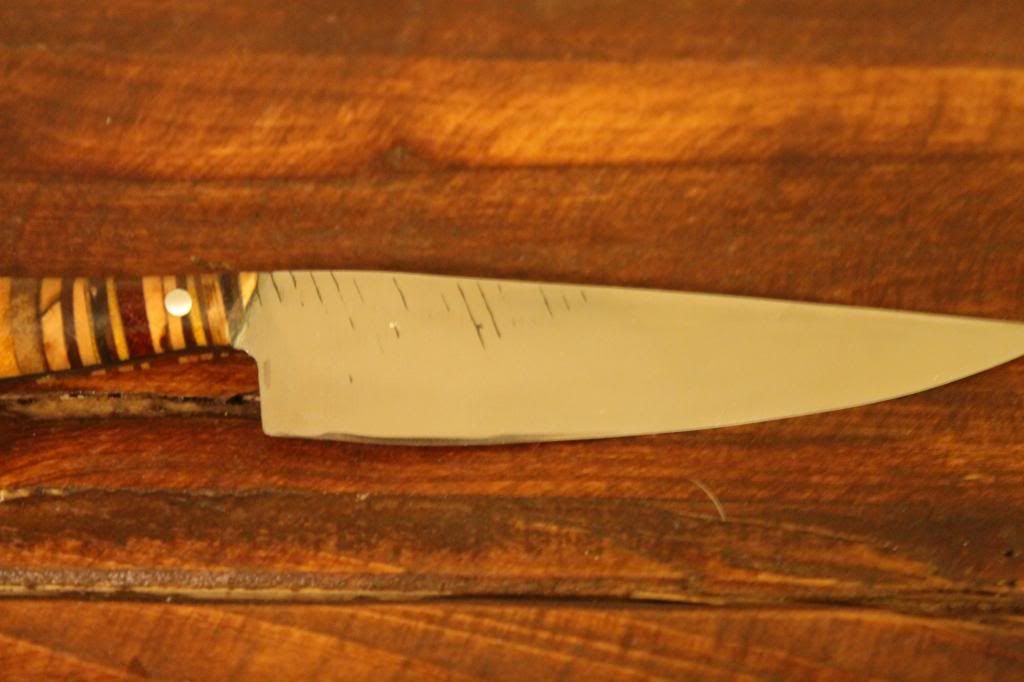
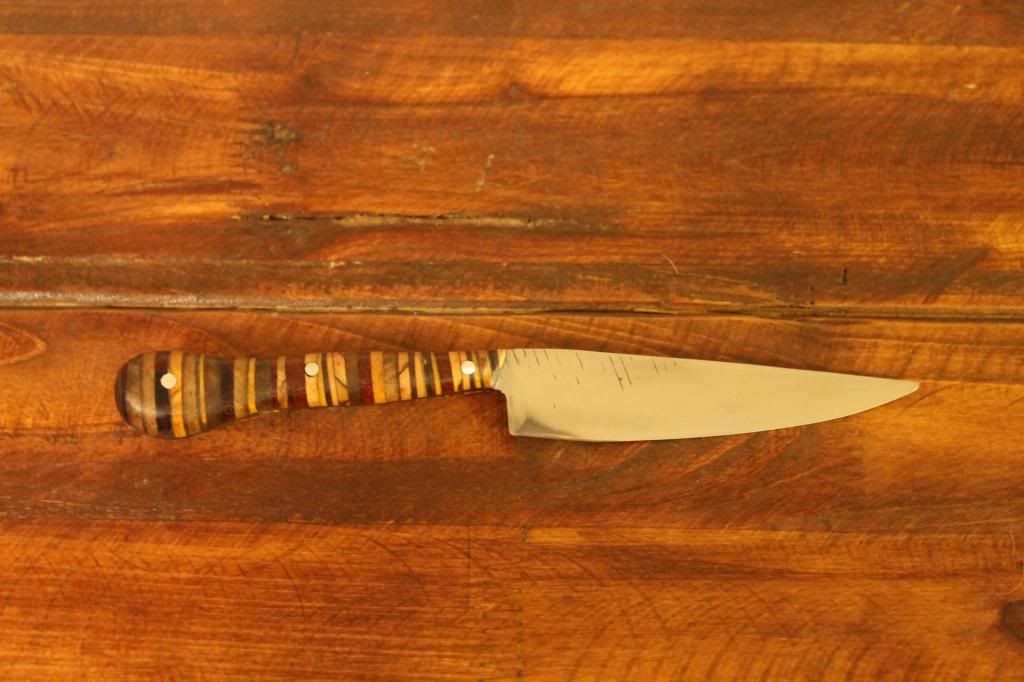
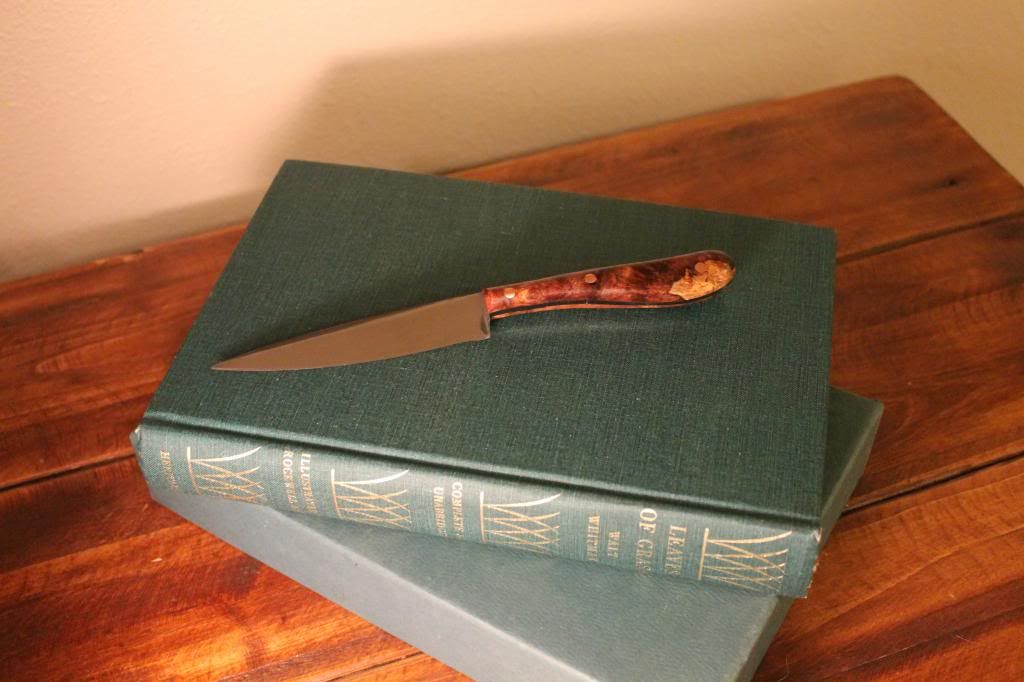
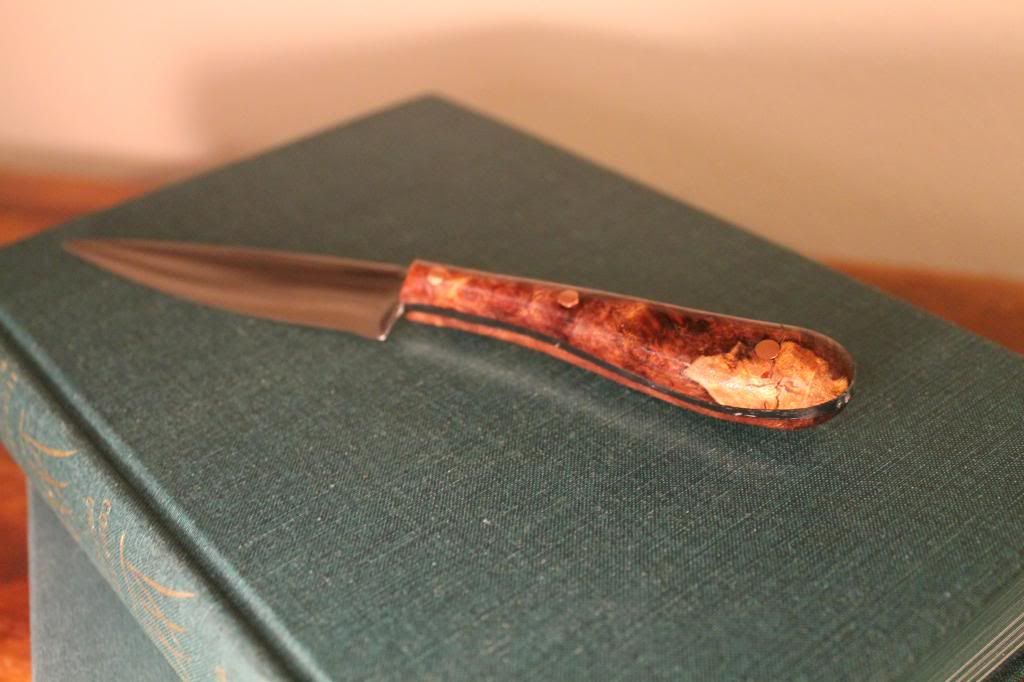
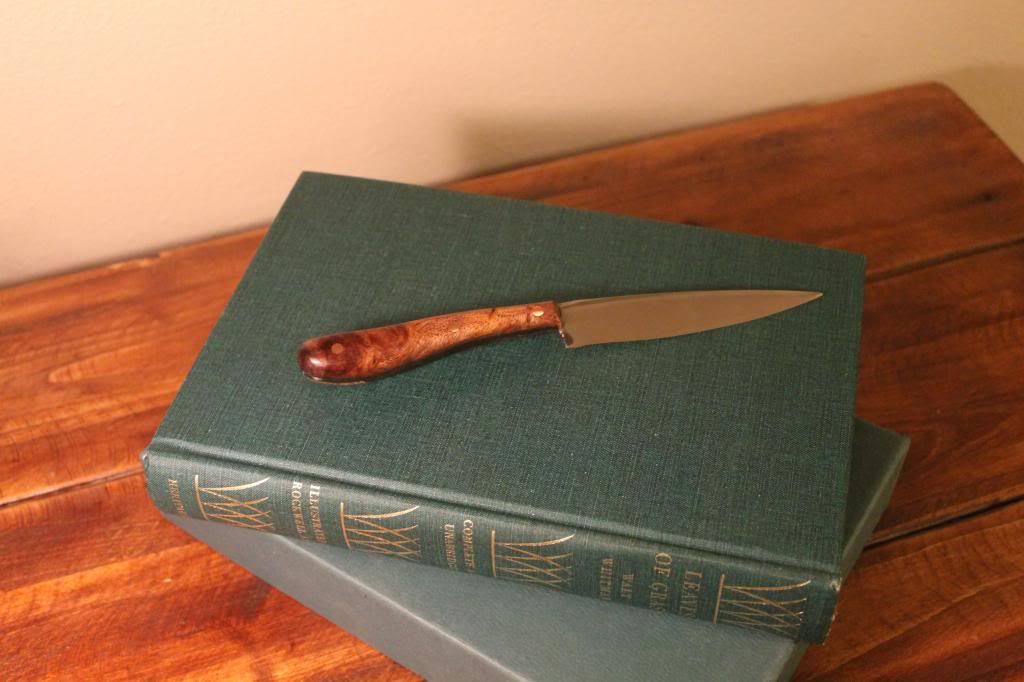
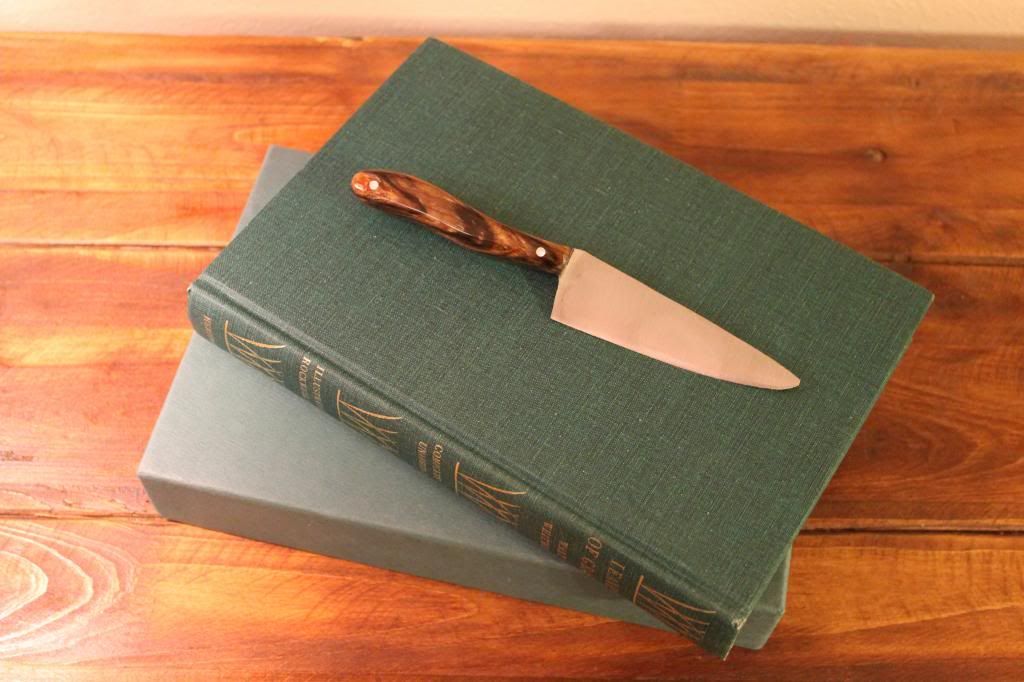
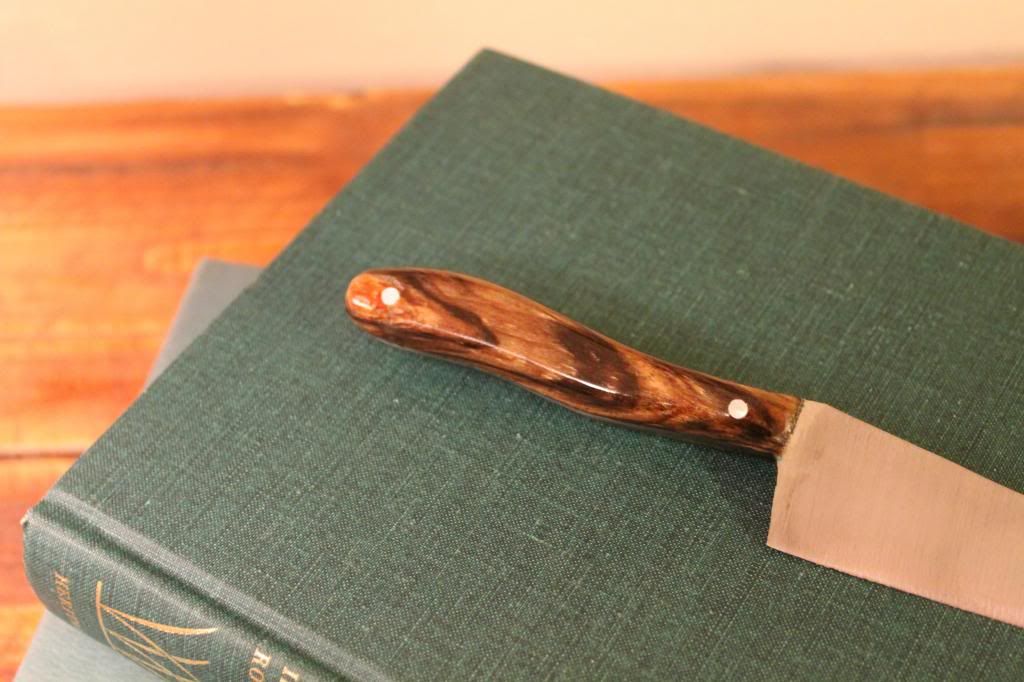
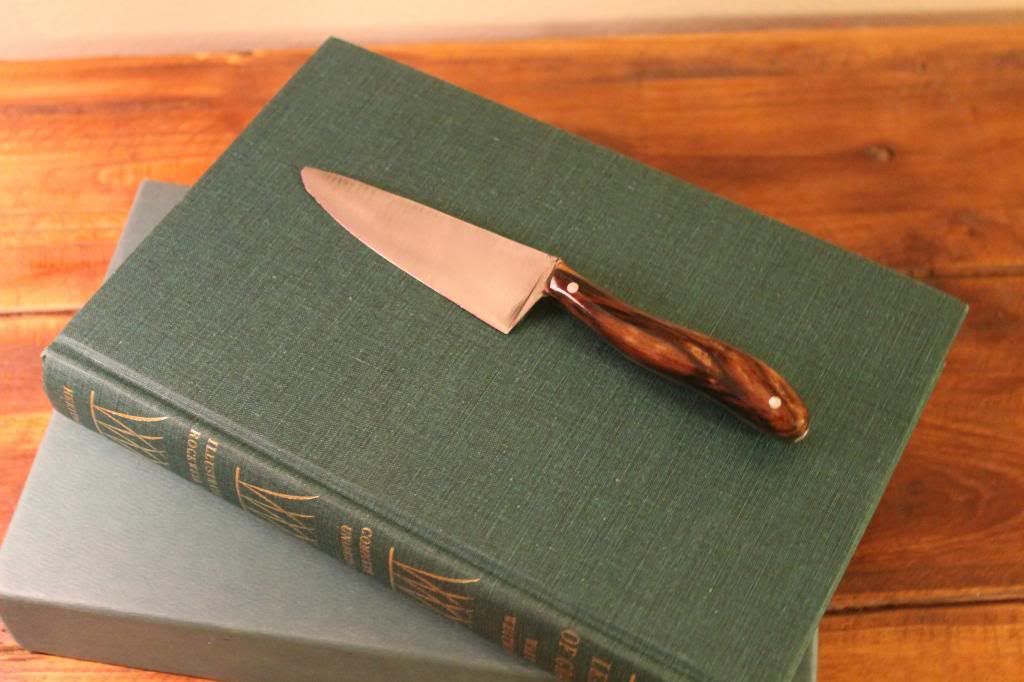
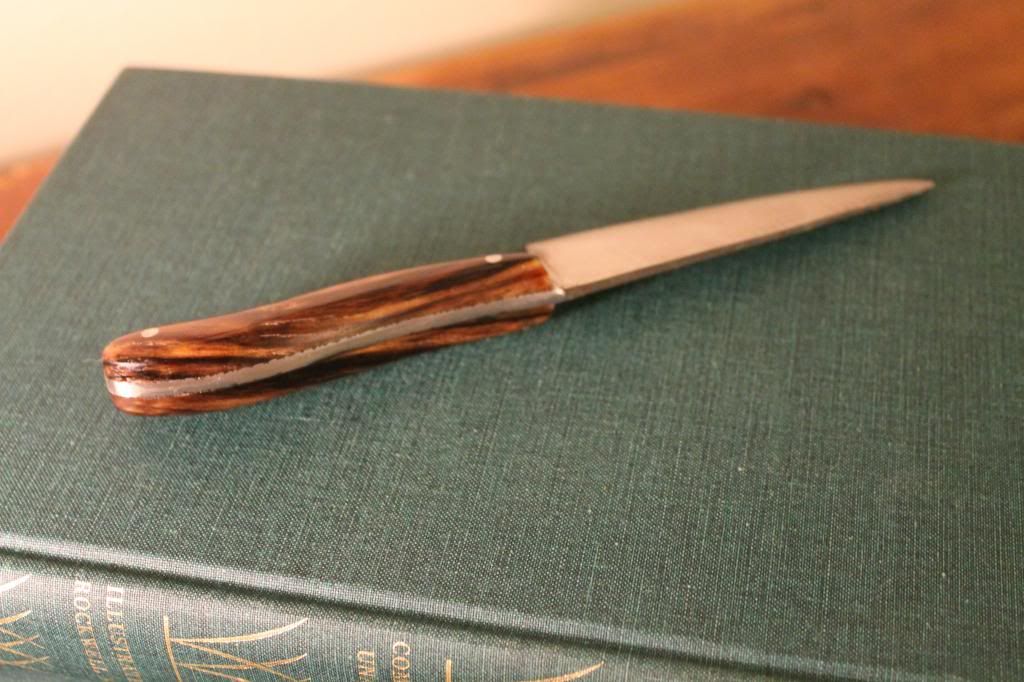
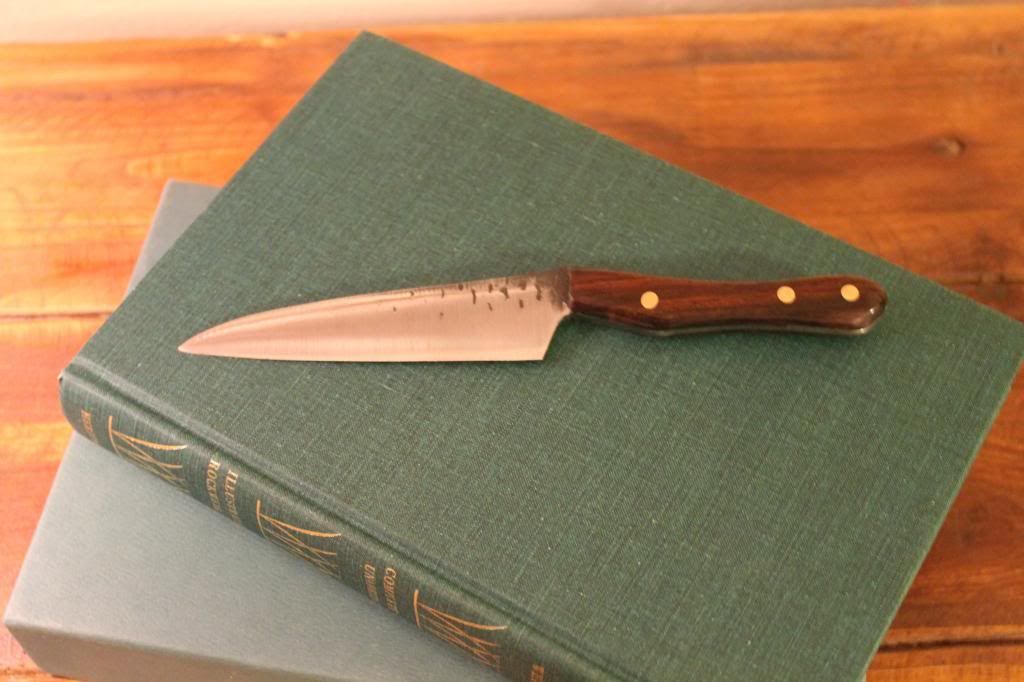
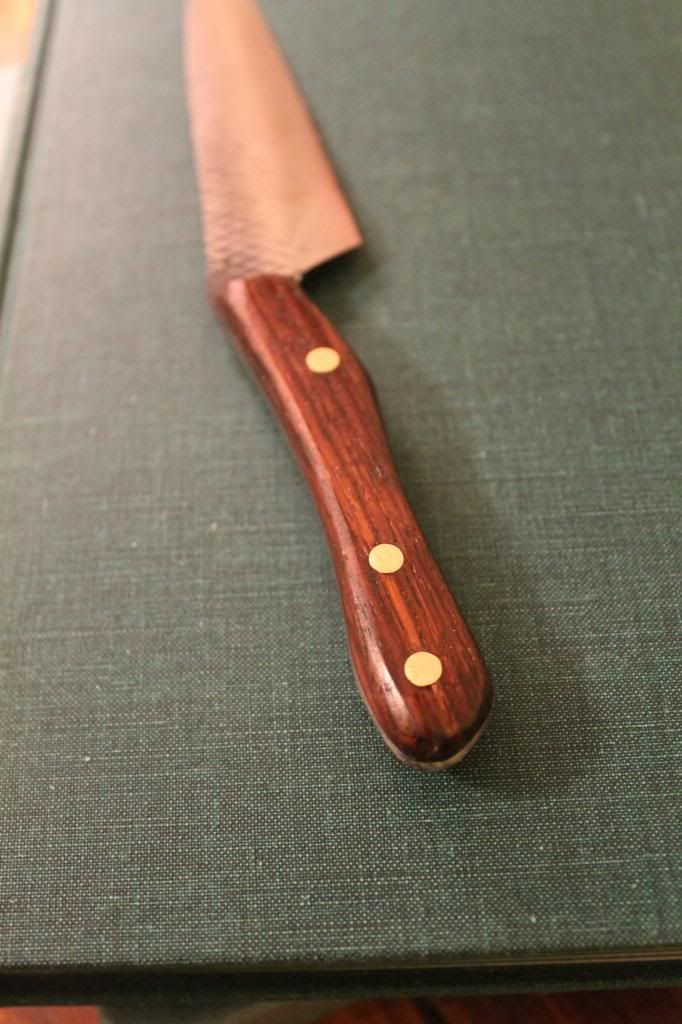
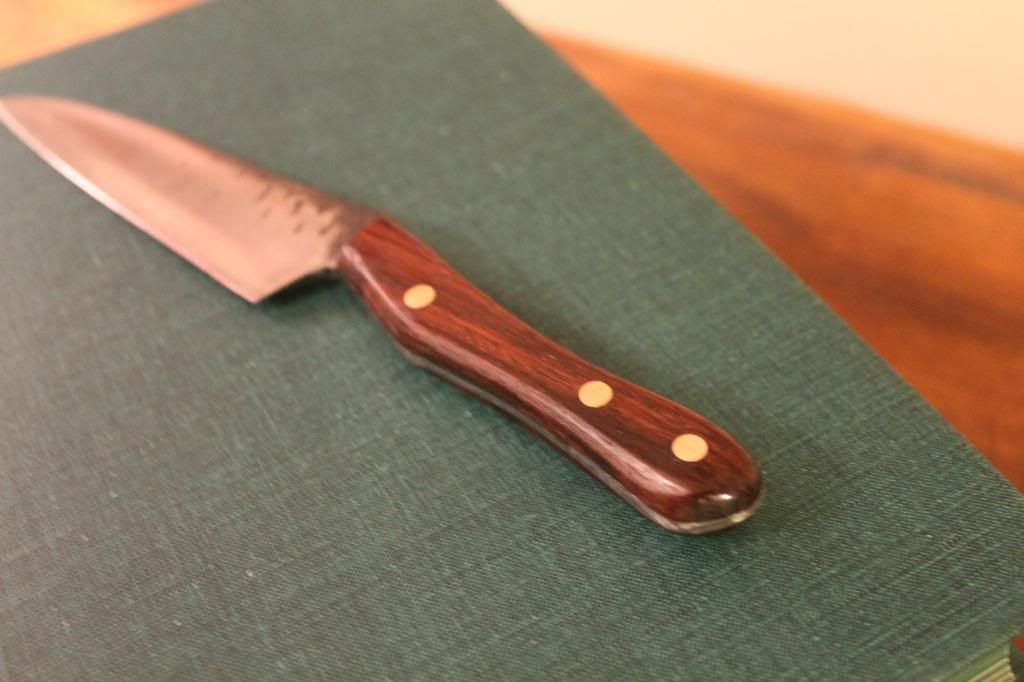
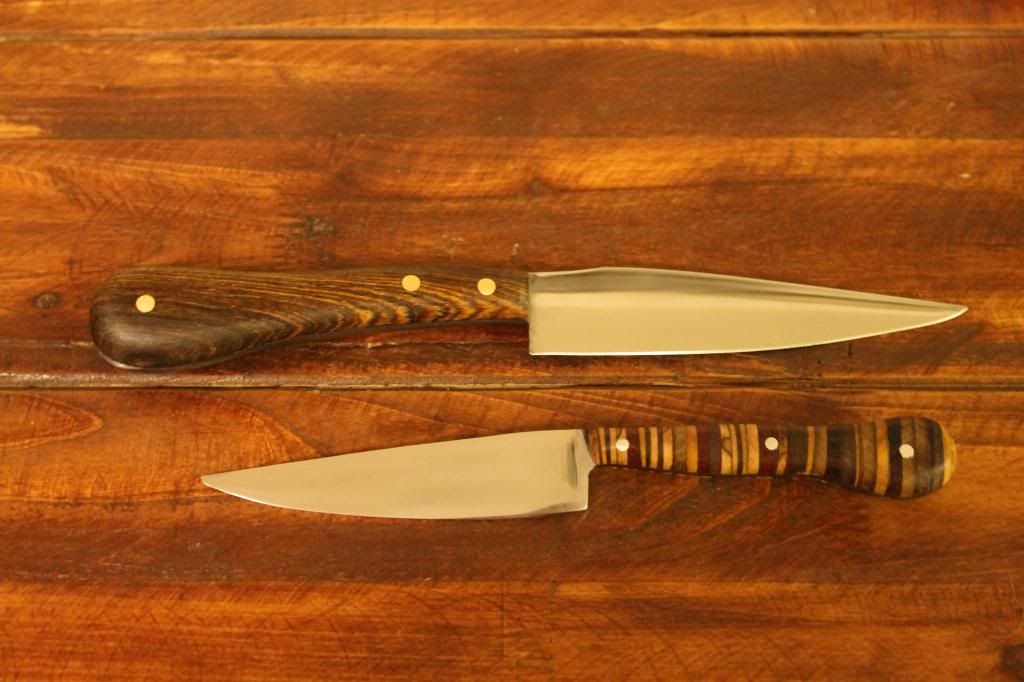
Here's the general prep/utility knife with the Bacote wood handle and brass pins, and the wide blade paring knife with the mixed exotic laminate i made from the serving board trimmings. the Bacote knife is 4.75"x1" in blade length and the pairing knife is 3.75"x.75" ... the larger is pushed towards cleaning meats like chicken and beef, while the pairing is very thin ground for delicate work like tomatoes and julienne prep work.

Pics of the process are posted in the previous update...

Image

The Bacote turned out sick!

one lesson learned...with these really dense woods the normal sealer I use is to thick and basicly stays pemanently tacky...so I sanded everything back down again and switched to Teak oil...that worked really nicely.

Image

Image

Image


Im excited at how cool the laminate came out, but its a delicate little B***h so if you make some like this plan to cut your scales a little thicker than you need and work the thickness off with the belt sander later..

Image

Image

Image

Its the little things that make me happy when thes knives are finished...just enough to show its past life but not enough to be overpwering on such a small !thin! blade...
Image

Image


put some late nights in this weekend to finish these in time for shipping tomorrow, but its worth it...Bummer is now im down two for the store order but Ill forge them out this week.


Have a great week, the doghouse is gonna be stupid busy with farrier work but hopefully I can finish a couple more by the weeks end...

JP

FSJ Guy
Posts: 1763
Joined: Fri Mar 15, 2013 3:03 pm

Re: Blacksmith forging project thread idea (pic heavy)

Post by FSJ Guy »

I, too, enjoy reading this thread. VERY cool stuff!!!
Ethan Brady

http://www.bigscaryjeep.com

Jeepless, but I still have a lots of old parts in my garage!

bigun
Posts: 1250
Joined: Sat Jun 11, 2011 8:20 pm
Location: Mountainair, NM

Re: Blacksmith forging project thread idea (pic heavy)

Post by bigun »

This arrived in my Email box today from the home made tools web site. I thought it might speed up your production rate
http://www.homemadetools.net

Press to flatten cutting boards and table tops


http://lumberjocks.com/projects/34826
Last edited by bigun on Thu Feb 13, 2014 10:46 pm, edited 1 time in total.

CherokeeJim
Posts: 206
Joined: Sun Sep 16, 2012 5:51 pm
Location: Texas
Contact:

Re: Blacksmith forging project thread idea (pic heavy)

Post by CherokeeJim »

Awesome Skillz!!!
'77 Cherokee 6" lift/6.6L/TH475/BW1339/D44s/4.56s/35x12.50x15s/ Detroit rear :fsj:
'82 J10 6.0L/6L80E/Atlas 3.8/SOA with 2" front springs/ 63" springs inboarded/D60F/Spartan Locker/14Bolt/Detroit 4.56s/42s
'71 J4000 on 81 J10 frame/6bt/4500/203-205/D80F D80R/ARB/Spool/5.13s/42s
'79 Cherokee 4dr 6.6L/TH400/BW1339/D44s/3.54s :fsj:
'08 Tundra 5.7L 3" lift/33s
User avatar

Topic author
Florida83FSJCherokee
Posts: 196
Joined: Sat Mar 09, 2013 7:53 pm
Location: Lakeland , Central Florida

Re: Blacksmith forging project thread idea (pic heavy)

Post by Florida83FSJCherokee »

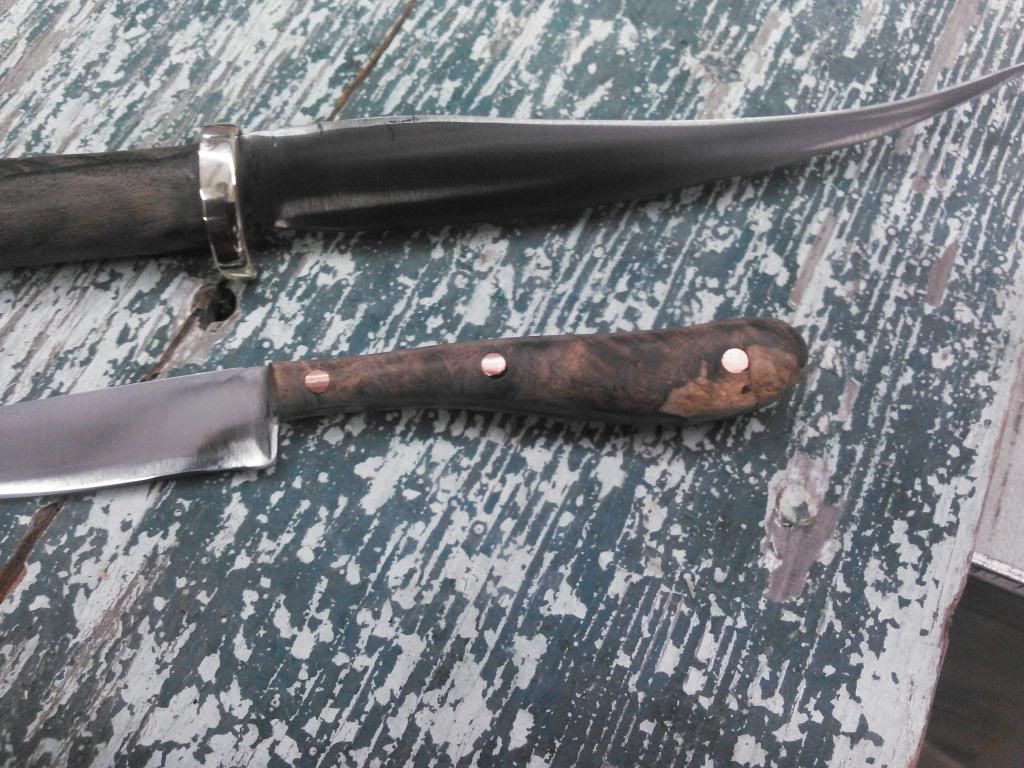
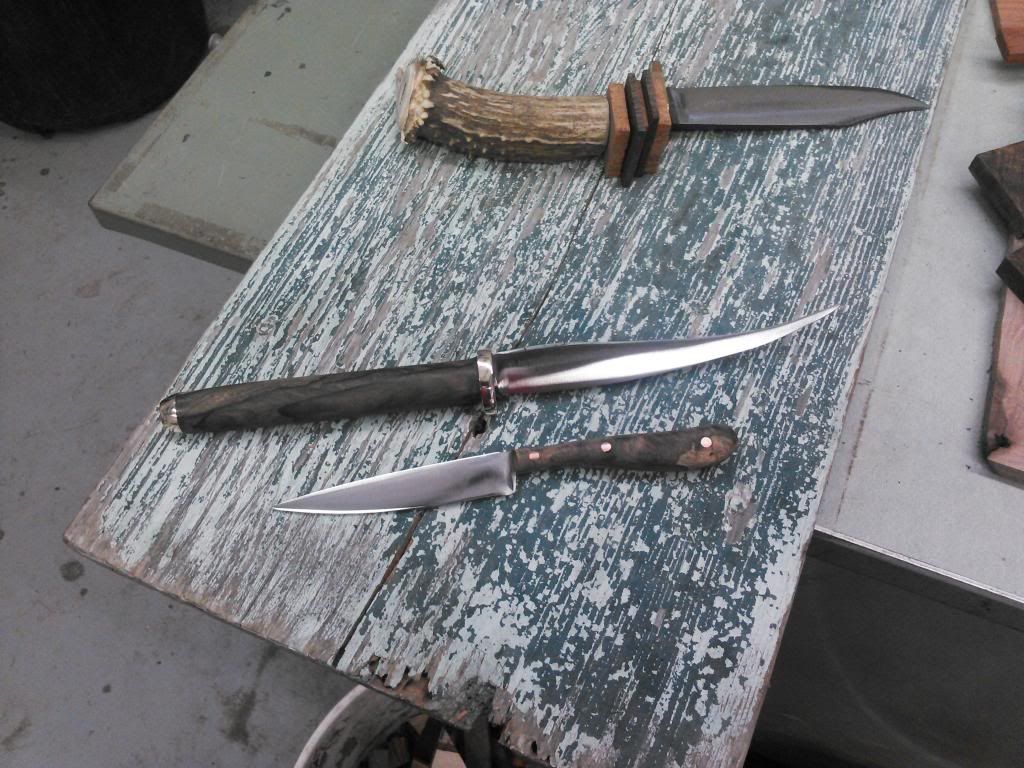
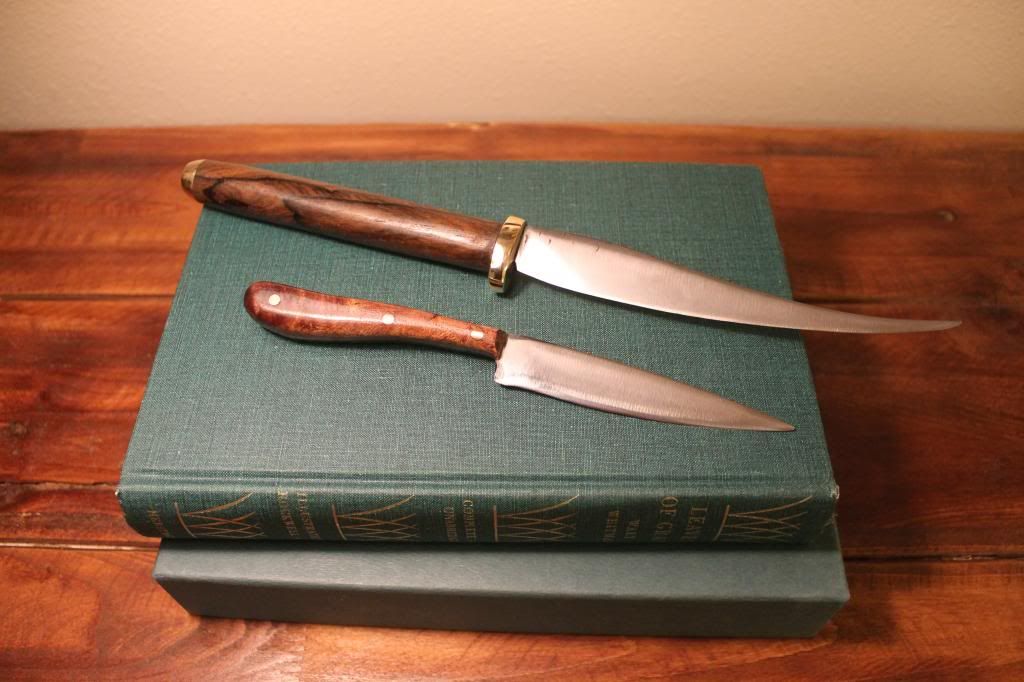
Got three more knives finished this week.

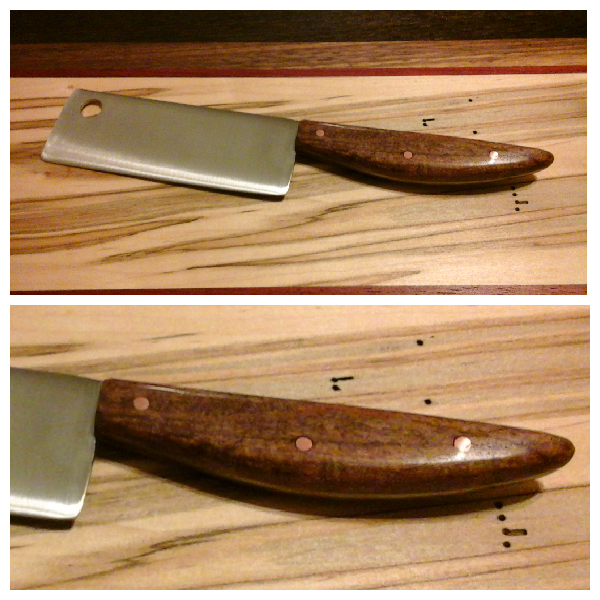
A mesquite burl pairing knife and mesquite Cheese Cleaver that are headed to mesquite texas...:thumbup: I like this guys style...

and a couple for the brooke pottery order collection.


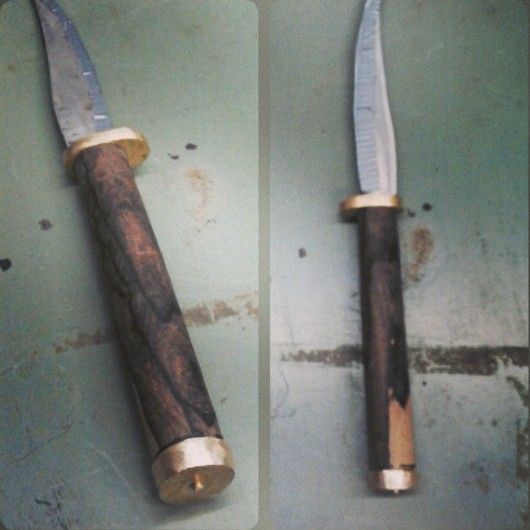
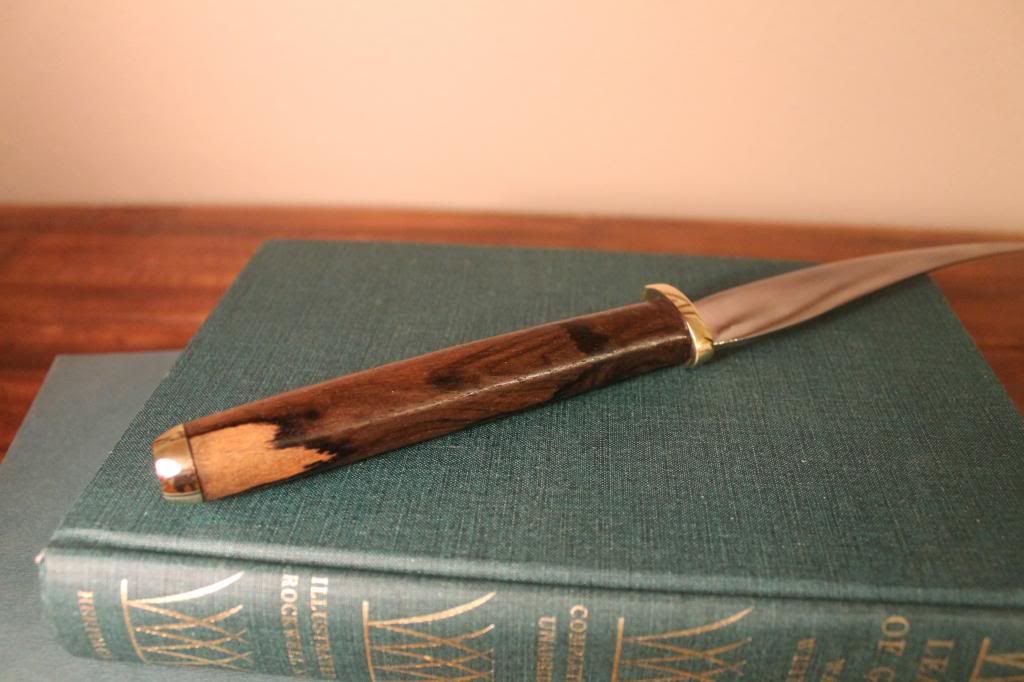
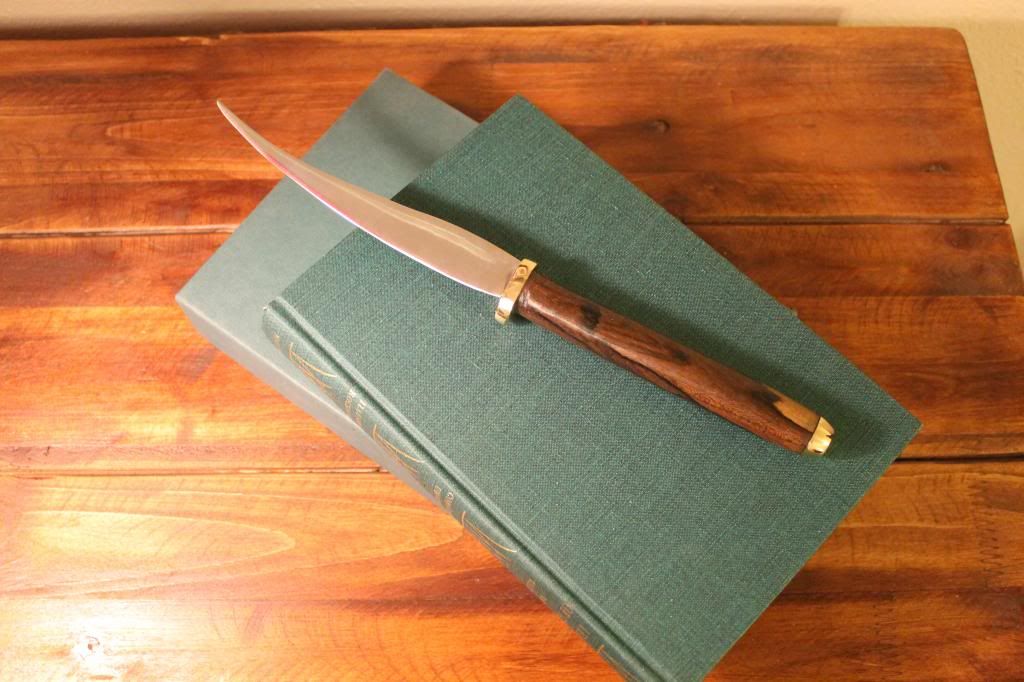
To start there is the "fish Filet" knife. Aside from the cool blade design I wanted to make this one a solid handled knife or "hidden tang"

My reason for this was its such a light blade that a full tang would throw the balance way to the rear of the knife. Its also a very fine tuned knife and being light fit the bill.

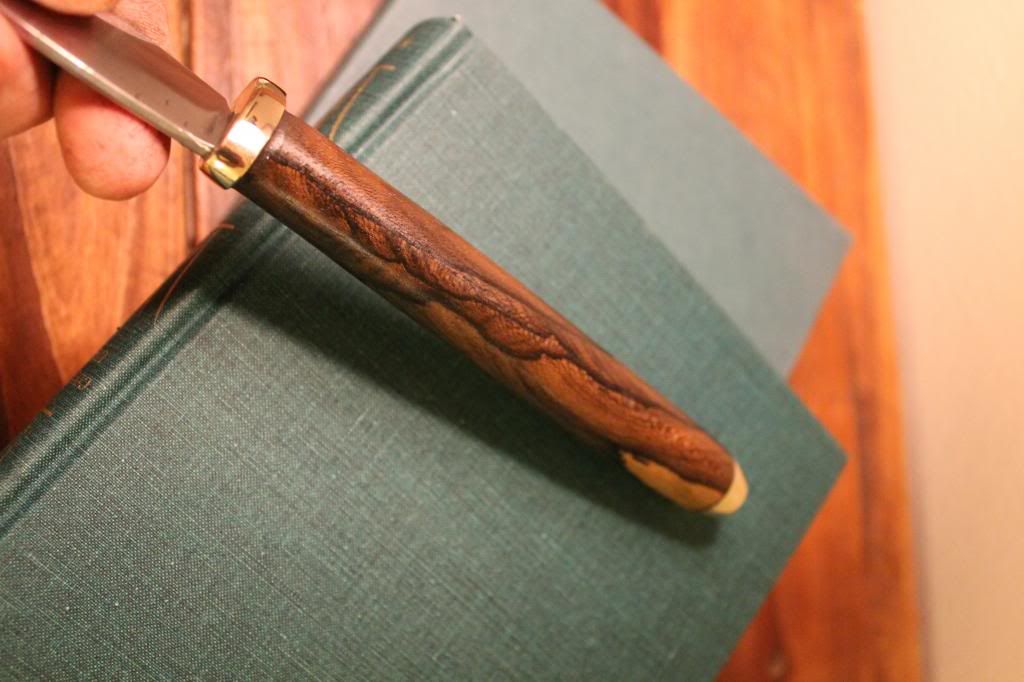
Ziricote Pen turning blank out of the $1 bin at wood craft...:lol: some brass bar stock and a brass bolster. Its alot of bling for a filet knife, but if your gonna buy a filet knife specificly for fish and pay this much for it your gonna want some bling.

Image

Got the tang and blade insertion tuned to the bolsters pre milled slot. This is cheating a little because I didnt hand make the bolster, but dont you worry. Plans are already under way to have lengths of flat bar milled in sections so I can create whatever shape bolster I want in the future.

Image

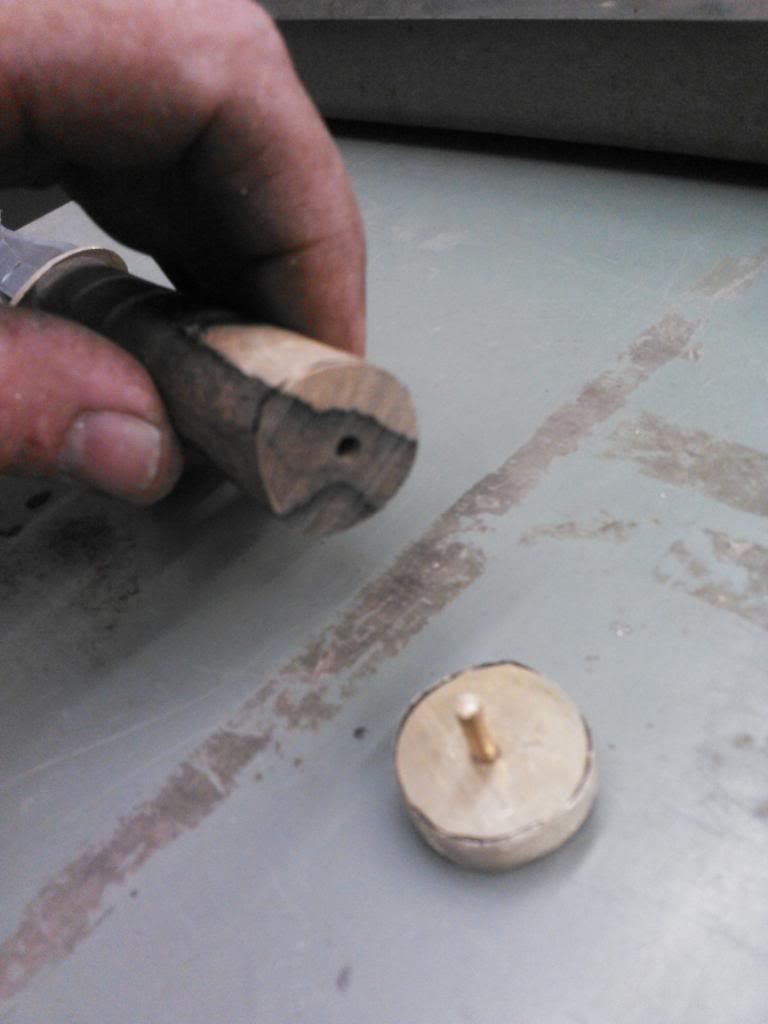
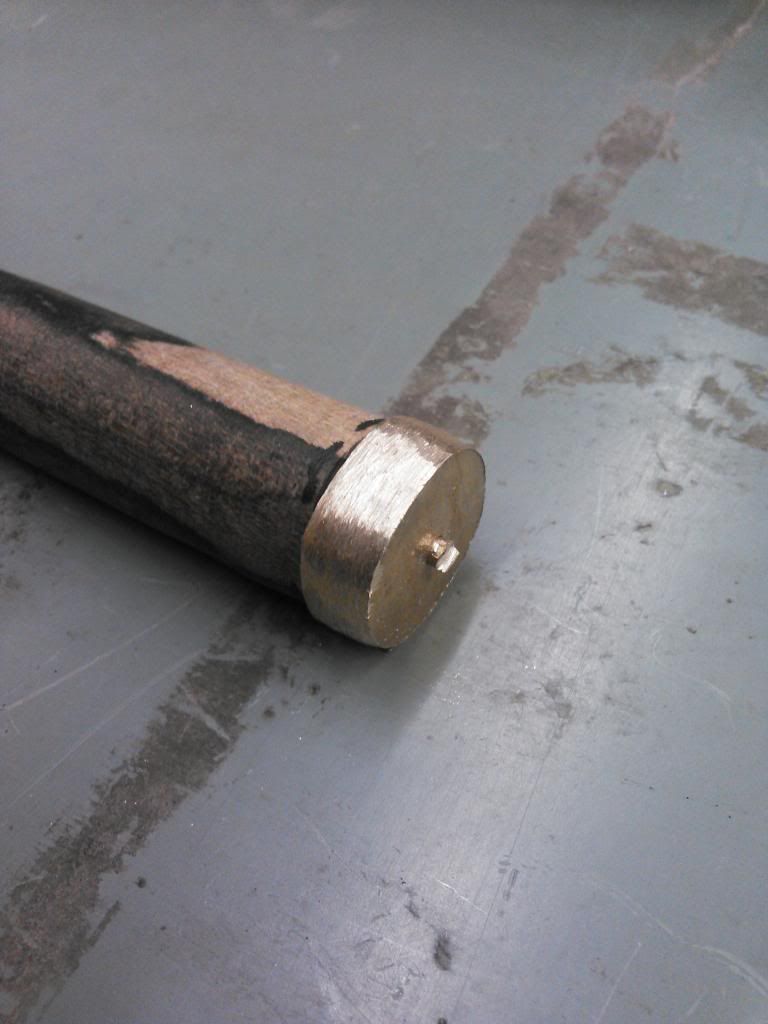
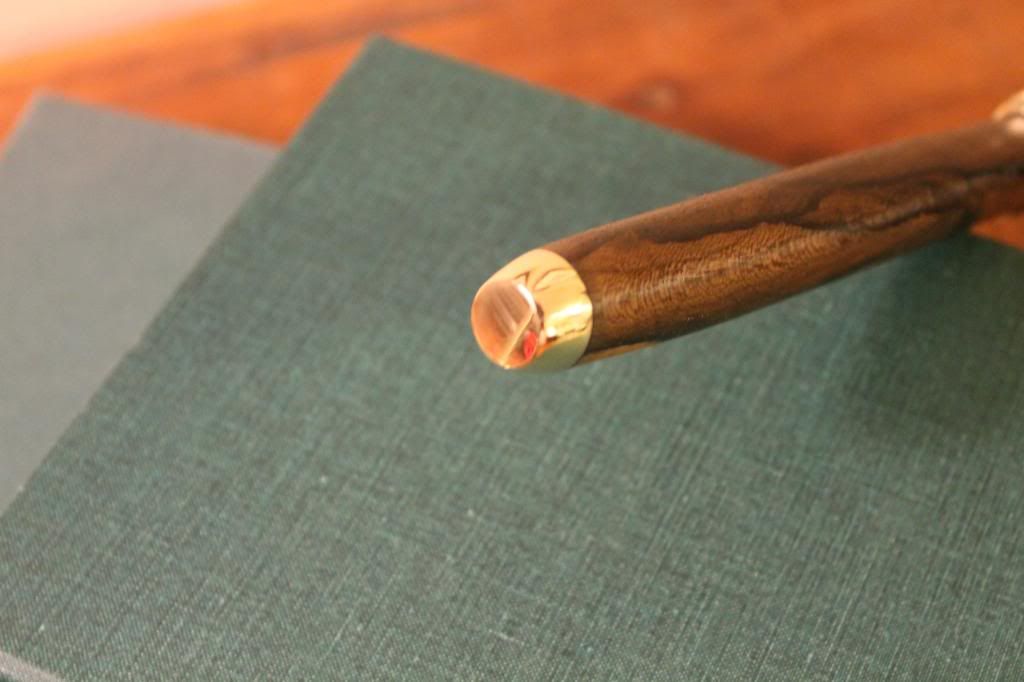
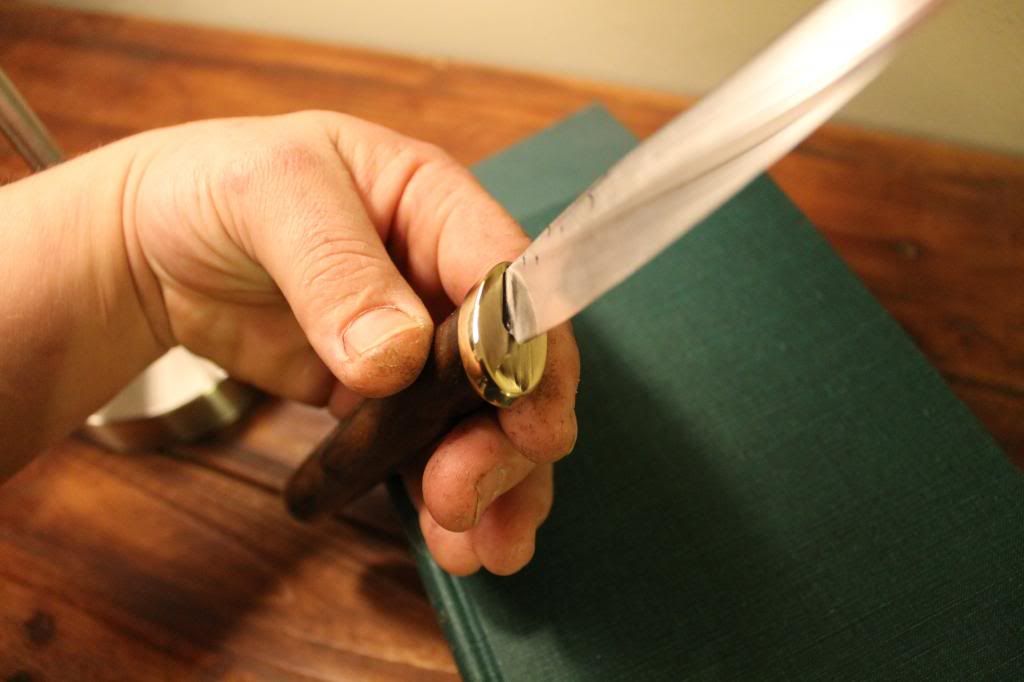
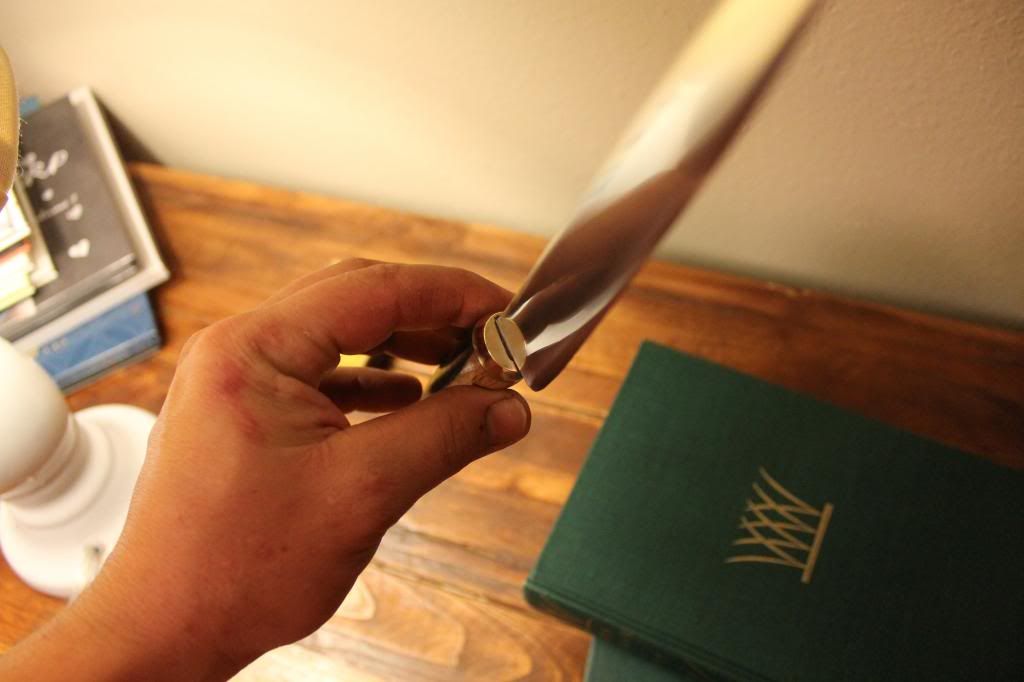
A brass end cap really seemed like a nice touch so I ground some flat bar into a general circle, drilled an 1/8" hole through it and into the butt of the handle, and then assembled it with a brass pin and epoxy. Once its ground and polished you cant see the pin markings even if your looking for it.

Image

Image

assembled and ready for epoxy
Image

I didnt have a clamp to evenly press the end cap into place and hold the seem tight so I improvised...
Image

after it cured for a day i ground everything into agreement...(take your time with the brass so you dont get it to hot and break your epoxy joint)
Image


So we will take a quick break from the filet and move over to the Mesquite Pairing knife.

At the request of the client I aquired some mesquite wood. The cheapest option for me was to bid on an auction lot and cross my fingers...Bam! I got lucky and won all this mesquite burl for $12
Image

Basic steps as seem so far for this one
Image

A little grinding and buffing later...
Image

and the filet and pairing knife were ready for sealer
Image

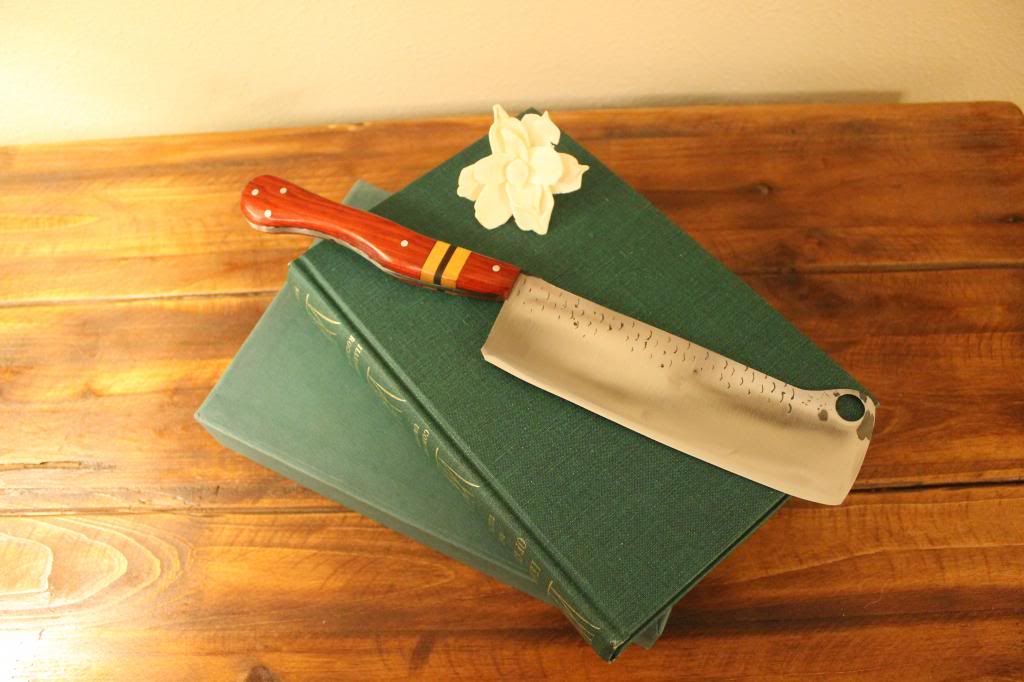
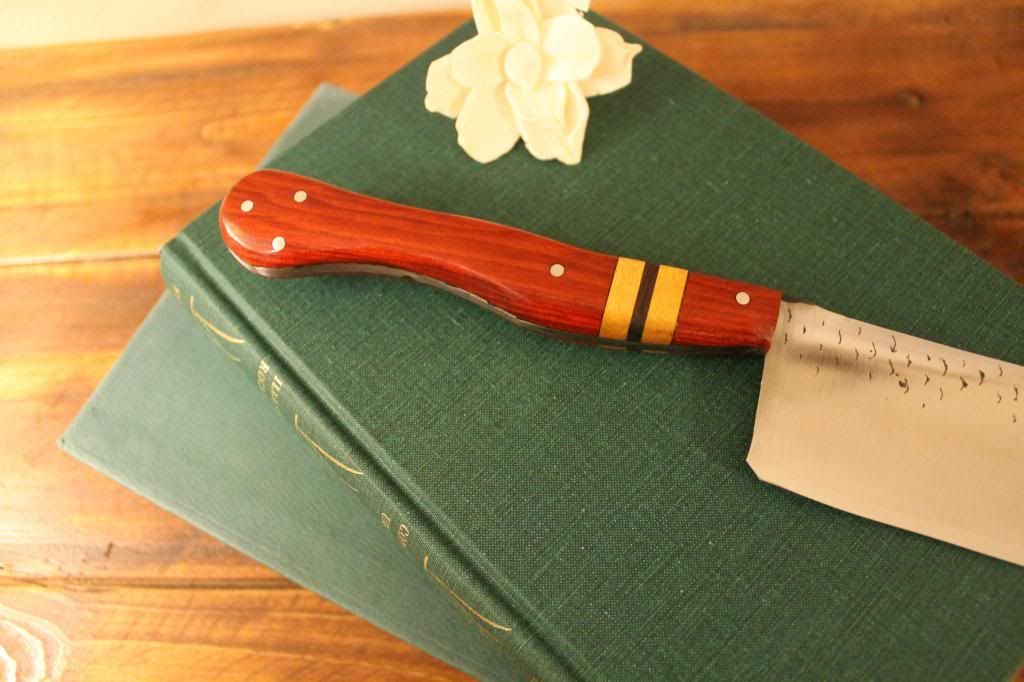
Heres a quick look at the Cheese Cleaver and then the finished Filet and Pairing knives...

I actually finished this cleaver a few weeks ago but was waiting for the other mesqite wood to finish the order. Best kinda client out there..."i dont care how long it takes as long as its the materials we selected in the end" :thumbup:

he wanted clean mesquite for the cleaver
Image

Image

Image

Image

Image

Image


Image

Image

Image

Image

Image

Image
User avatar

Topic author
Florida83FSJCherokee
Posts: 196
Joined: Sat Mar 09, 2013 7:53 pm
Location: Lakeland , Central Florida

Re: Blacksmith forging project thread idea (pic heavy)

Post by Florida83FSJCherokee »

Post number 2 for the evening.

If you missed the previous section with the filet and pairing knifes scrollback and start there to catch up.

The final knife for the evening is a special one...

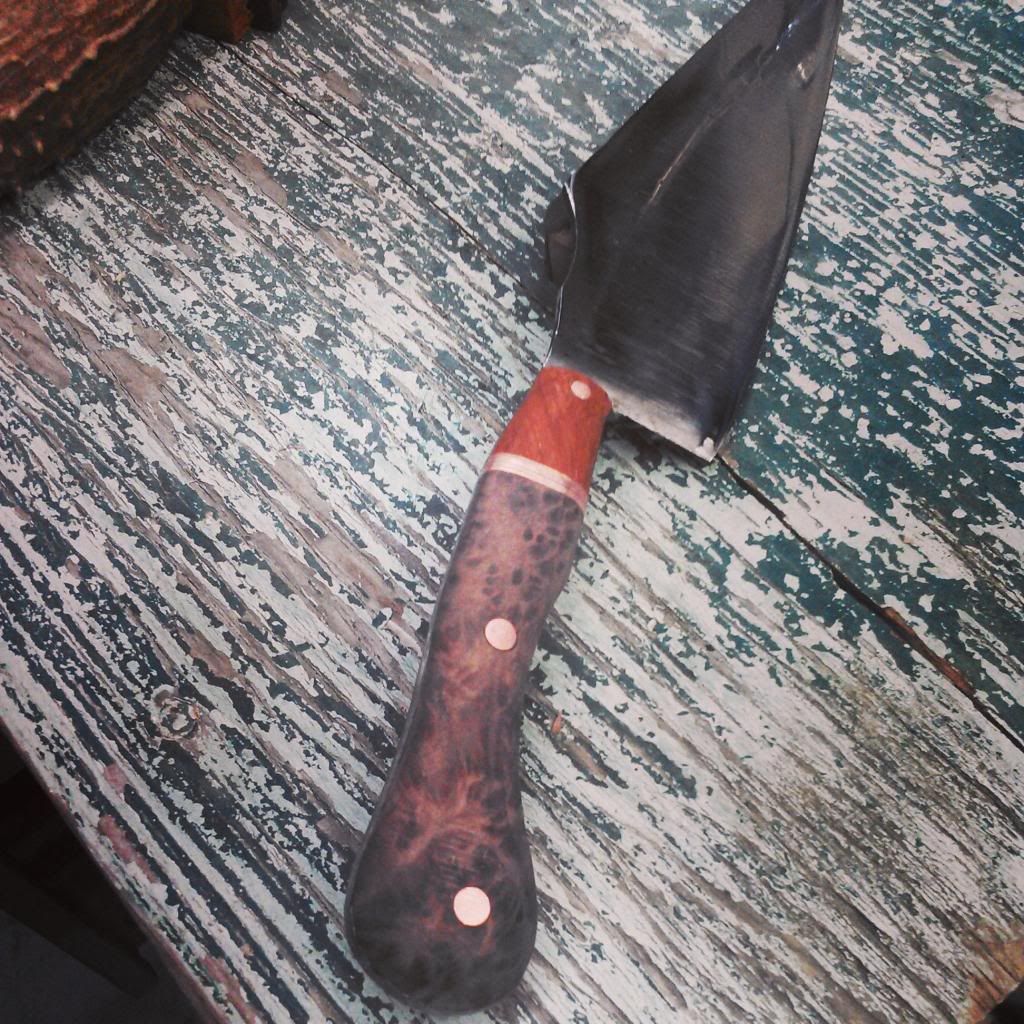
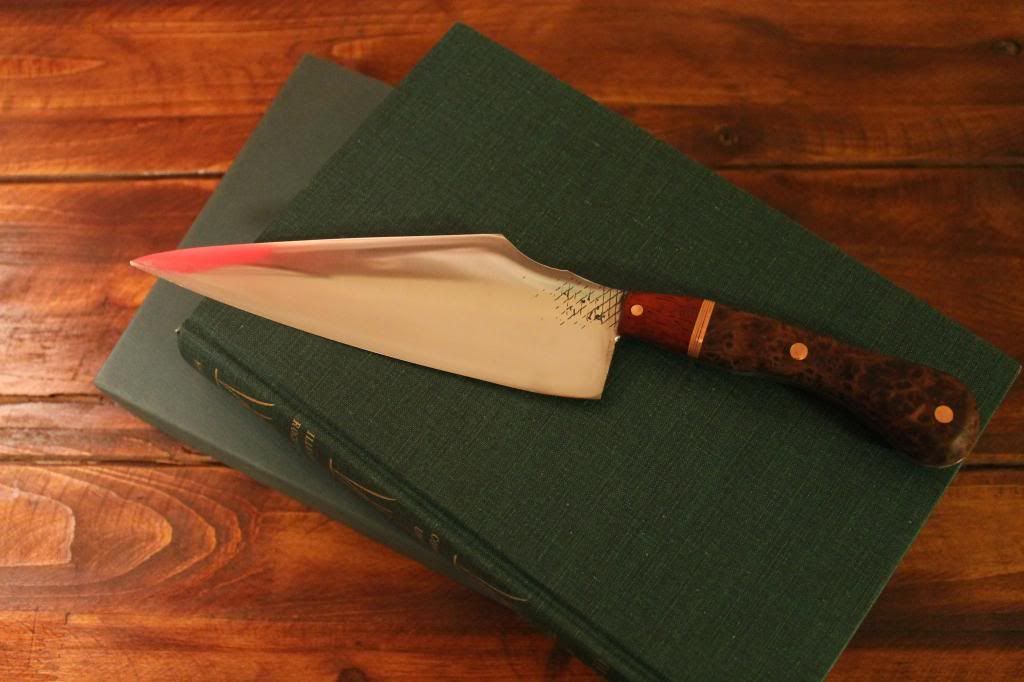
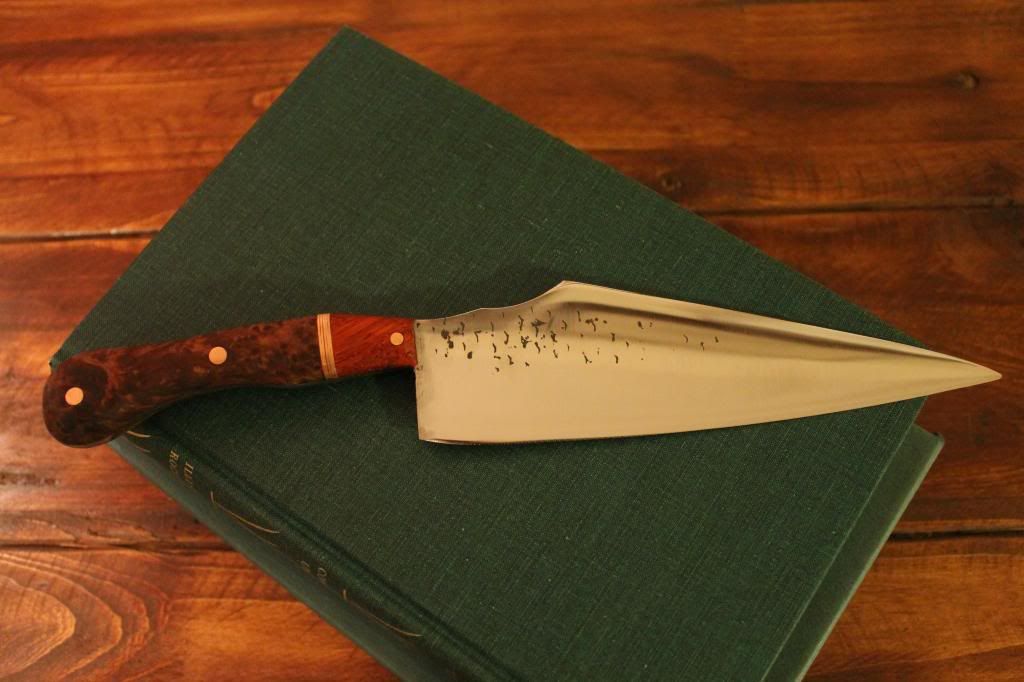
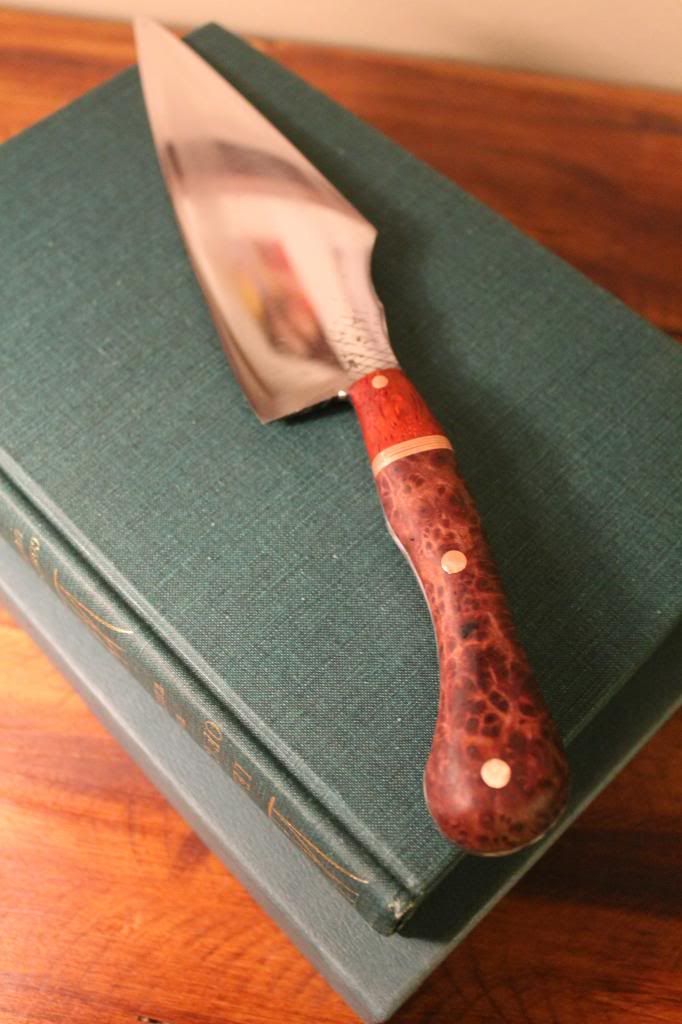
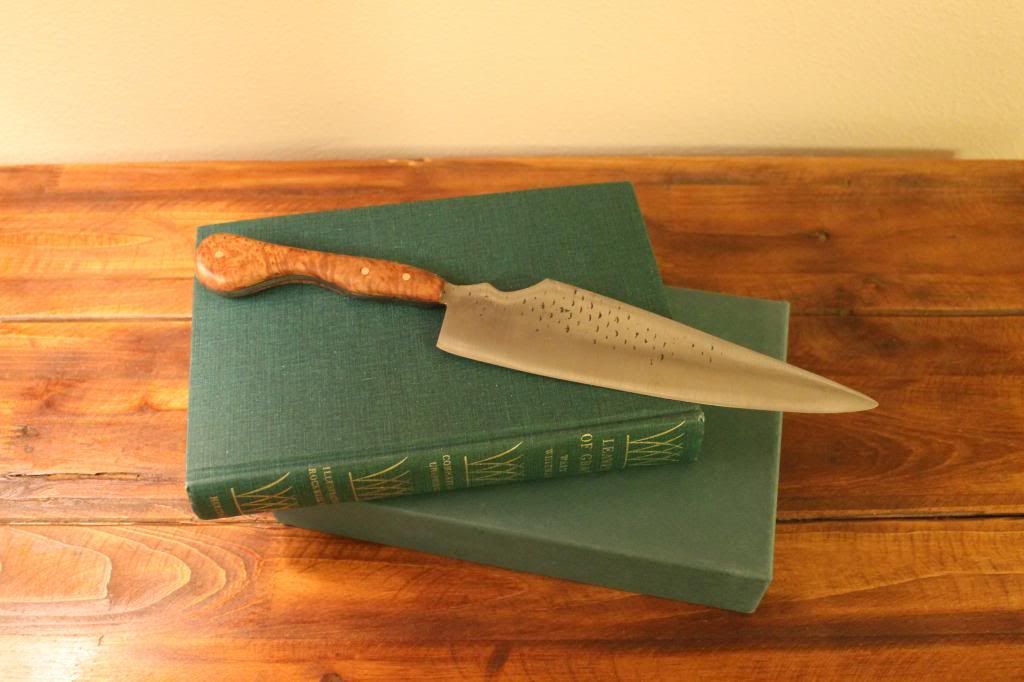
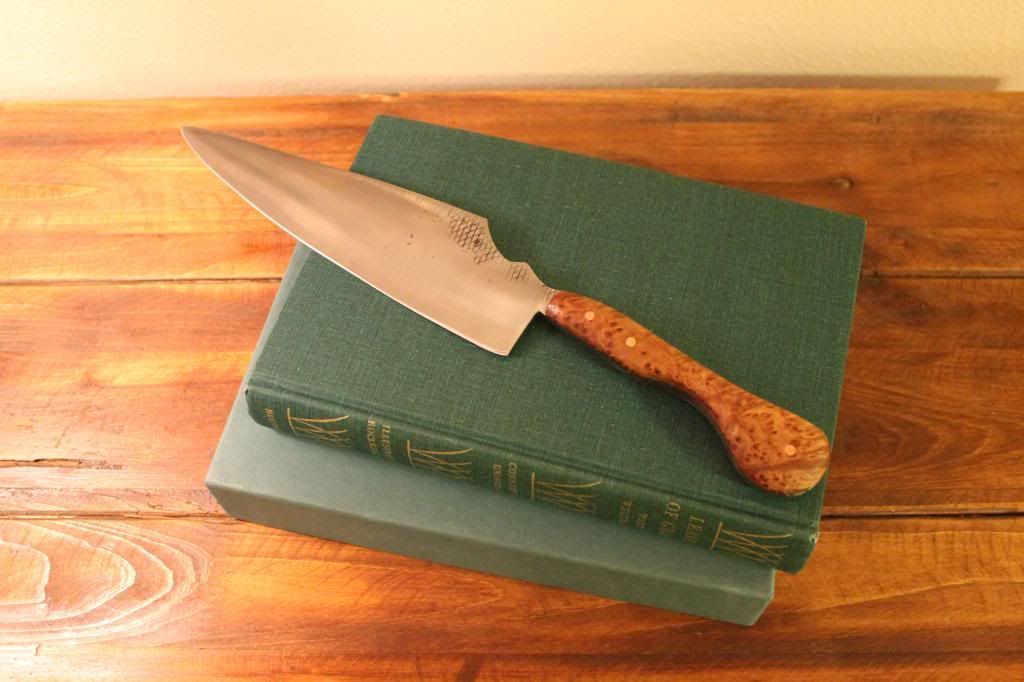
Its a 7.5" Chef with my new "cutaway" spine.

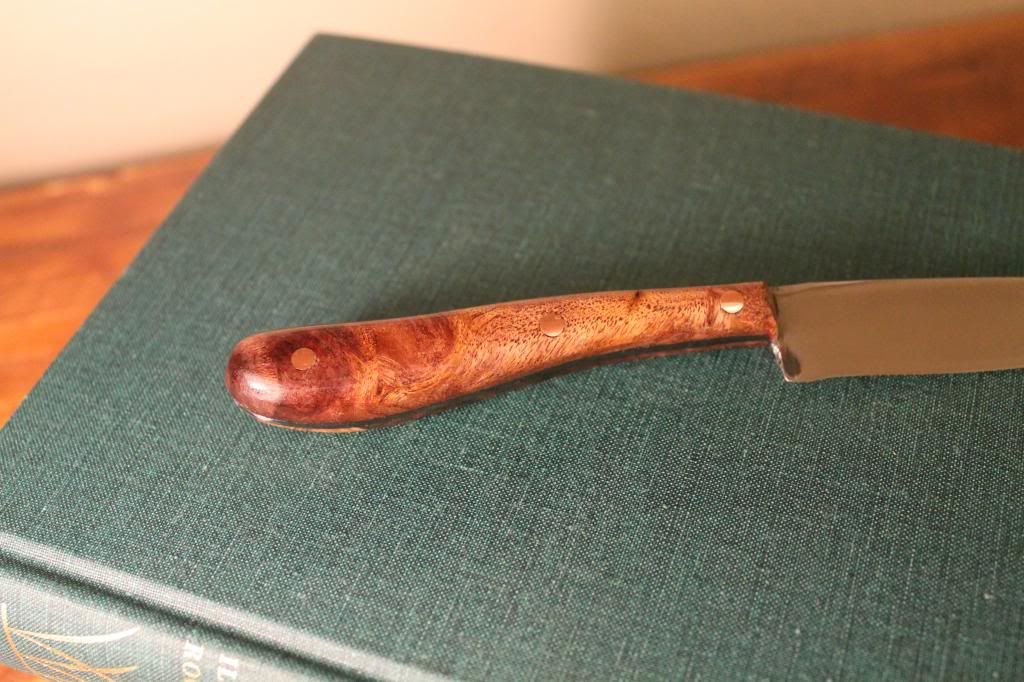
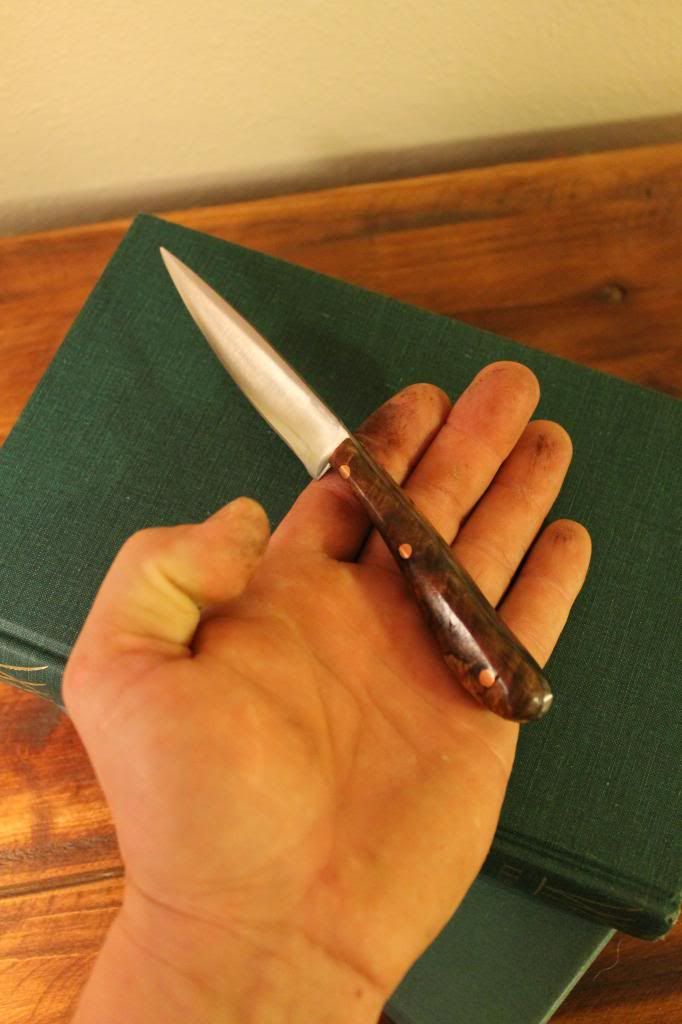
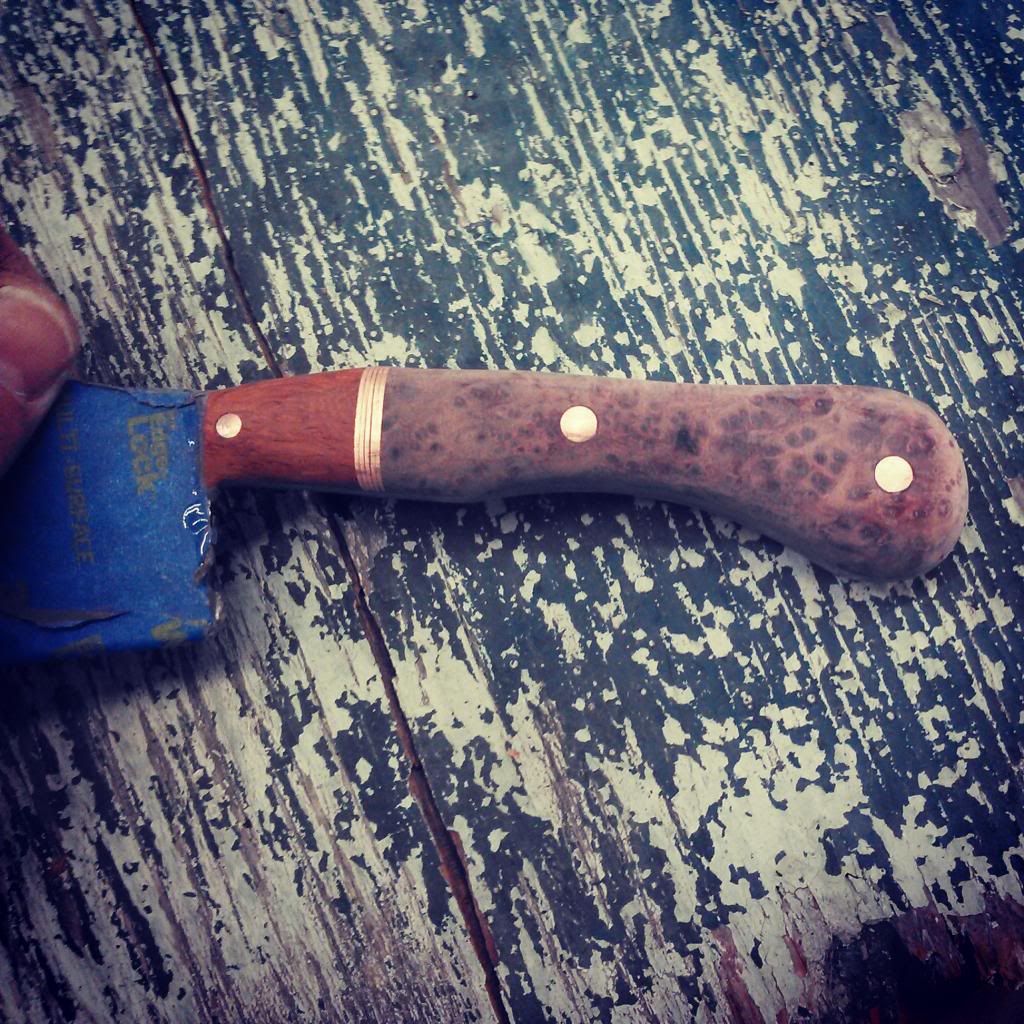
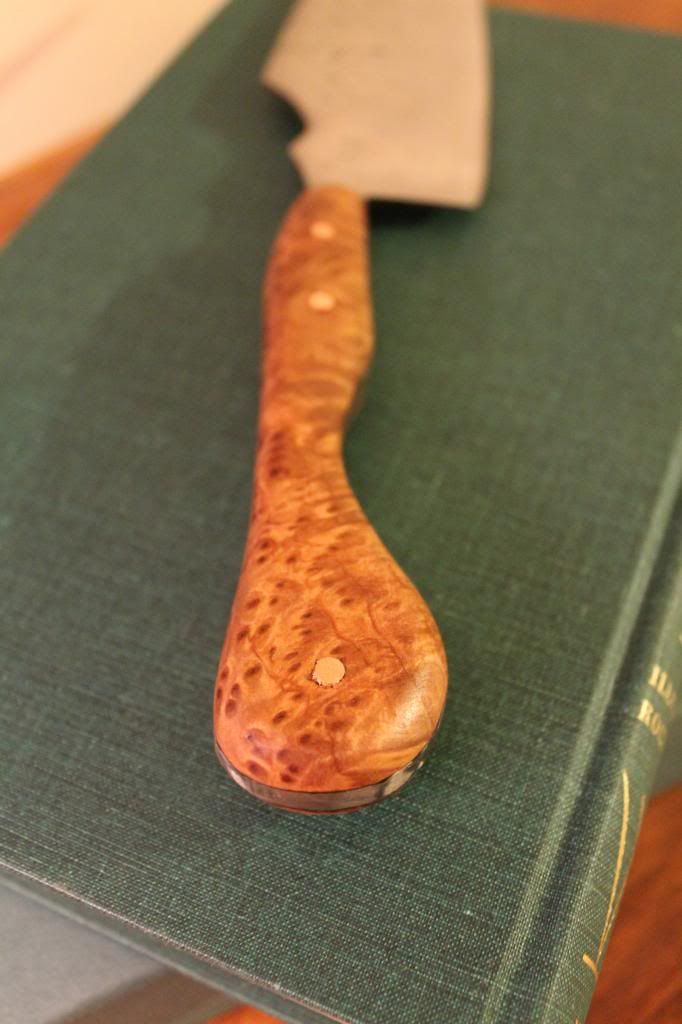
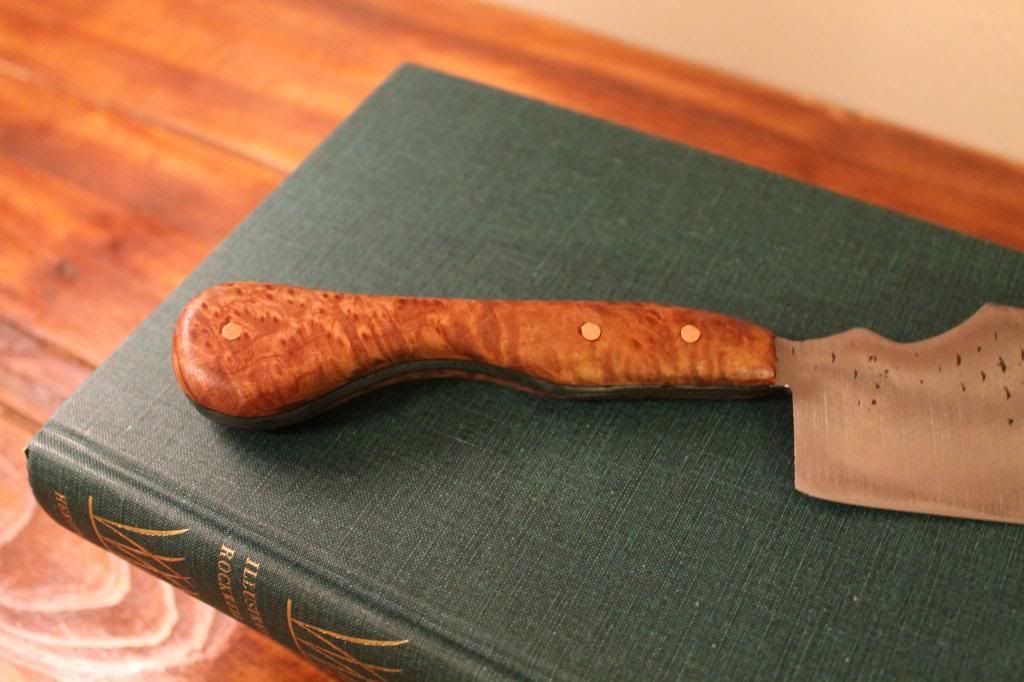
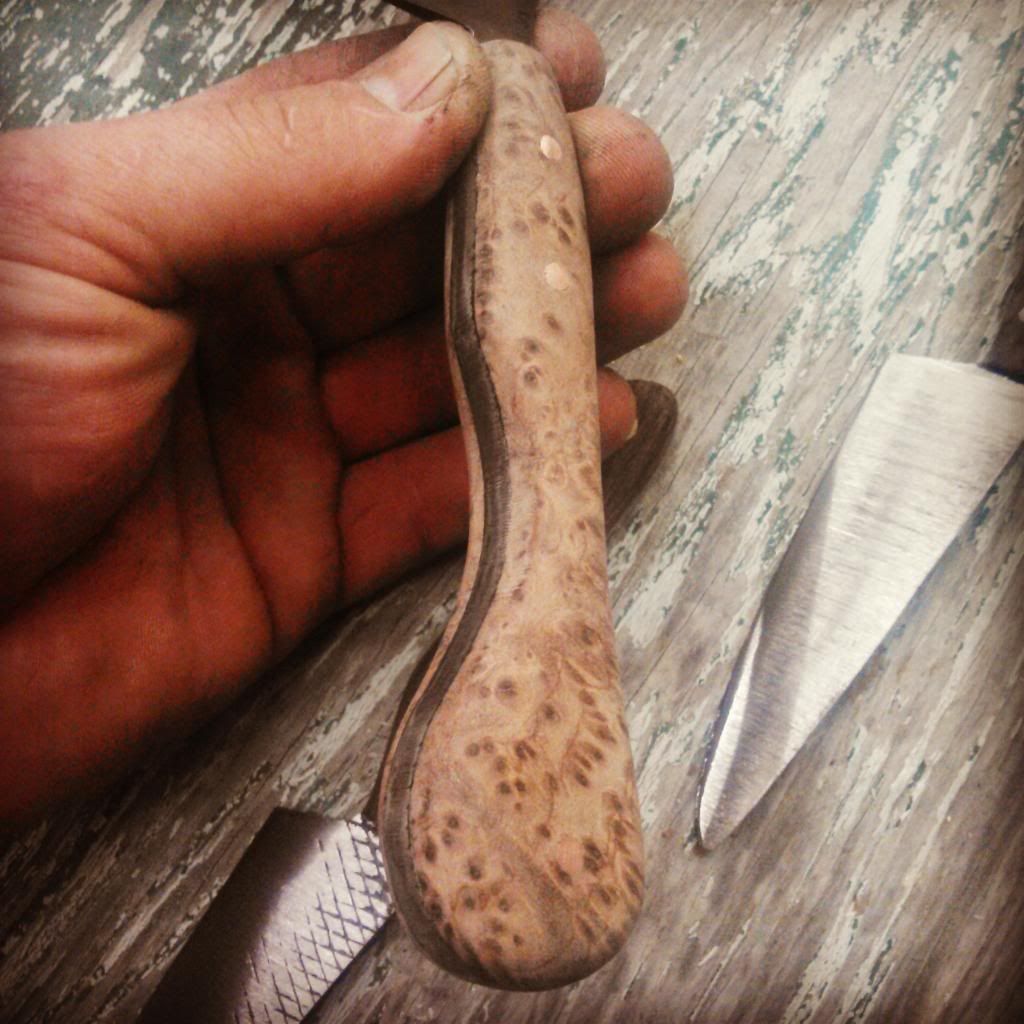
Its got a redwood burl, Padauk, and copper handle thats its really hard not to stop and look at when you walk by it...

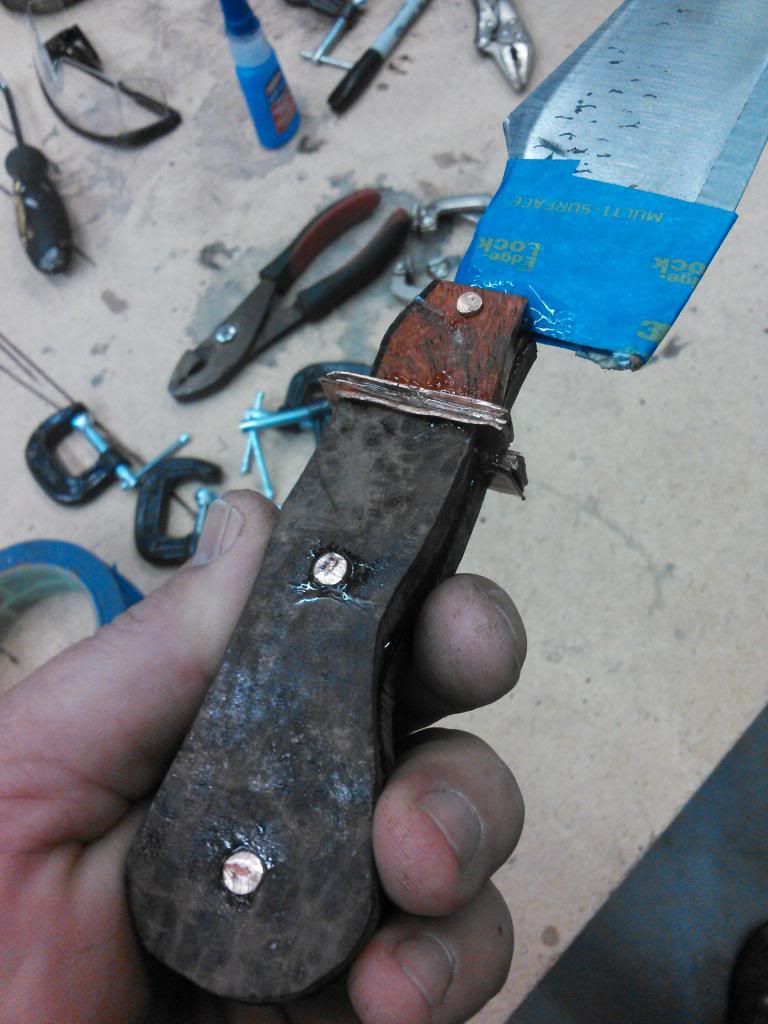
heres the nasty look...:lol: im never bored by how this can turn into the finished handles...

For the copper i used 1/64" plate and cut 5 strips for each side. The i used an epoxy for metal that cures dark grey in between the layers. I use a clear epoxy for the main handle body work but I wanted the layers to be seperated with the dark contrast and while it didnt work out perfectly it was close enough to achieve my look.
Image

cured, ground, and shaped by hand for this one... sanded up to 220grit.
Image


Ground to 400grit and the blade is somewhere around 600 at this point.

I got down-right giddy at this point...had to ask a fiend if it was ok for a grown man and blacksmith to feel giddy...he said "this is definitly an exception"

Image

Image

home and sealed...blade finished up to 2500 grit and buffed with scratchless jewelers rouge. I used teak oil on this one becasue I didnt want the finsih to get glossy and ruin the depth...plus the copper shined up so well it would distract from its awesomness.


Image

Image

Image

Image


Im really digging this cut away spine...locks your fingers in and lets you choke up right onto the blade for finer more controlled work. (who actually uses a chef knife by the handle anyawy???)
Image


So that thing made my weekend...I actually was a head of schedule this afternoon and could have started another handle but I didnt wanna push my luck. 3 for 3 this wekend is good enough.

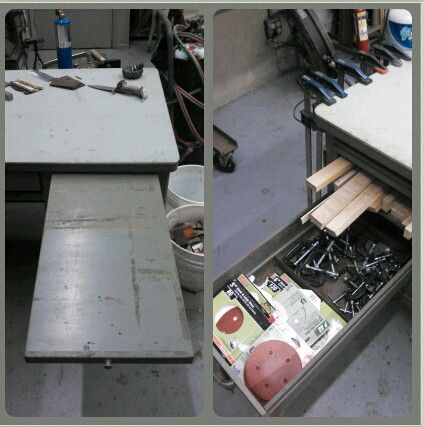
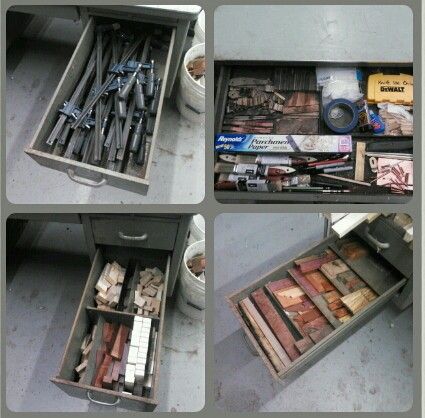
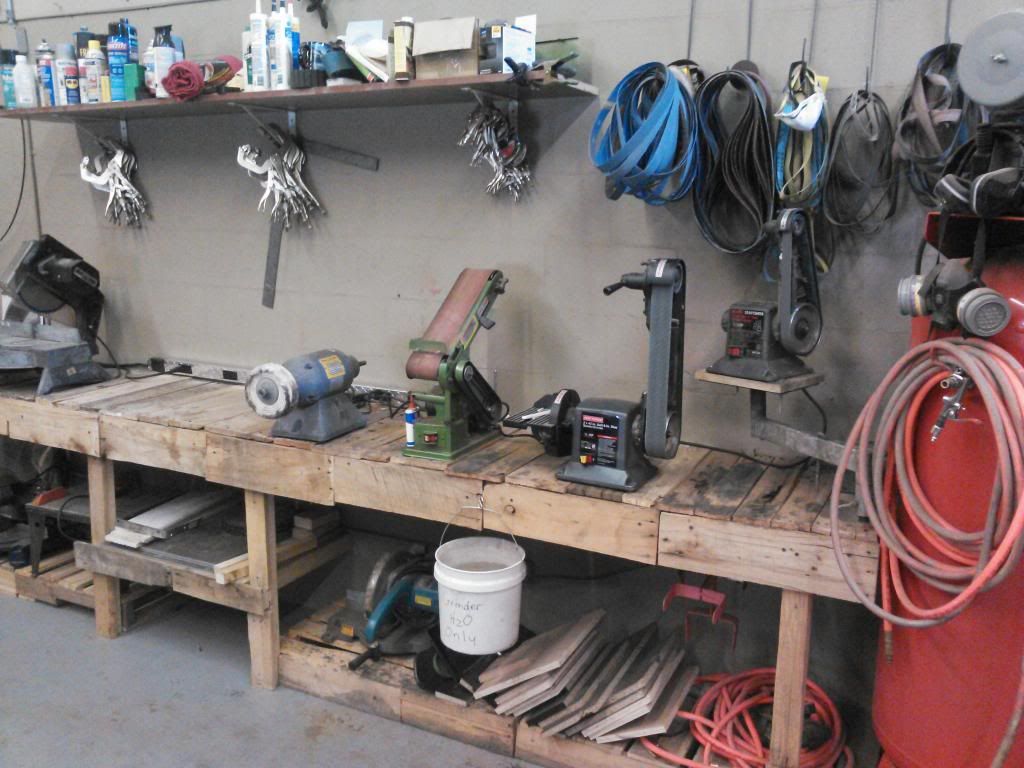
Instead i cleaned and reorganized some stuff at the shop. My wood selection has gotten slightly out of controll...and my grinders being mounted in front of the stack of expensive wood wasnt a very smart idea...I also have aquired a shitload of clamps...Theres a thread about "to many clamps" right now and I dont wanna make them feel bad so Ill just leave these pics here. :lol:

I got this old metal desk a while back for a whopping $25 and decided to make it knife supply central...Why dont they make everything like this desk!?! the drawers are like 50' deep and hold more stuff than mary poppin's bag!

So I had some fun and loaded it up. It cleared away all the loose wood and clutter fom the work bench so now I can grind without fear of enbedding my bloodwood with brass filings.

Image

Image

Image

Image


All right have a great week and I will hopfully have the santaku finished next weekend with its spalted maple handle...The 8'' slicer is on the list as well as the chop knife...There are also 6 more knives to forge and a serving board to make....any retired finish carpenters or metal workers living near lakeland and want a part time job... Im close to needing the help... :dunno:


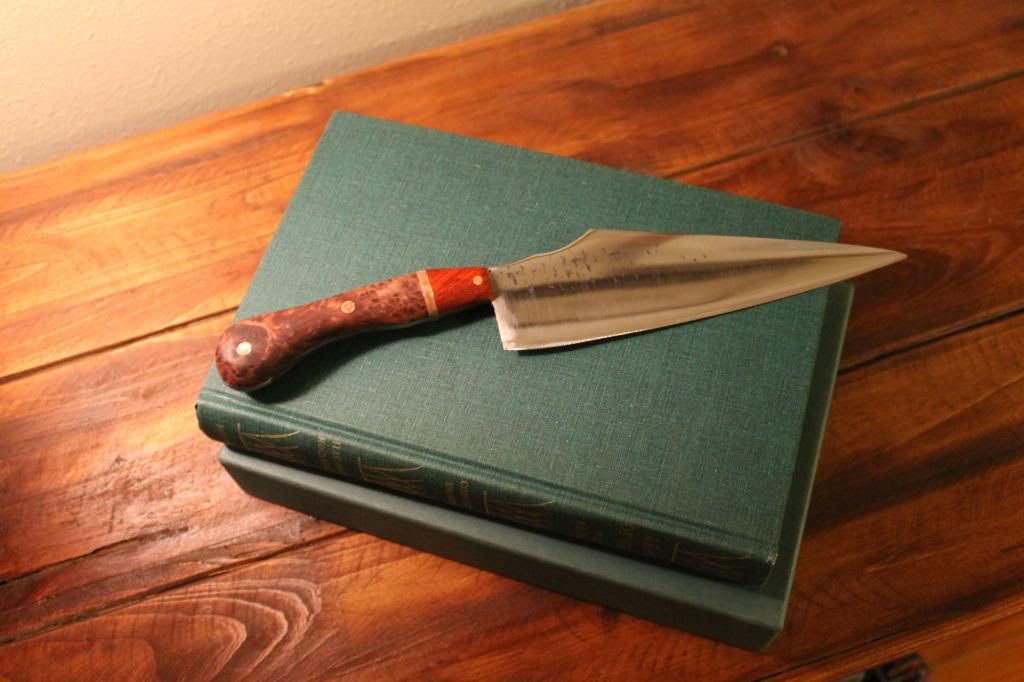
one more for the road...:drool:
Image

bigun
Posts: 1250
Joined: Sat Jun 11, 2011 8:20 pm
Location: Mountainair, NM

Re: Blacksmith forging project thread idea (pic heavy)

Post by bigun »

DMN PURTY work FYI you might want to try old knife maker I knew in the 70s used rounds cut from a hair brush alternated with leather for a knife he made for his brother to carry with him when he went to Viet Nam. Handle held up, blade had some dings in it that he said he never wanted to now how they got there!
User avatar

Topic author
Florida83FSJCherokee
Posts: 196
Joined: Sat Mar 09, 2013 7:53 pm
Location: Lakeland , Central Florida

Re: Blacksmith forging project thread idea (pic heavy)

Post by Florida83FSJCherokee »

Had my work rig go down for some repairs this week so I had some extra time in the shop. Got another three knives handled, and started forging the next batches blanks.

I also did a substantial amount of sitting in my shop chair, listening to records, and smoking cigars. I kinda needed to crank out some product the last few days, but couldnt really get motivated... oh well, I am really happy with the work that was done so thats worth something.

Heres the last of the brook pottery knives. I still need to finish the hunting knife but since its for myself im not sure when Ill get around to it.

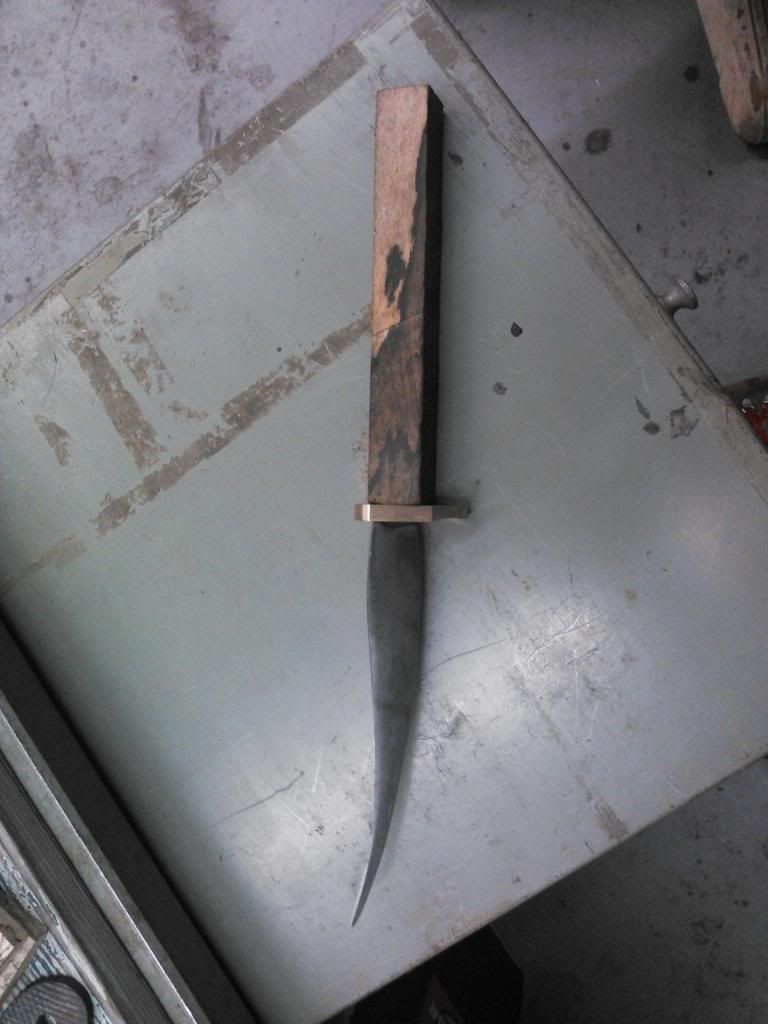
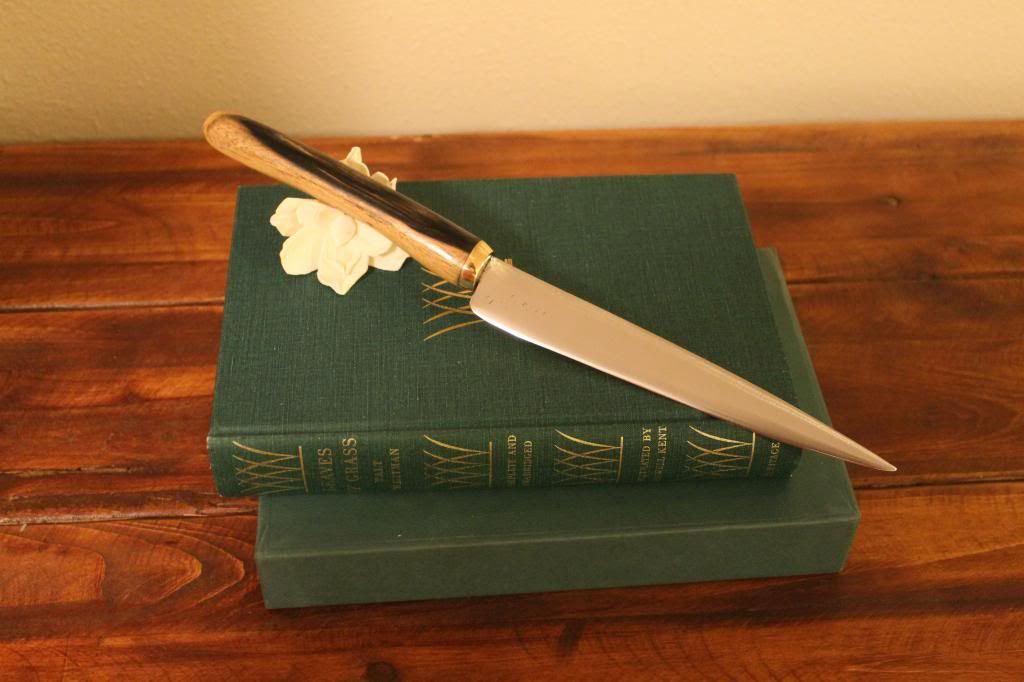
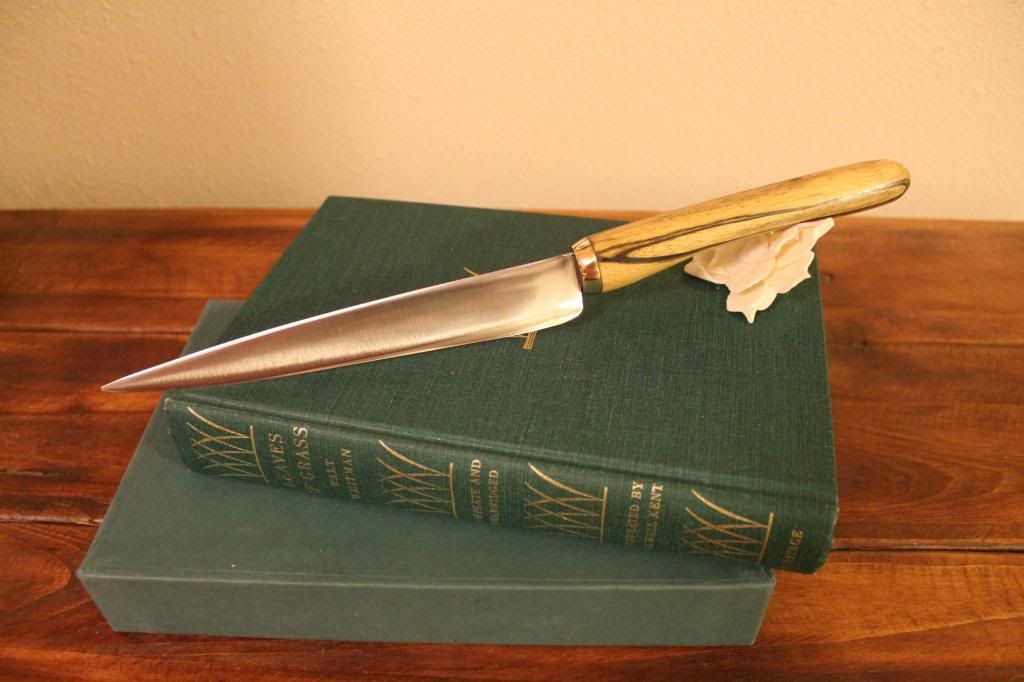
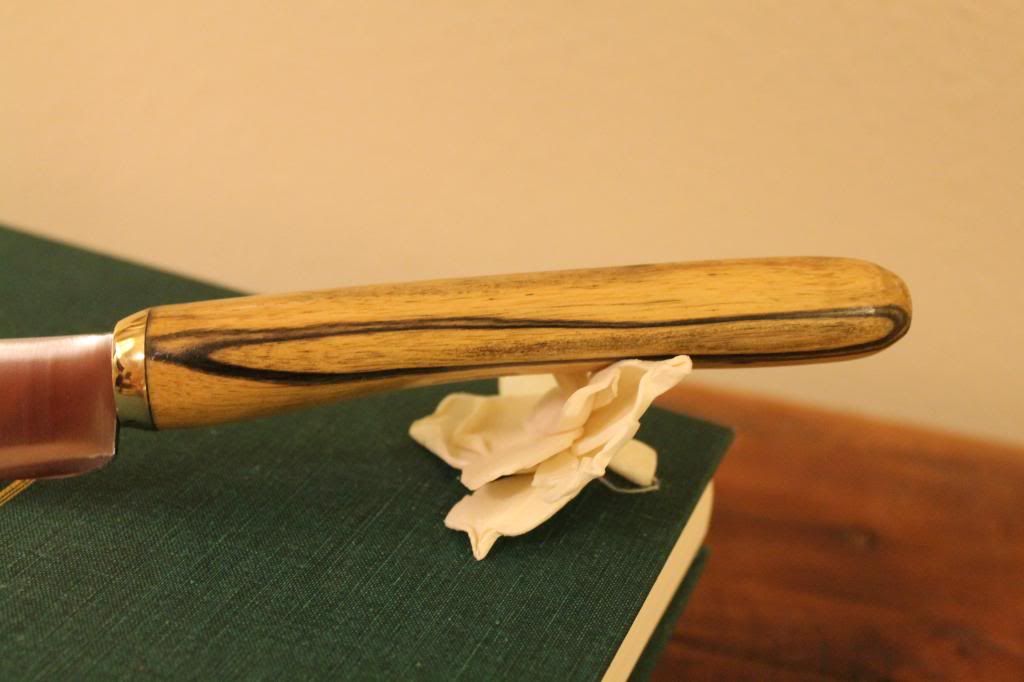
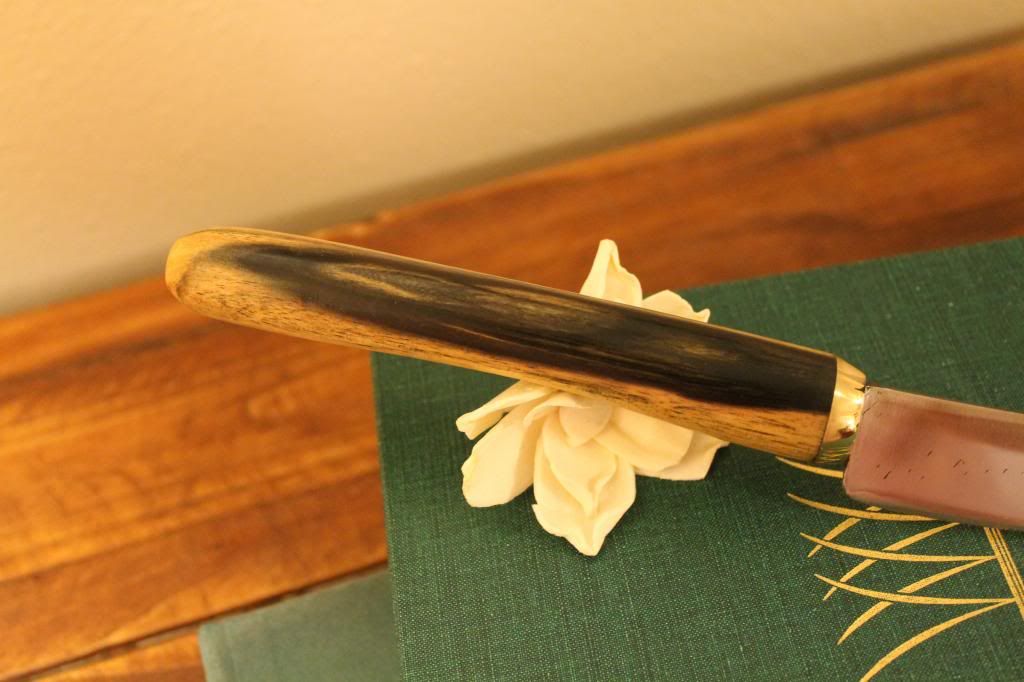
To start here is a 7" slicer with a hidden tang White/Black Ebony and brass handle. I got this wood out of the scrap bin at the wood store. The B/W Ebony is stupid expensive so a 1"x1"x12" cut for 3$ looked great to me. Plus I have another section to use later.

It was really hard to photograph this one. The handle is pitched slightly upwards from the tang insertion to alow cutting clearence so it doesnt like to sit evenly, but I think you will get the idea. Aside from reshaping the brass bolster before assembly, I just mounted the 1"x1"x6" square onto the tang and started grinding... You cant really see it but it has a very comfortable swoop under the handle and the cupping feels really good. Since it has such a neat pattern i decided to leave the end natural and not put the brass cap on it.

Image

Image

Image

Image

Fitting the bolster isn't difficult as long as you grind the tang to match very slowly...lots of checking the fit to find the moment when it just barely clears it...any further and it gets sloppy pretty fast.

Image


The second knife this week is a 7.5" Chop Knife. Im not sure what to call this one. Its a fairly usefull multipurpse chopping knife. Truthfully this shape isn't my favorite but they sell before I can finish them, and its one of the most liked items on the etsy store...sometimes its about what the customer wants and not what you want...

I used a really vibrant piece of Redheart Wood that I had, and jazzed it up with a Yellow heartwood and Rose wood accent stripe. I used the dark epoxy in the accent section again for contrast and Im really liking the effect.

It came out pretty good. I left some forge marks and scales on it to give it some character (i always over work the projects Im not happy with)

Image

Image


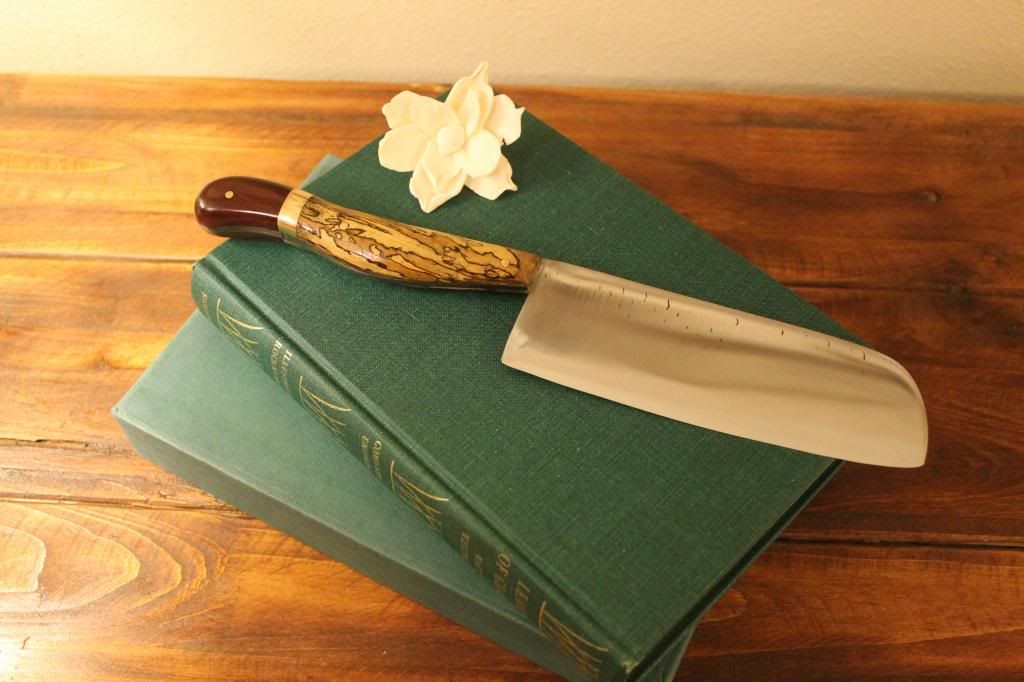
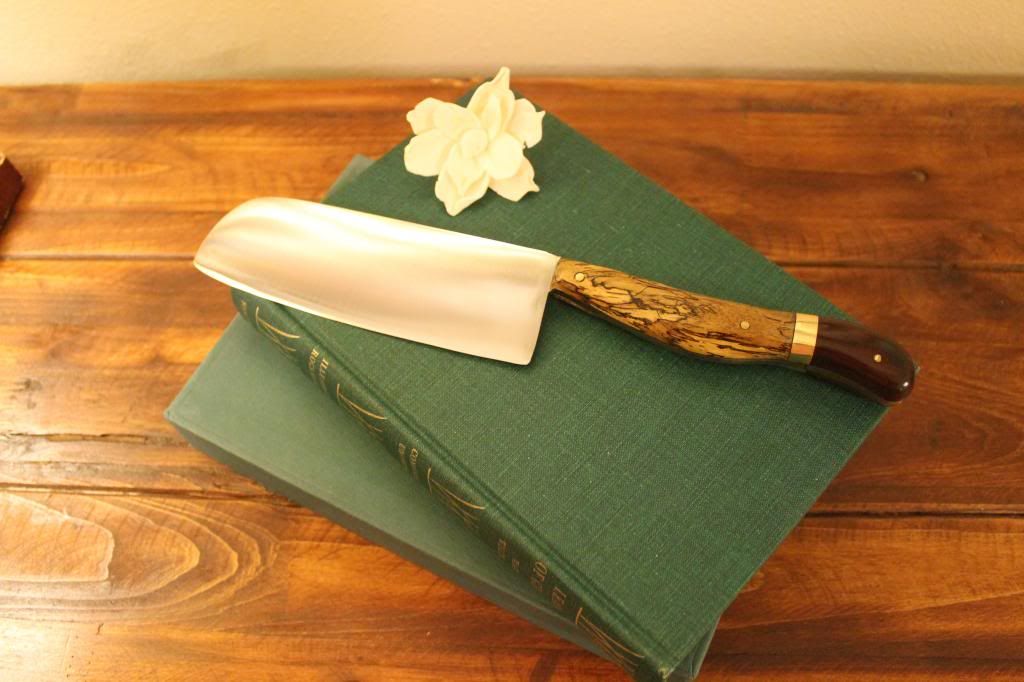
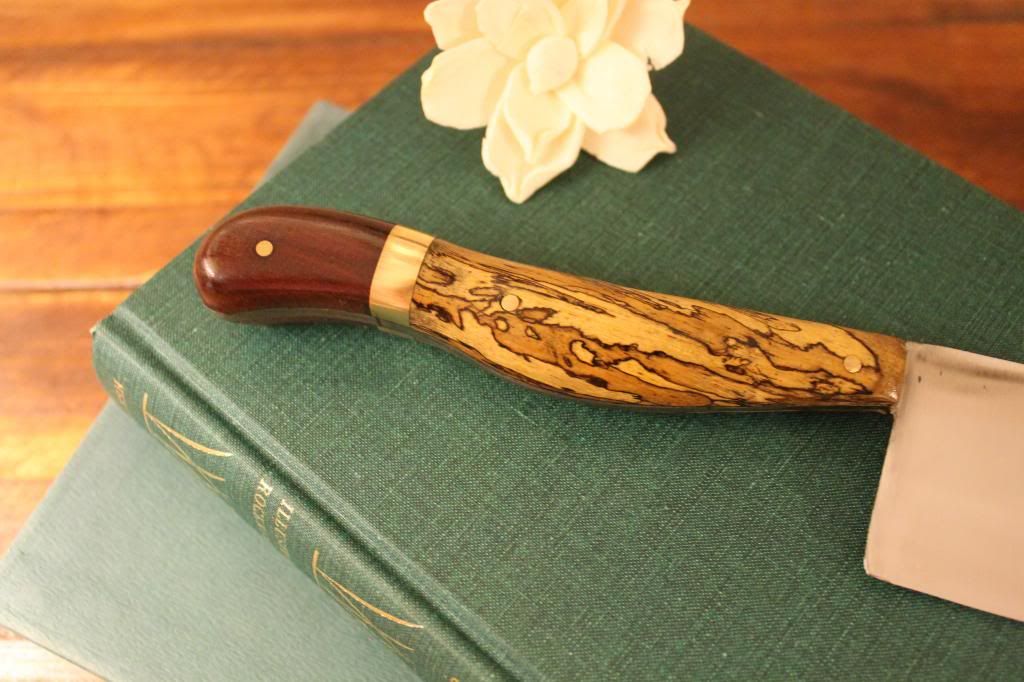
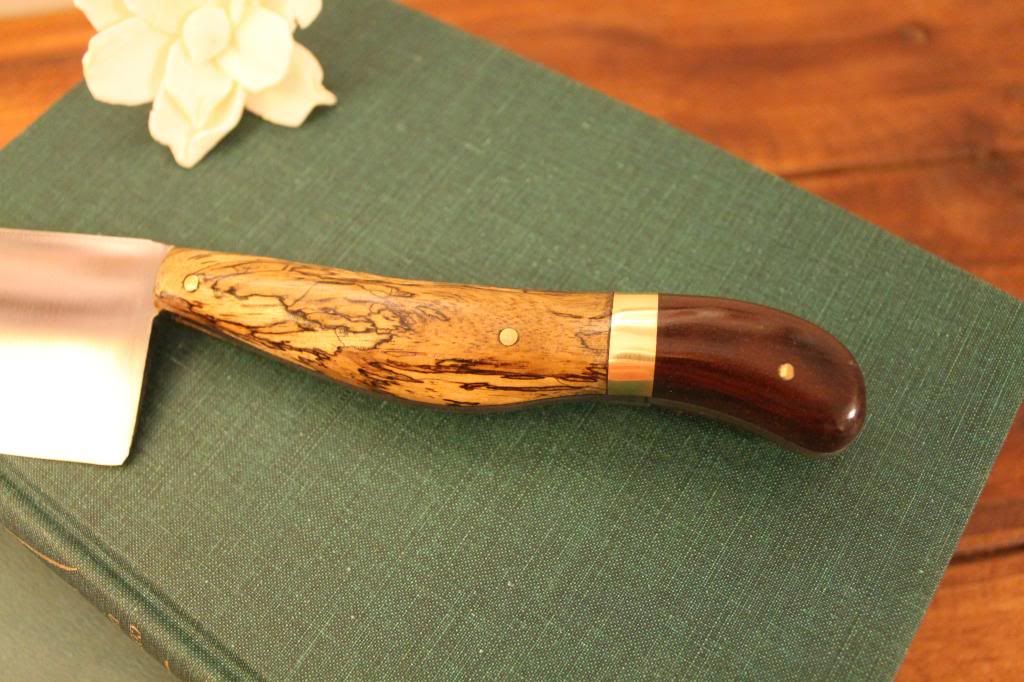
The last knife this week is a 6" Santoku with a Spalted Maple , Brass, and Bloodwood handle.

I played with the placement of the different sections a lot before finally deciding on this. Had to ask a friends advice a few times...He naturally chose the most complicated arrangemet, but it turned out ok in the end... Definitly one of the nicest knives ive finished so far.

Image

Image

Image

Image


Im planning a detailed post on the specific "blank Forging" process...I have learned some very important and necessary steps that i think will benefit those who are forging or will attempt to forge a knife... I might be able to get it done this weekend but it will just depend on way things flow at the shop.

Untill then heres a couple pics of the blanks as they are finished currently...the new system yields an even and flat product that makes the rest of the process simpler in every aspect...you know what "Fezzik" says..."back to the beginning"

Image

Image

Image


A brief moment of philosophy:

I have a really hard time letting something go if its not perfect. I think it's a great strength, but it also means I will, as Ray would say... "push things to failure".

My wife obviously gets a good look at every finished piece and somehow never comments on what Im sure she will find. She has a very keen eye, and will not baby my work... She had to remind me that these are created from a recycled piece of metal...literally forged into something else... No handicaps or pre-fabed pieces... just a vison brought to reality, so a few bumps are expected...

Ive been pondering this today...trying to find a peace with it, and accept that I will probably never create the perfect knife. The imperfections are its perfection. They let the owner know they are apart of something real and tangible, created for them! and not for a demographic.

So in a day and time when simulated hobbys are more prevelant than the actual act of doing them; Im proud to be apart of a group that is focused on the real and the tangible. Producing their ideas and pushing others to try for themsleves...

have a great weekend

JP

FSJ Guy
Posts: 1763
Joined: Fri Mar 15, 2013 3:03 pm

Re: Blacksmith forging project thread idea (pic heavy)

Post by FSJ Guy »

Nice work!!!
Ethan Brady

http://www.bigscaryjeep.com

Jeepless, but I still have a lots of old parts in my garage!
User avatar

Topic author
Florida83FSJCherokee
Posts: 196
Joined: Sat Mar 09, 2013 7:53 pm
Location: Lakeland , Central Florida

Re: Blacksmith forging project thread idea (pic heavy)

Post by Florida83FSJCherokee »

So for all you guys that just scan the pictures this is going to be the most unsatisfying post to date...
but heres one before you click back to the index
Image


Lets talk about molecular alignment...:rocker:

On the most basic level that what this post is about... another one of those "forrest through the trees" moments.
This whole blade building process is a series of steps that compound on top of each other. A mistake in the first step will haunt you through the rest of the build. That being said, it seemed a good place to begin to refine my process...

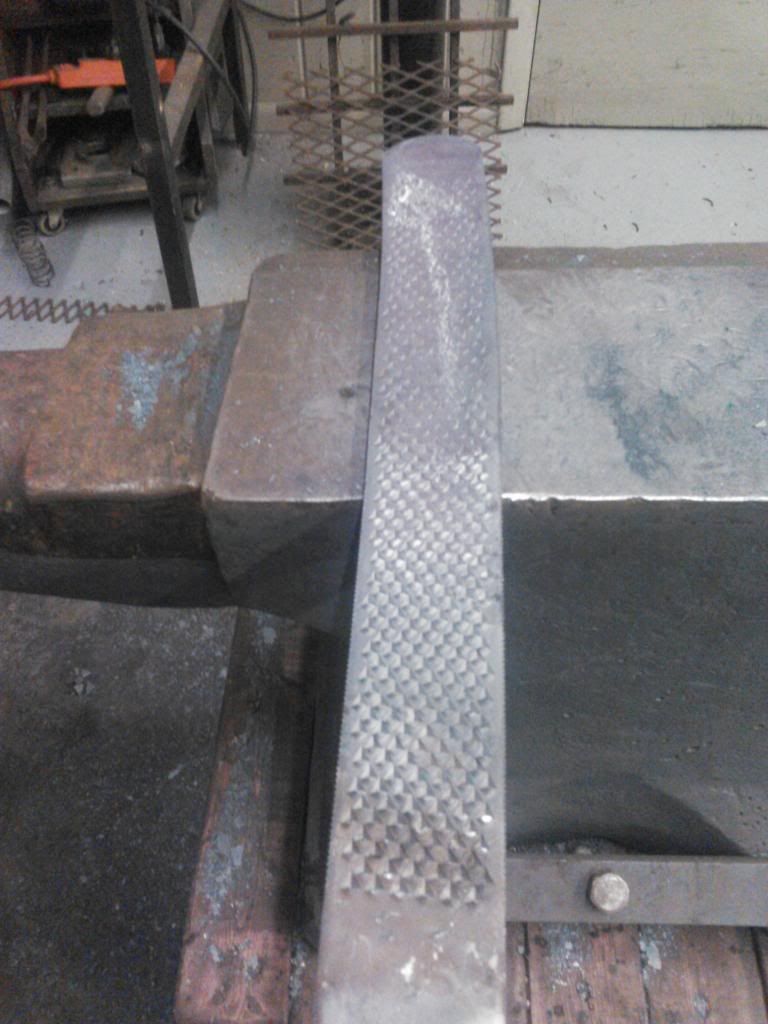
Forging the rasp into the "blanks" that I cut the knives from has always been a step in the process where I just focused on getting the deminsions of the steel correct...For example, if im trying to hit an even 3MM thickness on a flat forged pairing knife blank or if Im trying to taper 5MM down to 1MM across the whole blade width.

I was missing a very important part... Only as I have come to understand the het treating process more fully did I realize my error.

If you remember back in the middle of the last knife batch I posted a section on "fixing the warp"...and how I needed to normalize the blades before hardening to relieve the stresses that were causing the warp to happen in the first place. Well, Im correct that this normalization will aide in limiting the warp issue but I didnt connect the dots at that point.

Warpping happens because the molecules arnt aligned or evenly spaced throughout the blade... This could be uneven thickness in your grinding, uneven heat transfer, or an internal un-alignment of the molecules.

Its always what you cant see that kicks your ass. When forging the blanks I wasnt looking at internal molecular alignment. I was looking for deminsional correctness...and quite frankly just to finish that step and get onto the next.

So when you forge the blank you have to keep everything in line with its self. If you forge heavy on one side or cause a bend in the blank it wont matter if you achieve your thickness or if your pattern still fits inside the forged area. Just because you cut your blade out neatly doesnt mean the curve you created internally isnt there...waiting for you to harden the blade and pull and uneven force against that perfect grind you just worked so hard on...

In the photos I will try to show you what is happening and why its happening, but also show you how the corrected method worked out.


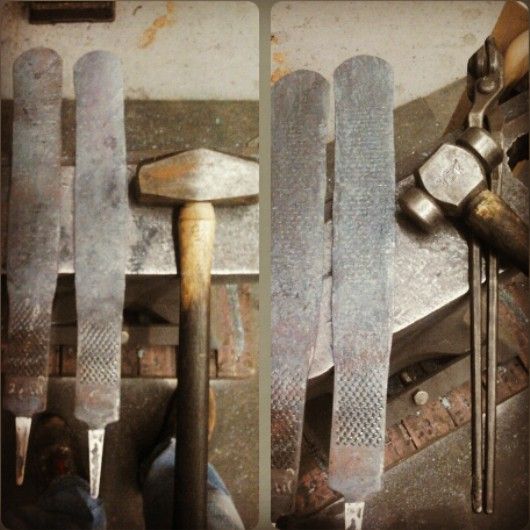
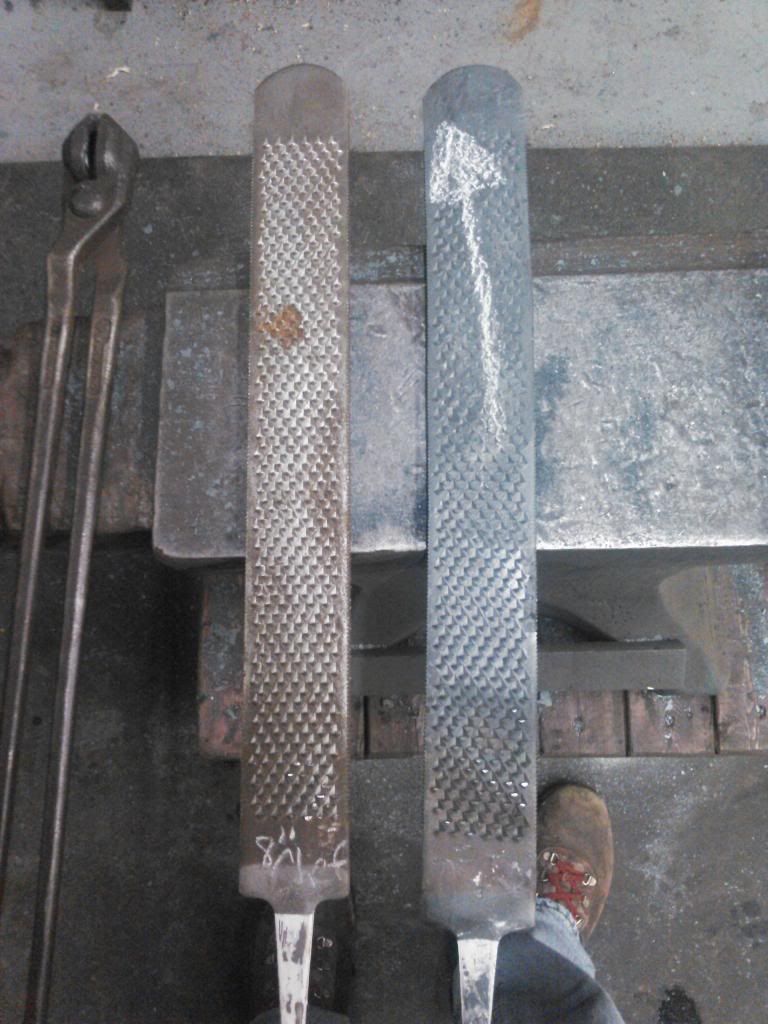
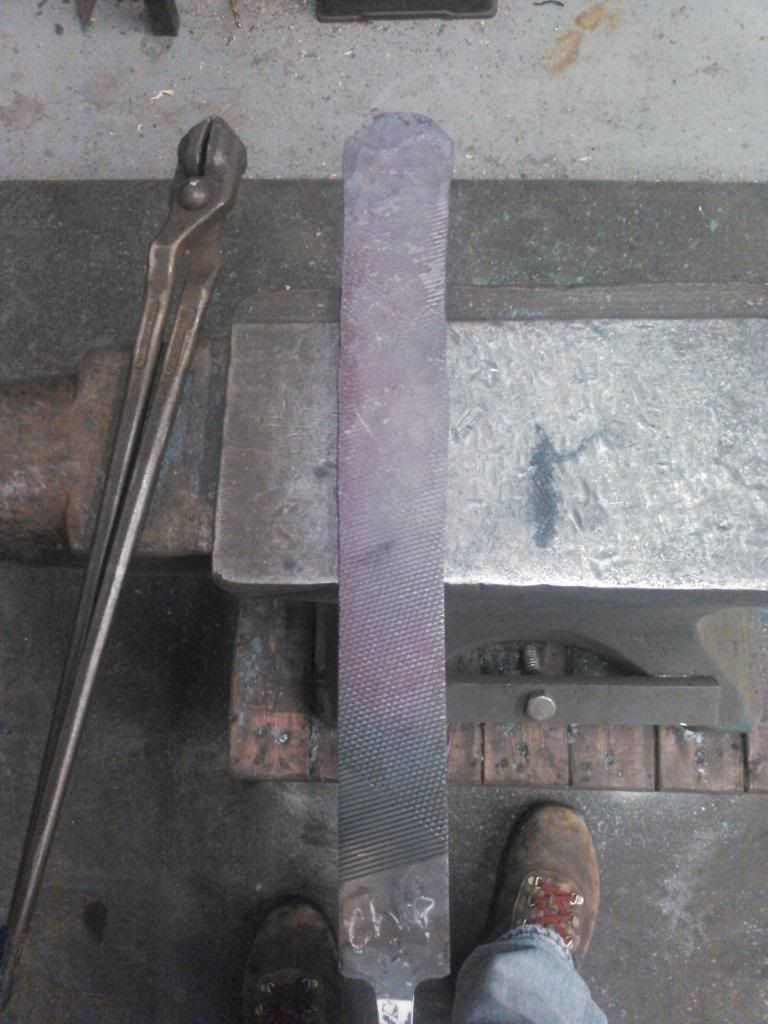
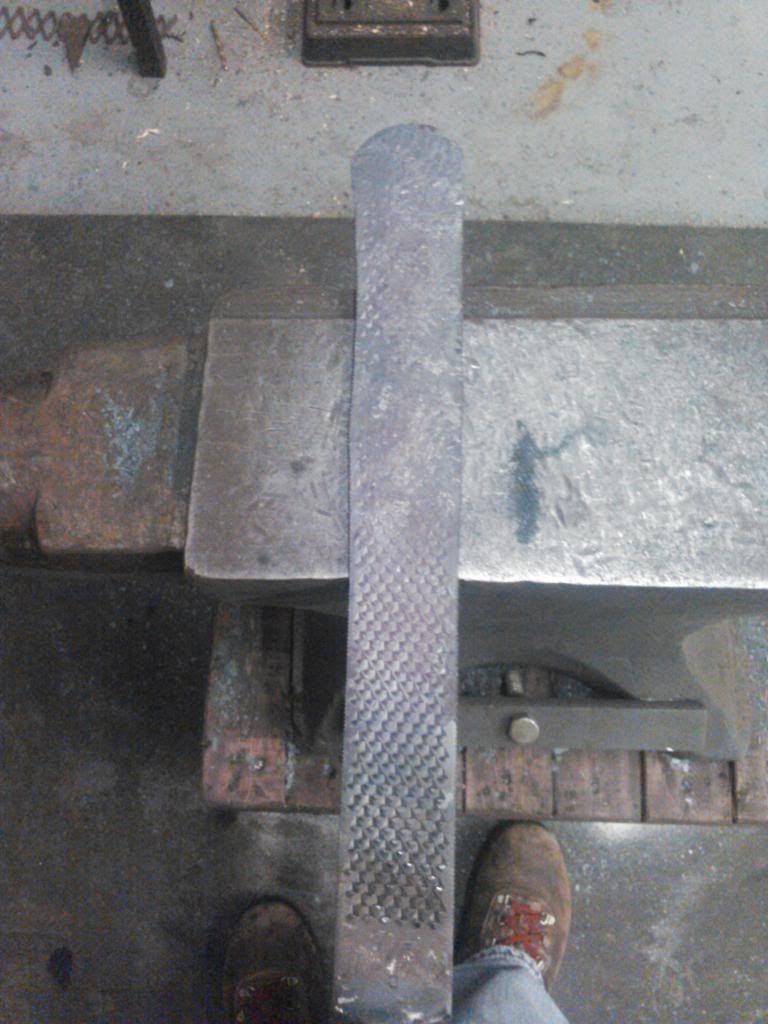
In these examples I forged two rasp into knife blanks...

One I forged with a complete mirrored technique. Meaning if I hit it 10 times down the center on one side the next heat I hit it 10 times down the center on the other side...no matter what I did to one side I repeated that process on the other before starting to work anywhere else.

The other I forged in a deminsion only approach for the first half of the process. This technique was heavy on one side with no flipping to the other side. After the molecules were completly out of line this rasp was forged back into straightness to finish the process...

(For reference when I say "A Heat" im refering to one cycle in the forge and on the anvil, if i need to heat something 3 times in order to accomplish my goal than its a "3 heat process" etc...)


ok here we go -


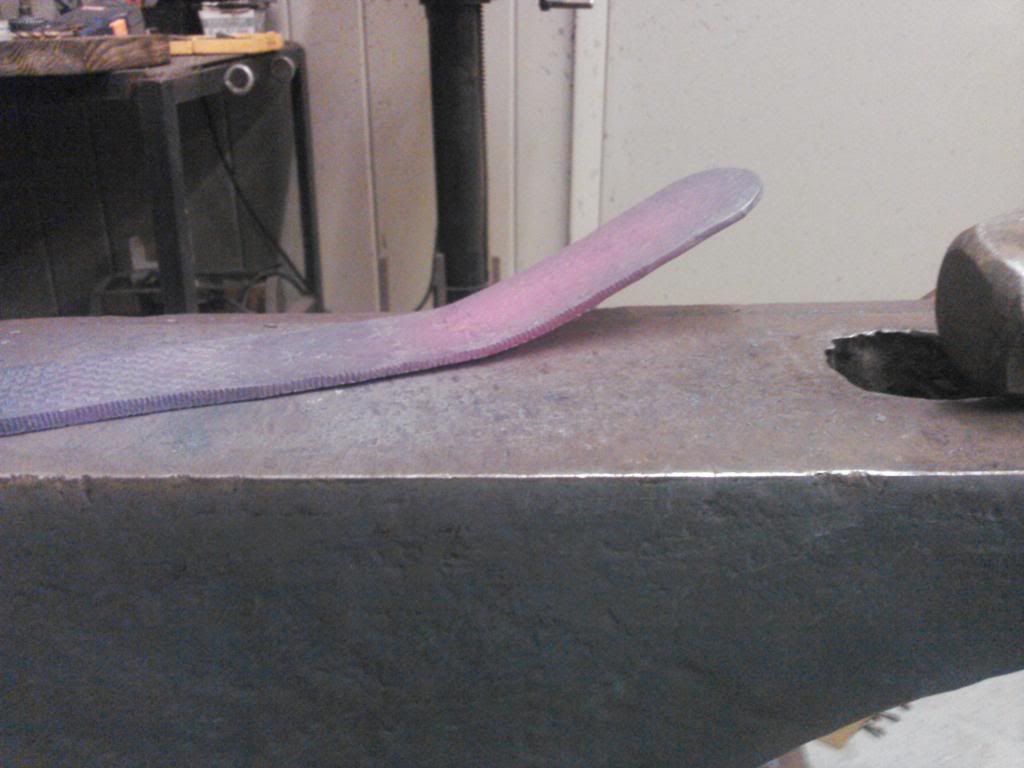
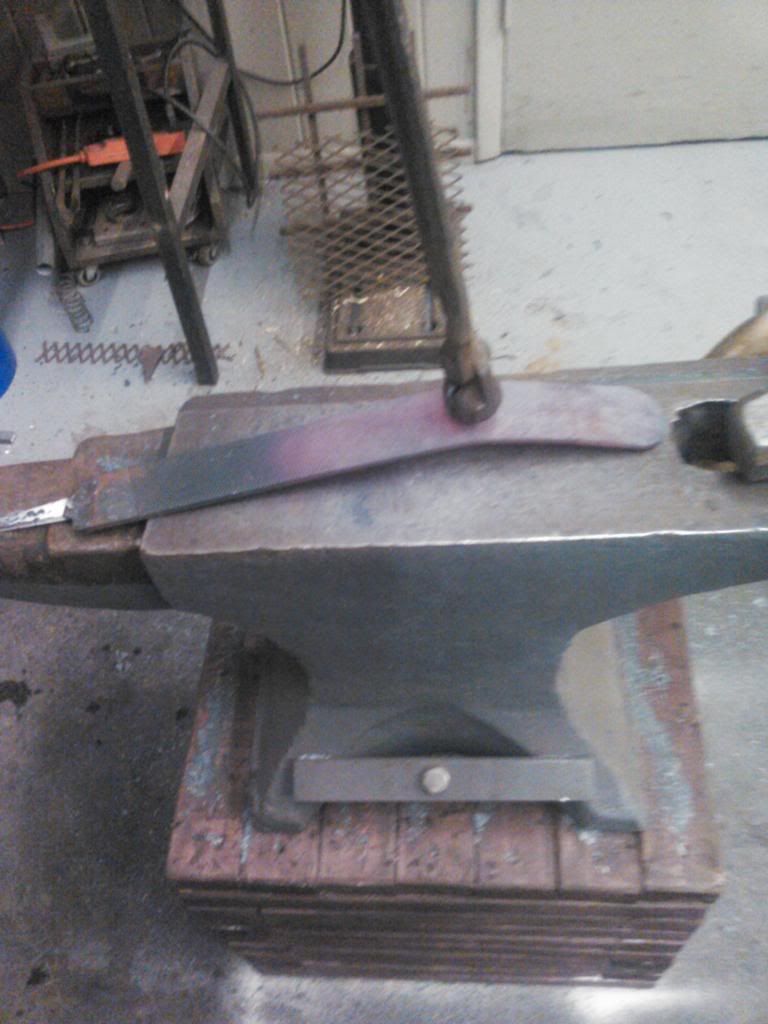
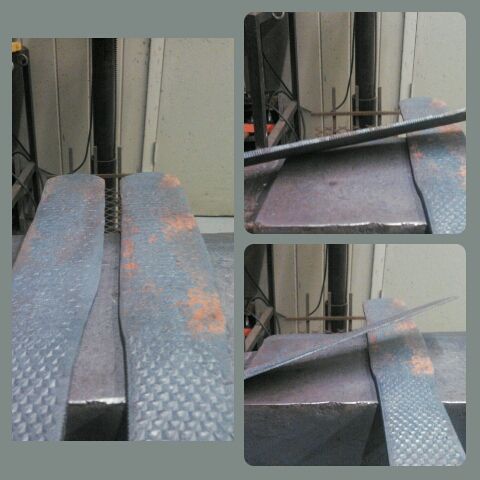
This photo shows the rasp that was forged only on the course side against an unforged straight rasp... After 3 heats down the center the blank is starting to turn towards the left...

Image

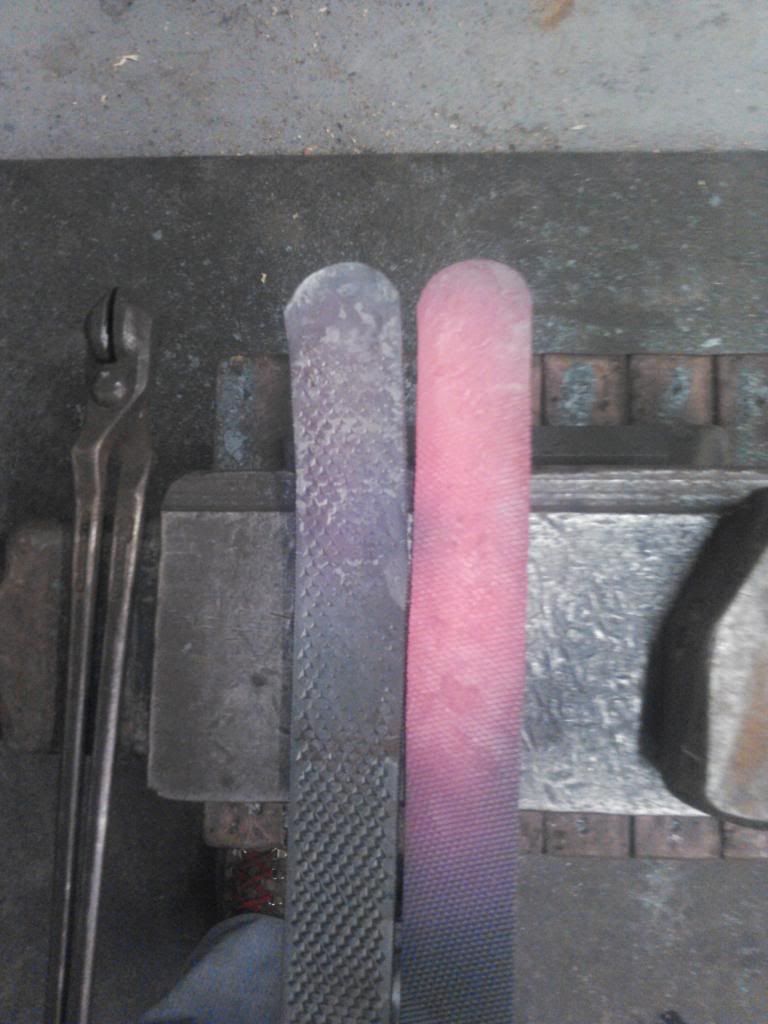
After a few more heats - single sided center forging only. The curve is getting pretty bad.
Image

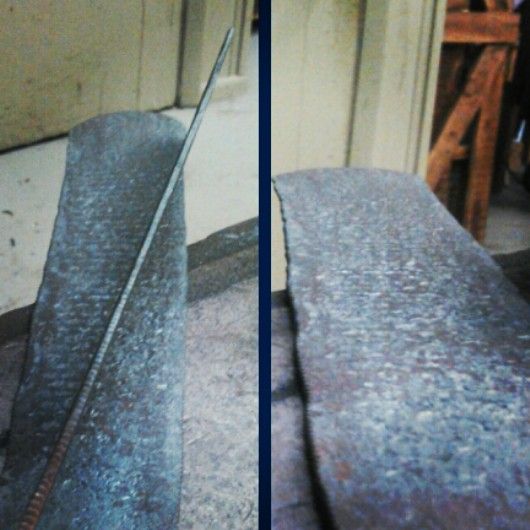
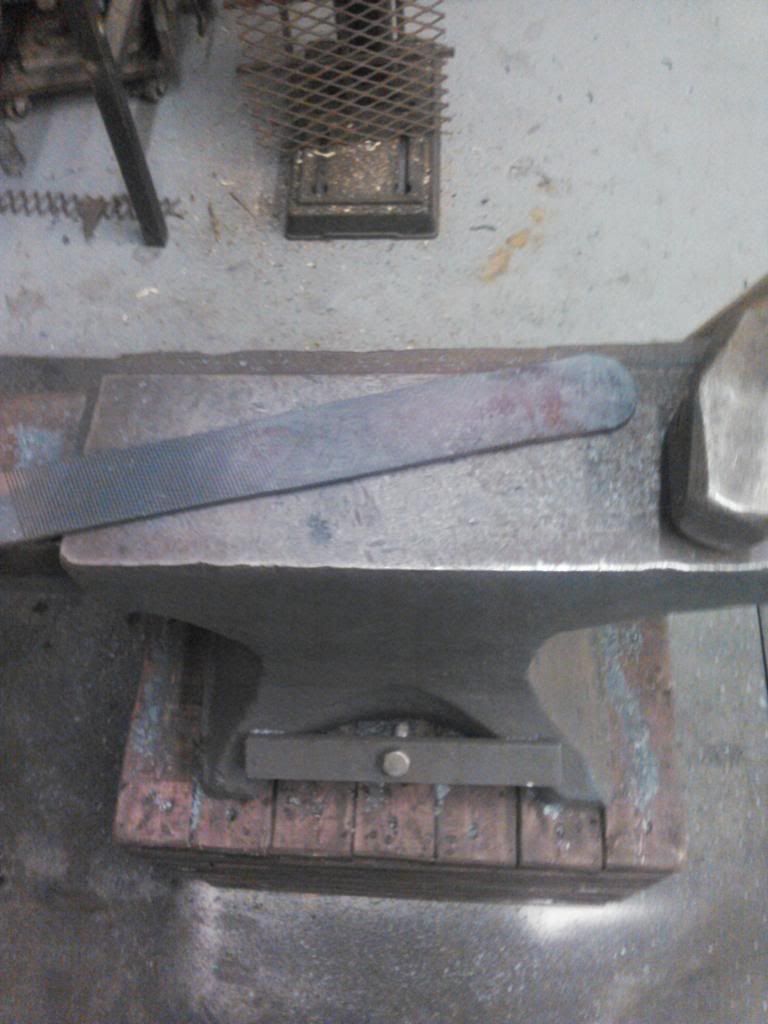
Here we have both the blanks together. The mirror forged blank is on the right and the single sided blank is on the left. Notice how the right hand blank is even and straight compared to its countor part...
Image

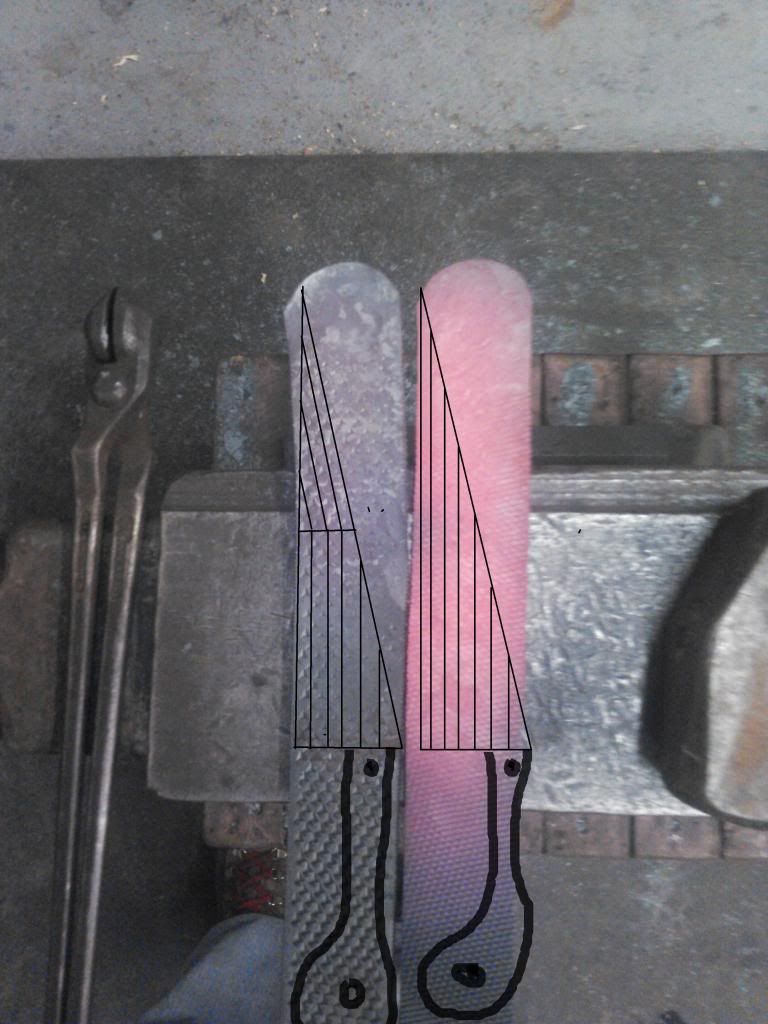
I apologize for the bad paint shop work but I think this will clarify the alignment issue...

In the photo I have drawn (badly) two identical knife blades that could be cut out of the blanks. On each blade there are lines running from the back to the tip. These lines will follow the molecular alignment with in the steel.

On the right side the blank is straight and in turn the molecules are straight so the lines follow evenly from top to bottom.

On the left the blank begins to curve in the area of the horizontal line . Notice that the vertical lines are even up untill the horizontal, and then turn off center to follow the direction of the molecules...

Image


If you were to cut these two knives out you would have enough material but the one on the left has that internal miss alignment right through the tip of the blade... Because the two sets/areas of molecules are in different directions, when the are hardend (condensed or constricted) they move in different directions. This causes the uneven pull that becomes warp...

The blade on the right will have a much cleaner hardening because its flowing in the same direction.


Ok, so lets fix the curved issue since its bound to happen and we need to know how to correct our mistakes.


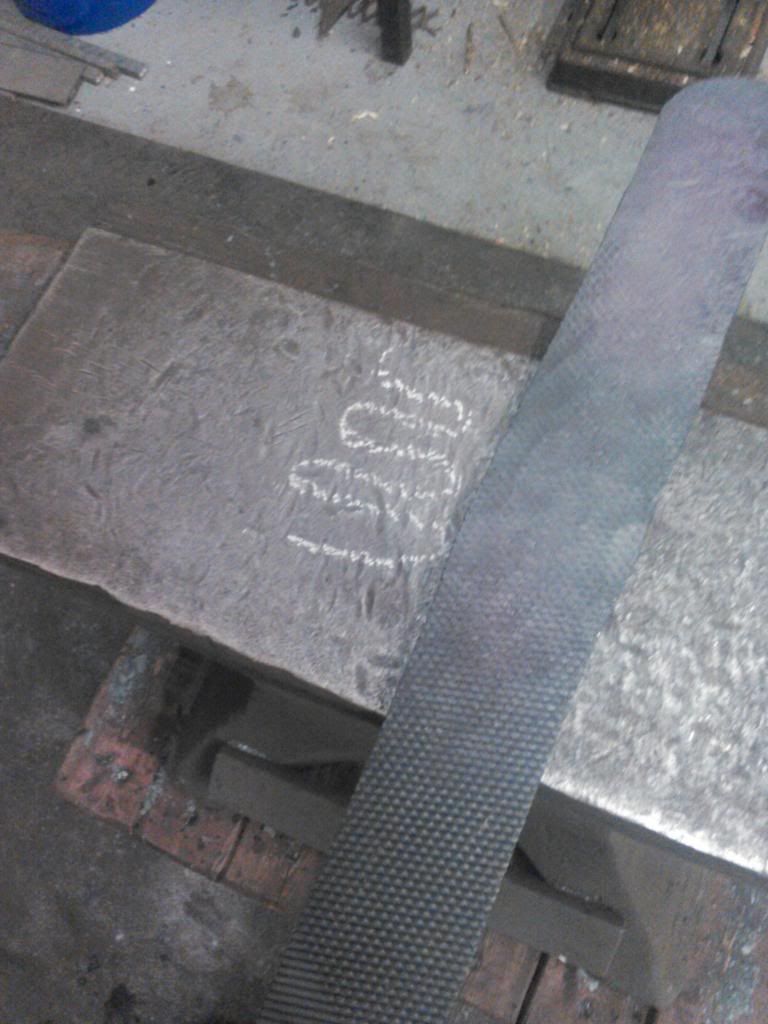
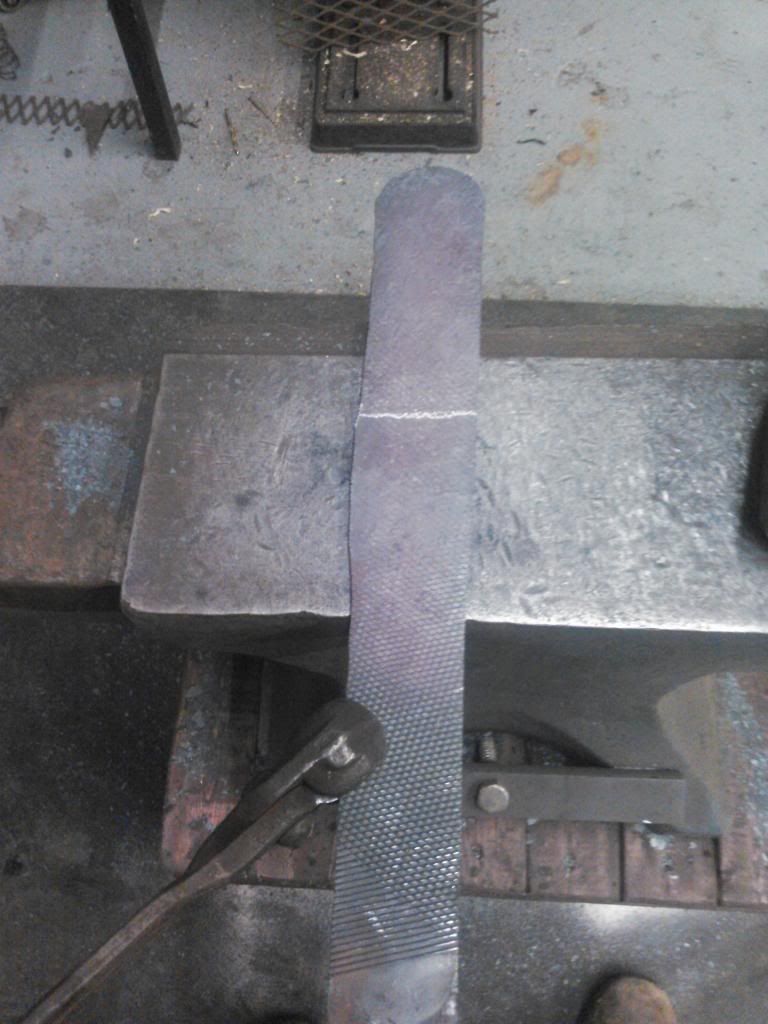
If you notice I have flipped the blank over to the fine side of the rasp. Since I only forged on the course side it makes since that if "every action has an equal and opposite reaction" then if I repeat what I did to the course side it will move everything back into center...

the lines show the direction it needs to move to re-align itself
Image

After 3 heats forging down the center
Image

after 6 heats forging down the center.... much better
Image


I am willing to bet that I will have issues with this blade even though I put it back into some mannor of alignment because of how far out it got but we will have to wait and see.

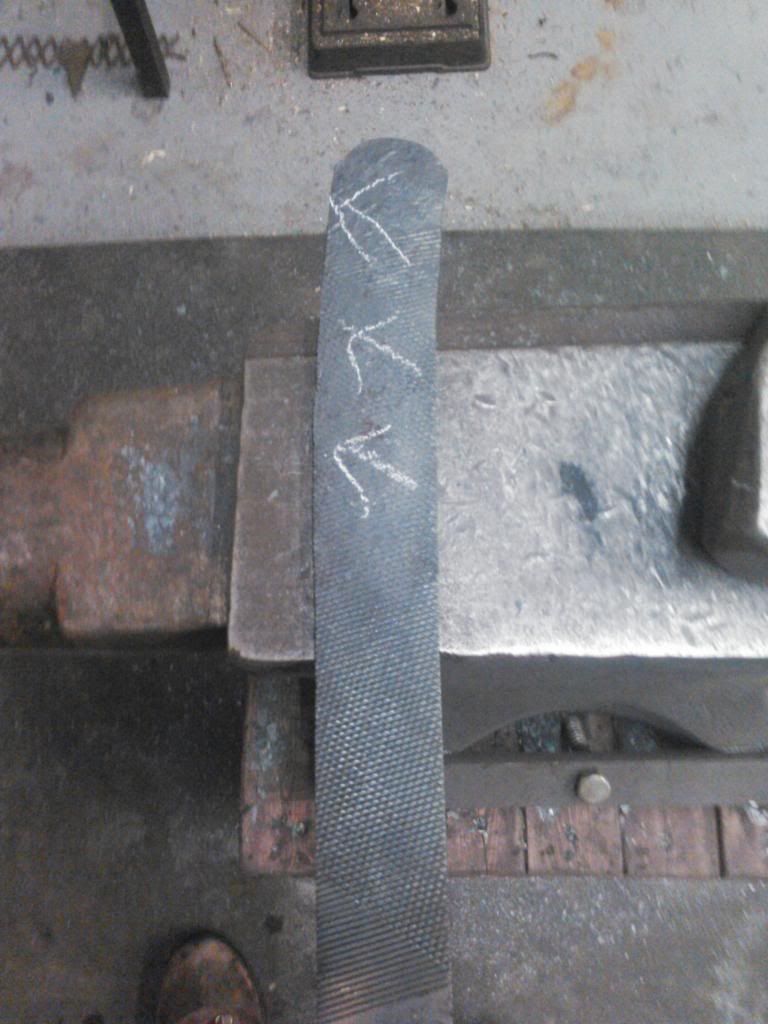
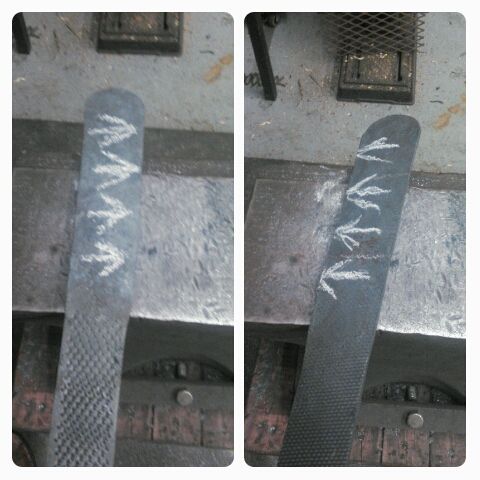
The next part isnt difficult but you need to pay attention so you can perform it evenly on both sides...remember the blanks molecules are aligned in both the vertical and horizontal planes so you can jack them up just as bad in this direction as well...

The markings show the way I work back and forth across the file. flattening it as evenly as possible.
Image

after a few heats, and notice that at the point of the horizontal mark the blank is starting to get out of alignment again...but in the other plane this time.
Image

This is much easier to adjust than the first issue, and the flattening process at the end of your forging process should realign most of this for you.

Image

Image

Image
User avatar

Topic author
Florida83FSJCherokee
Posts: 196
Joined: Sat Mar 09, 2013 7:53 pm
Location: Lakeland , Central Florida

Re: Blacksmith forging project thread idea (pic heavy)

Post by Florida83FSJCherokee »

To forge in the taper its important to give yourself a marker so you remember which side you are making the cutting edge.. Its seem like a "DuH" but you try it with out one and see how many mistaken blows you make.

Remeber! pay attention...your marks are in opposition on each side in order to face the same edge...
The forging here is a series of overlapping blows walking down the blank from the tickest to the thinest point...You might need 3 heats to do an entire side but its my recommendation that you swich sides each heat...again, keeping the molecules from getting over forged on one side...

Image

heres an example of a blank with the taper forged into it. The blades shape can be whatever you like but the thickness and taper will be even because you forged it that way...
Image

and this one is a flat 3 MM for cutting out the smaller pairing and finishing knives
Image


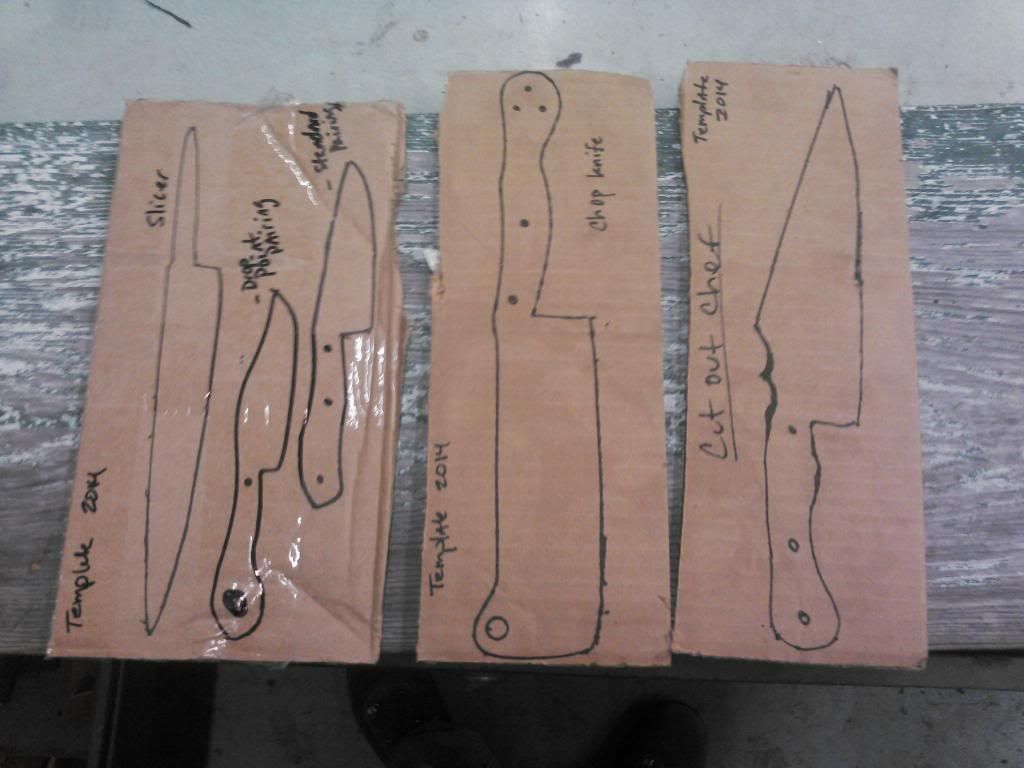
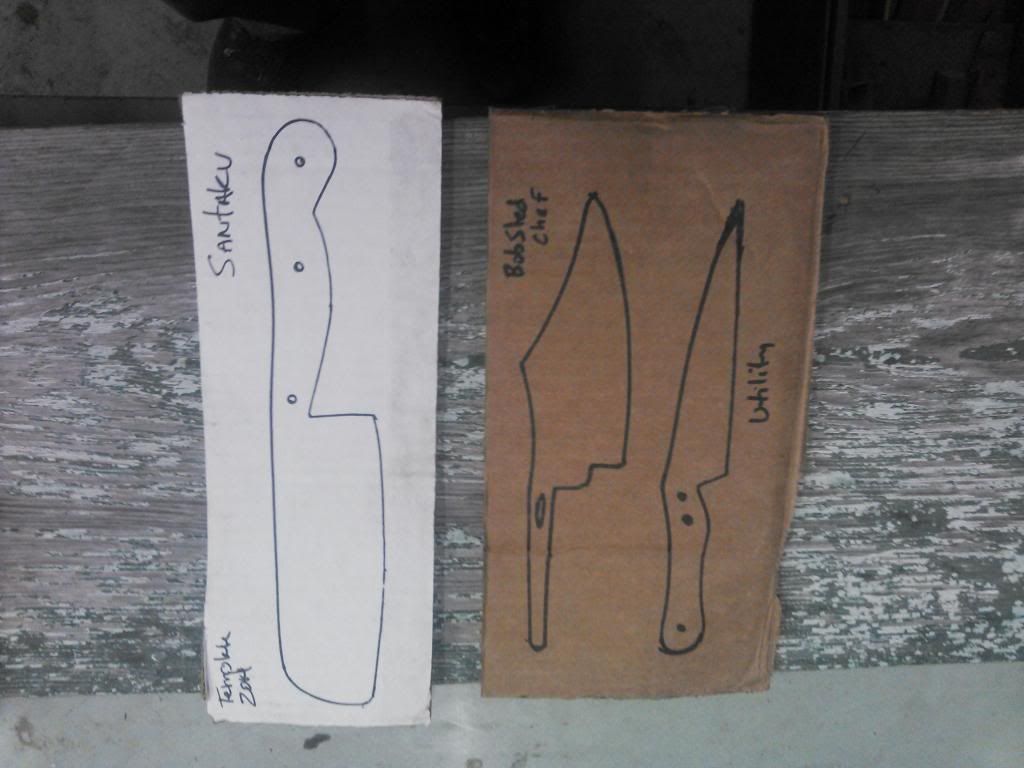
Ive been selling the same basic shapes and handles and customizing the handle materials for each client. Since people kinda expect their knives to look like the photos they are ordering from I made a set of templates. When I make a knife i really like I a add it to the group so I can repeat it if necessary.

To scale
Image

Image


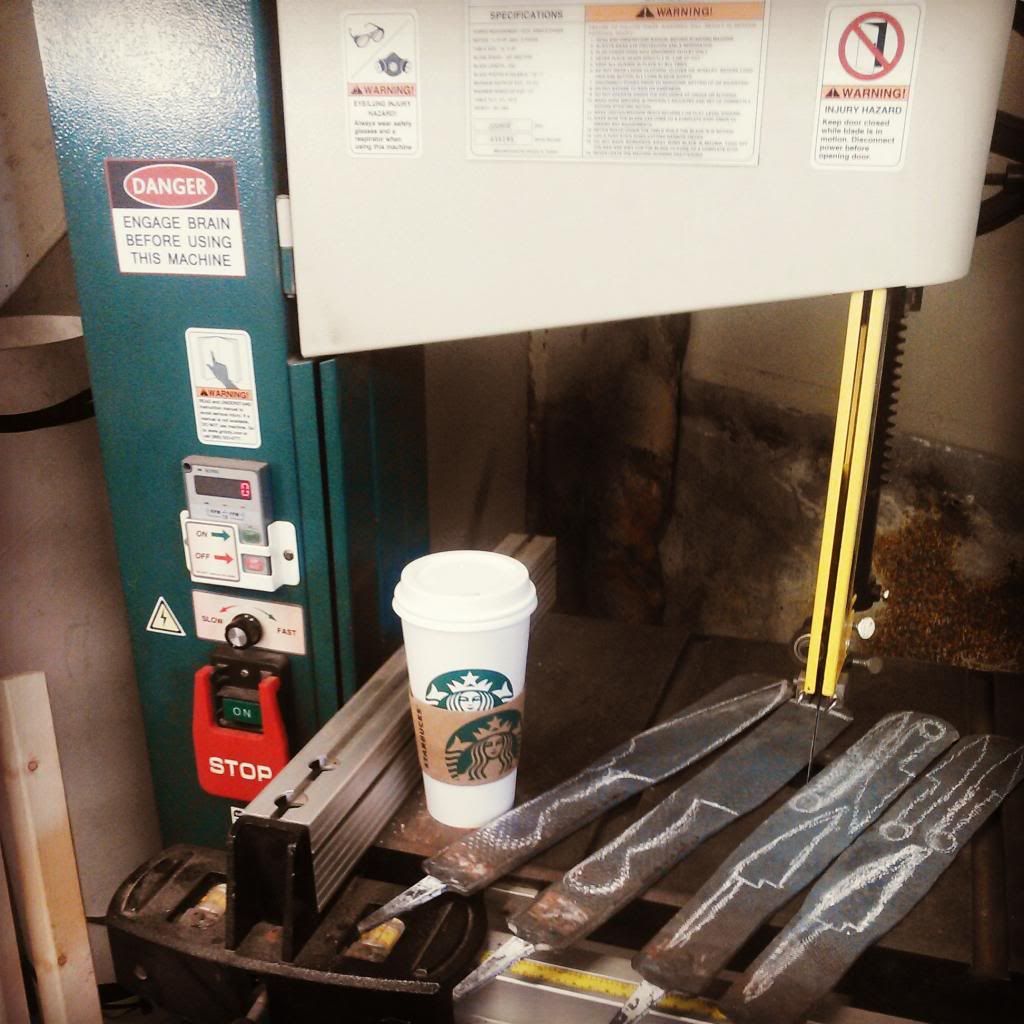
From here its the same as before...get some coffee, a stool, and a cigar and belly up to the band saw... (best sticker ever!)
Image

Image


So I barely finished the last batch and this is what i got done this weekend...along with some other stuff, but reguardless...here we go again. There is still another chef and Santoku to forge but these and those two will get me caught up for the moment. I just need to put my head down and get another soild push to get them done and out the door...

Image

as a side note:

I tried to find something cool within the olympics to inspire a project at the shop...:D I was facinated by the skeleton and bob sled events...so I made little 5" chef Utility that I have named "The Bob Sled" :) Im keeping this one for myself...

Image


Well, thats about it for this one. I hope it wasnt to confusing. If anyone has questions ask because your rarely the only one thinking what your thinking and everybody benefits.

I gotta buckle down and shoe a bunch of horses this week. So with some night shifts at the shop in my future Im gonna be one wore out SOB by saturday night... But thats truthfully my favorite feeling..

Thanks and have a great week!

JP
User avatar

Topic author
Florida83FSJCherokee
Posts: 196
Joined: Sat Mar 09, 2013 7:53 pm
Location: Lakeland , Central Florida

Re: Blacksmith forging project thread idea (pic heavy)

Post by Florida83FSJCherokee »

Just wanted to show you guys a cool pick my wife sent me today....

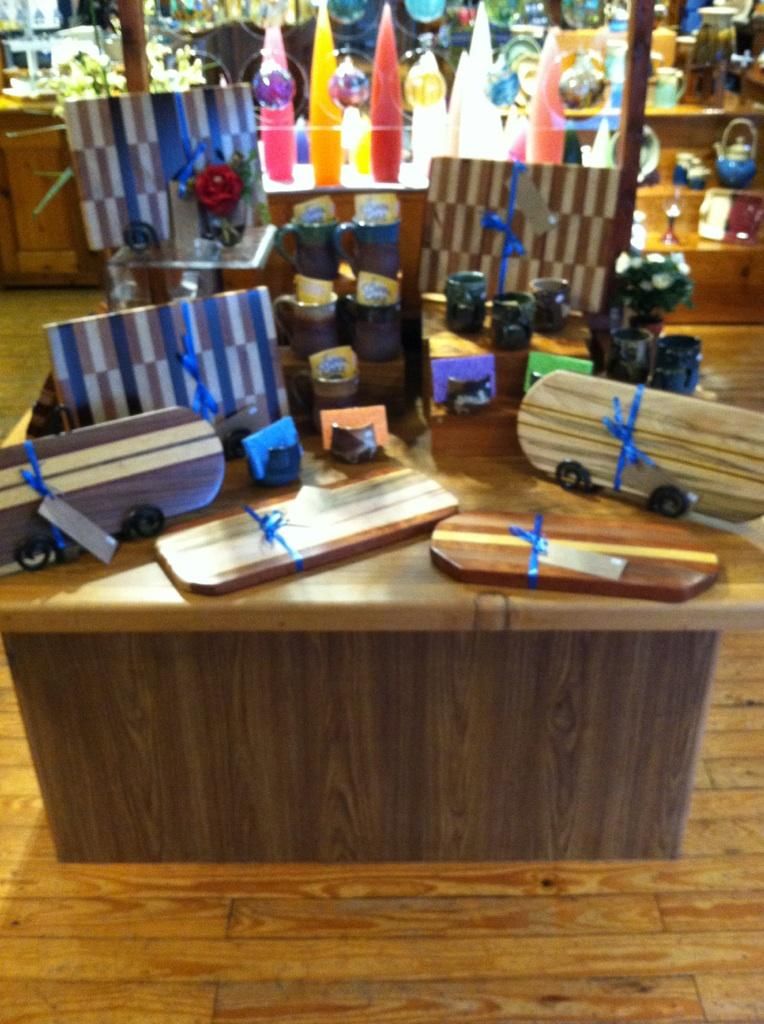
She went to buy a gift at at the Store thats carrying my products... I havent been in since I dropped off the stuff a couple weeks ago...

Anyway, she walked in the front door and the first thing you walk into is this..
Image

admittedly I got a pretty big grin and felt damn good for a few minutes....

Then I rememberd I had a blade in the forge for hardening...Doh!


Moving right along,
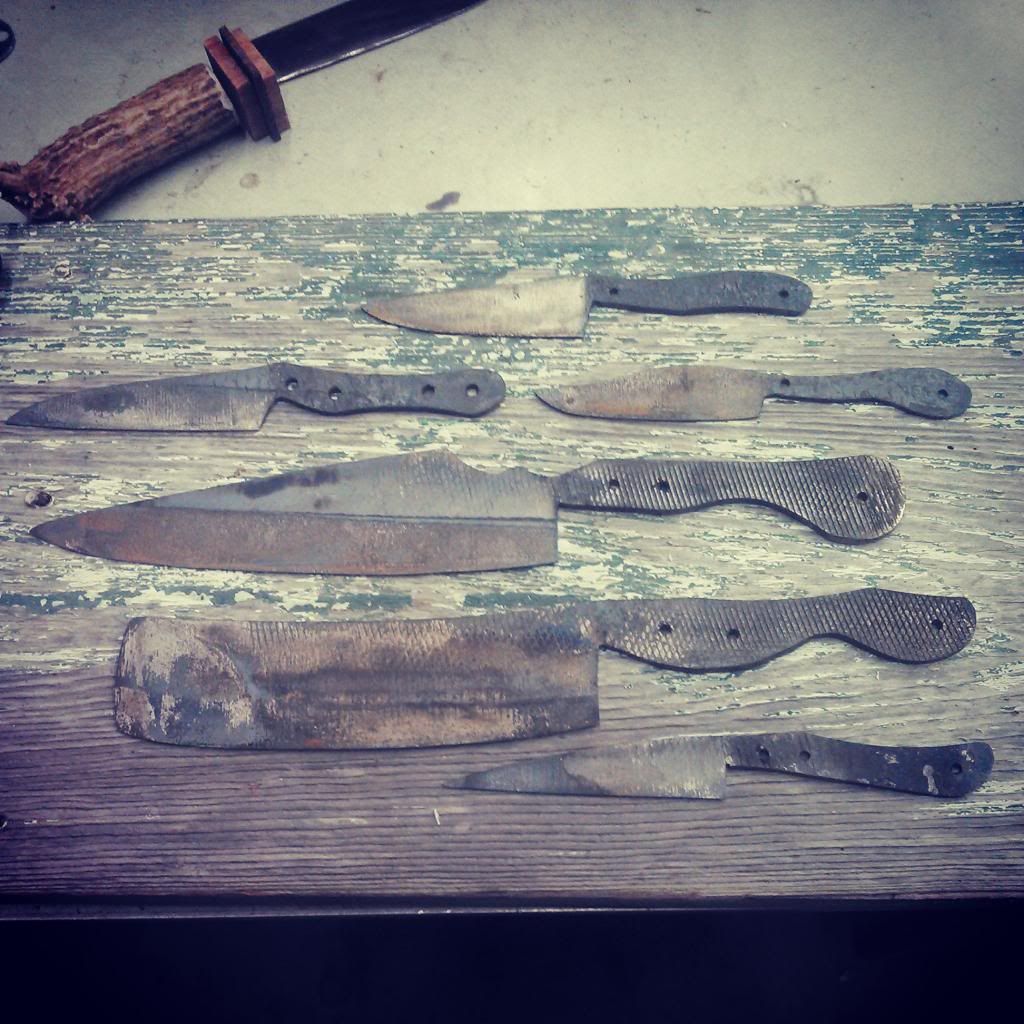
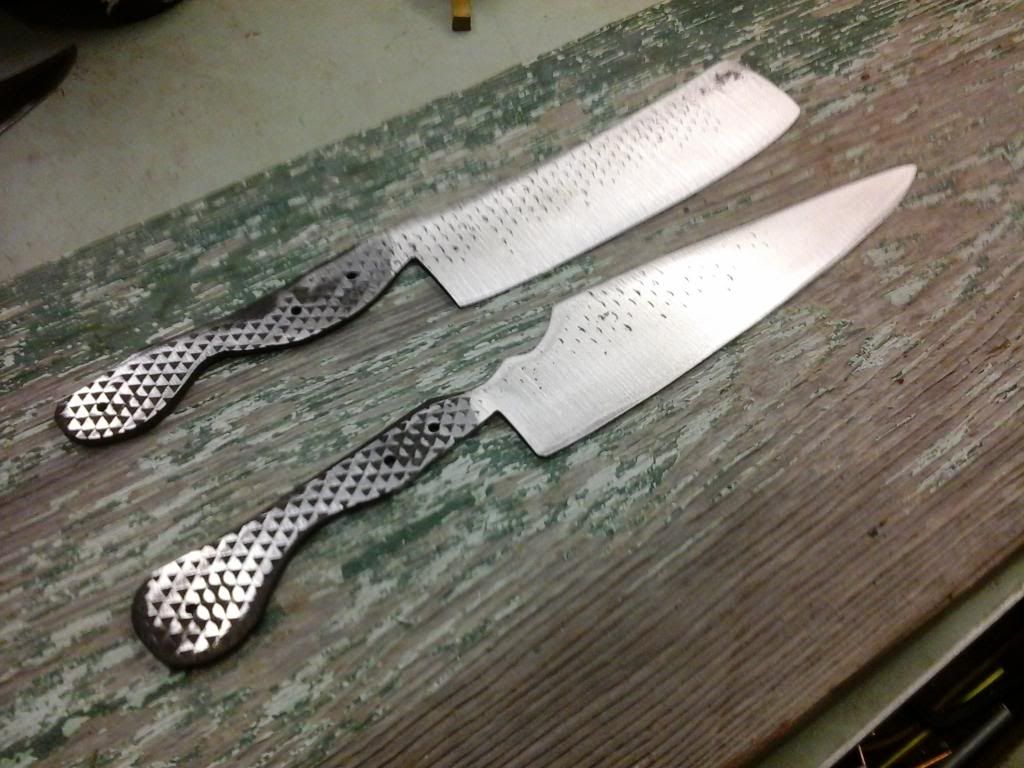
6 for 6 today and no warp in 5. Minimal warp in the cleaver but its an obvious grind thickness issue...its so minor I bet the temper will pull it out but otherwise it will be taken care of when I fix the thickness issues.

Image


Kinda a wierd feeling with this batch...4 of the six are sold and have pre determined handles that were decided on by the client so the creativity factor is a little low...

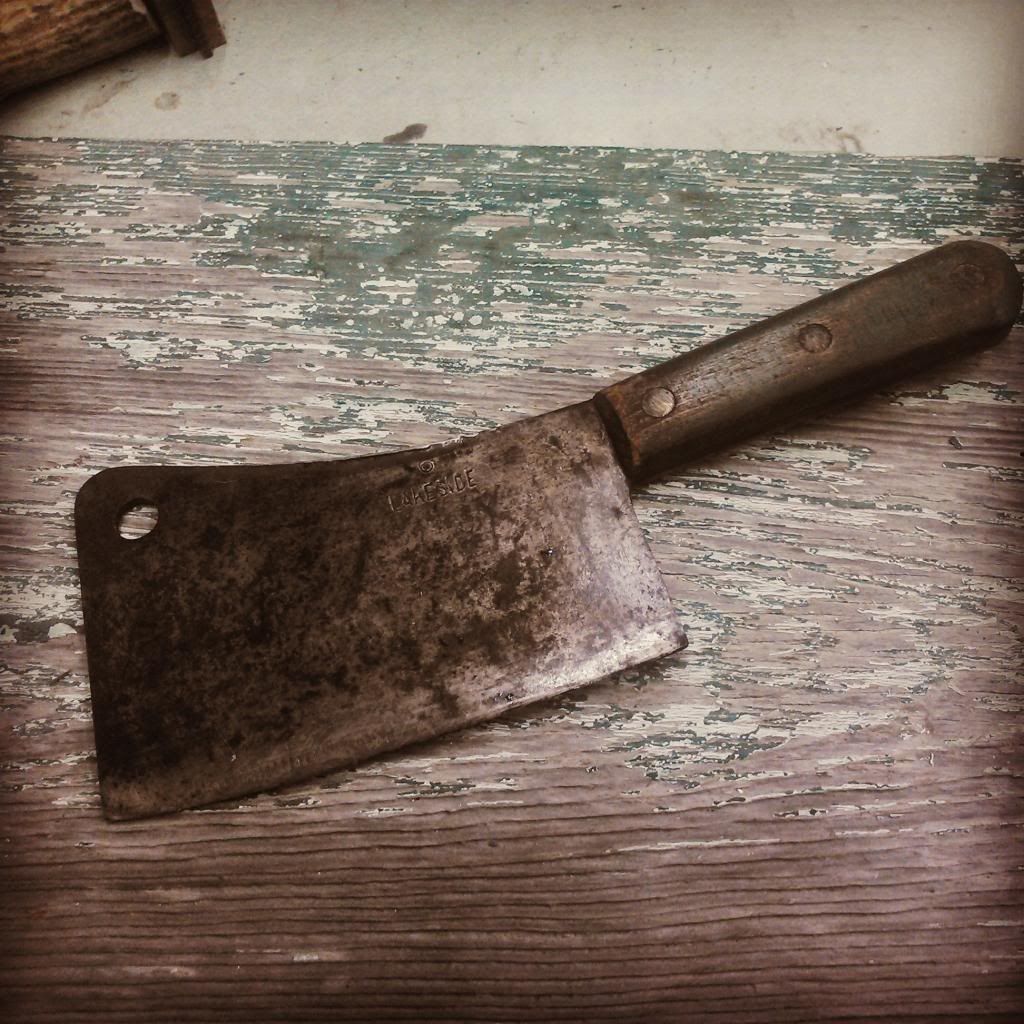
On a second amazing note for the day...this guy walked into the shop...Old! carbon steel cleaver and its massive! Guy wants a new handle for it and the cutting edge sharpend but no patina damage. I agree!

Image


Alright, off to bed and back to work tomorrow and friday...then get to a 2 yr old B-day party for a friend kid saturday, some farrier work both saturday and Sunday, and somehow finish this order by saturday night for a sunday pick up... lol...Living the dream :headscrat

JP


A wise man once said..."if you work really hard, 8 hours a day and do the best job you can. Then one day you can become the owner and work 12! " :D
User avatar

Topic author
Florida83FSJCherokee
Posts: 196
Joined: Sat Mar 09, 2013 7:53 pm
Location: Lakeland , Central Florida

Re: Blacksmith forging project thread idea (pic heavy)

Post by Florida83FSJCherokee »

Before the update I want to say thankyou to Toms73novass! He went out of his way to get me a parts list for the heat treat oven. Thanks to him I'm ordering the parts tonight and picking up the necessary materials from the refractory supply wednesday afternoon. Should be running heating cycles by the middle of the month!

Thanks!


Had a good week this week, but had to really put in the overtime to get caught up. Its feels nice to be sitting a few weeks out from my next orders shipping deadline though.


No real information to update on the process so mostly just a news and picture post tonight.


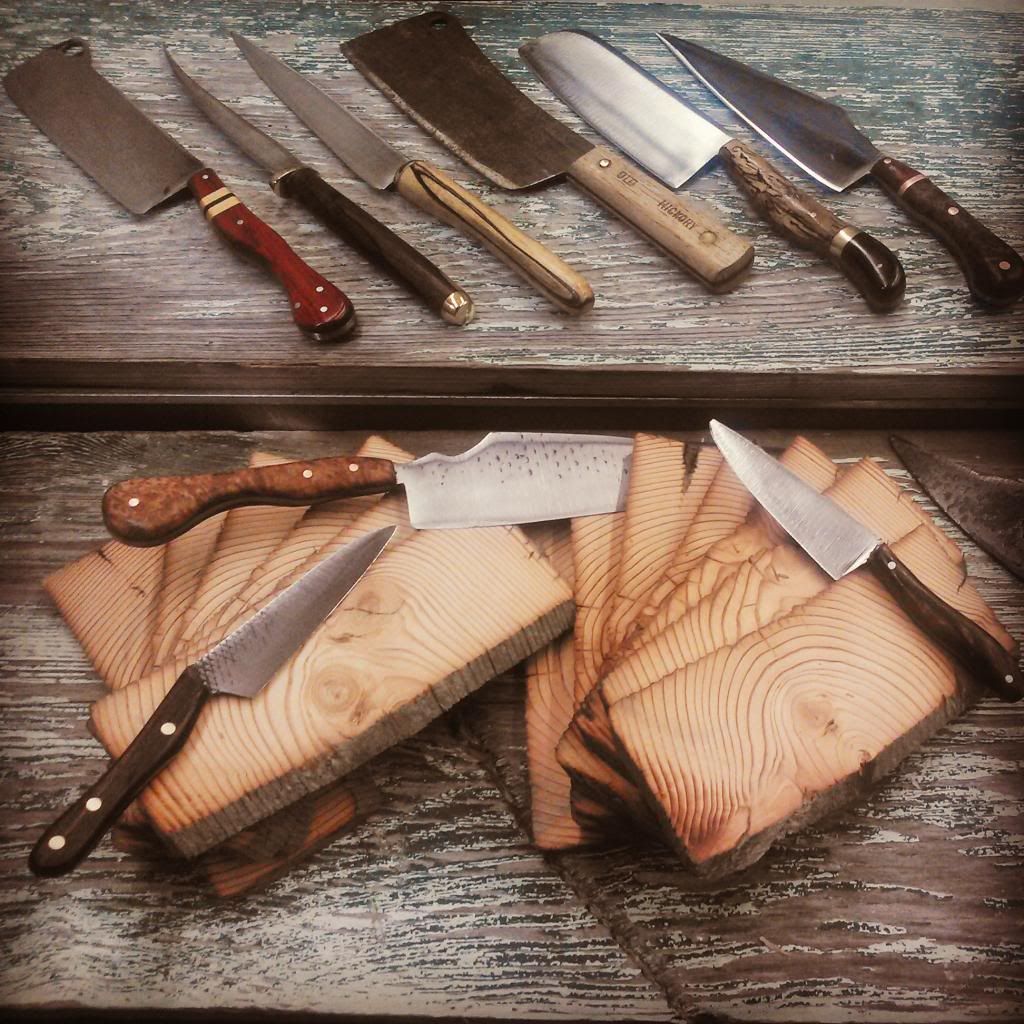
The Brooke Pottery Knife order is finished and thats a BIG! load off my shoulders. Getting a couple knives and a board or two finished in a week is cake, but trying to pump out this much at once is intense to say the least.


I will not play down how cool it feels to look at the work layed on the table in front of me...
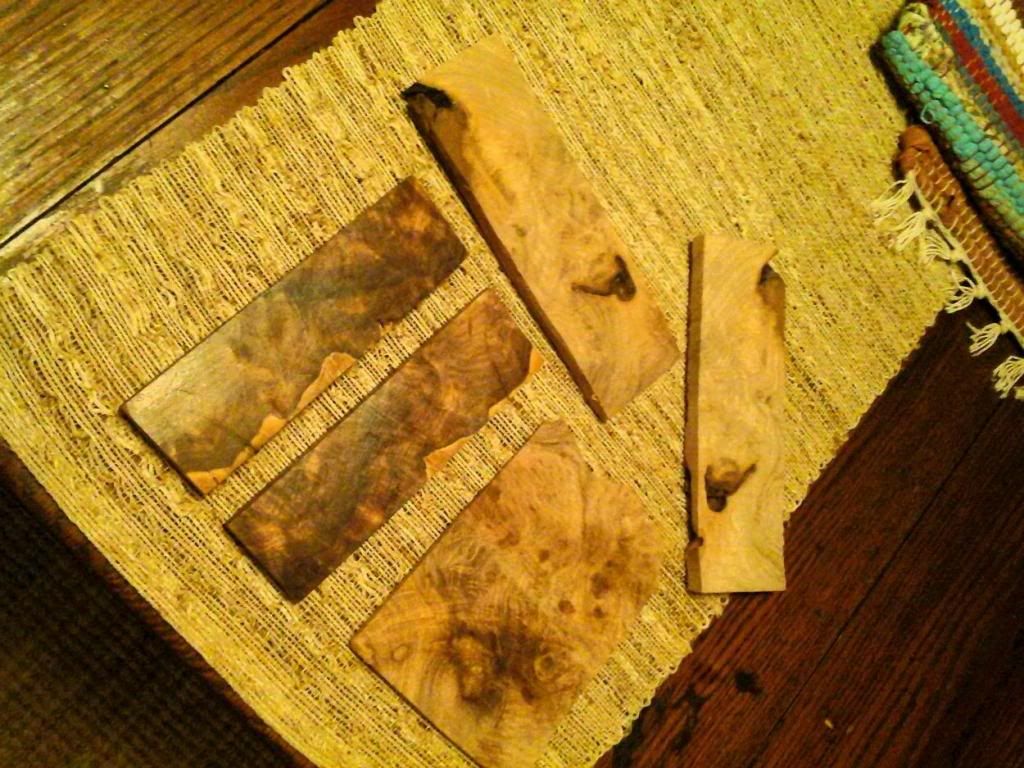
The wood slices are for a collaborated build of two 8" chefs. My friend from Illinois got The wood is from a dairy barn outside bloomington, Illinois. It was built in 1898...not bad looking stuff for 116 years old. The figure is incredible and will make amazing handles. Plus the knives made from this wood will be 99% recycled materials....and have a toatlly sweet story..."yah, its only 4 or 5 generation old wood but its no big deal;) )


the "old Hickory" is in for refurb...lol, I didnt make that one..
Image

Ill be making a really big serving platter soon (20"x24"), and just took an order for a butcher block Island top...24"x48''x1.75" with a 1.5" lip so it can set over the exsisting surface without showing any of the current material. Im not sure exactly how Im gonna set it up but im imagining the outer row of the board having the extension cut into itself. That will keep it from having a seam, and insure my joints line up around the edge. Plus it will make the top look over 3" thick and that's rad!

Thanks to the GJ and you guys this is a pretty easy build at this point...before christmas I wouldn't have been able to get this right, but since I now understand that muliple glue ups are the way to go its just a matter of tuning the blades equally and spacing the sections out over a week or so for glue and clamping. The top will use Ambrosia maple for the bulk of the wood with Bloodwood and purple heartwood accent stripes...I kept the design simple with solid rows to minimize miss alignment. The ambrosia is so random and unique that I think it will accomplish the break up of the space eqaully if not better than the checker board oak/poplar mix. Ill post the process...Aggie, turn your phone on silent because im probably gonna be blowing it up soon...maybe even at 1Am... ;):lol:

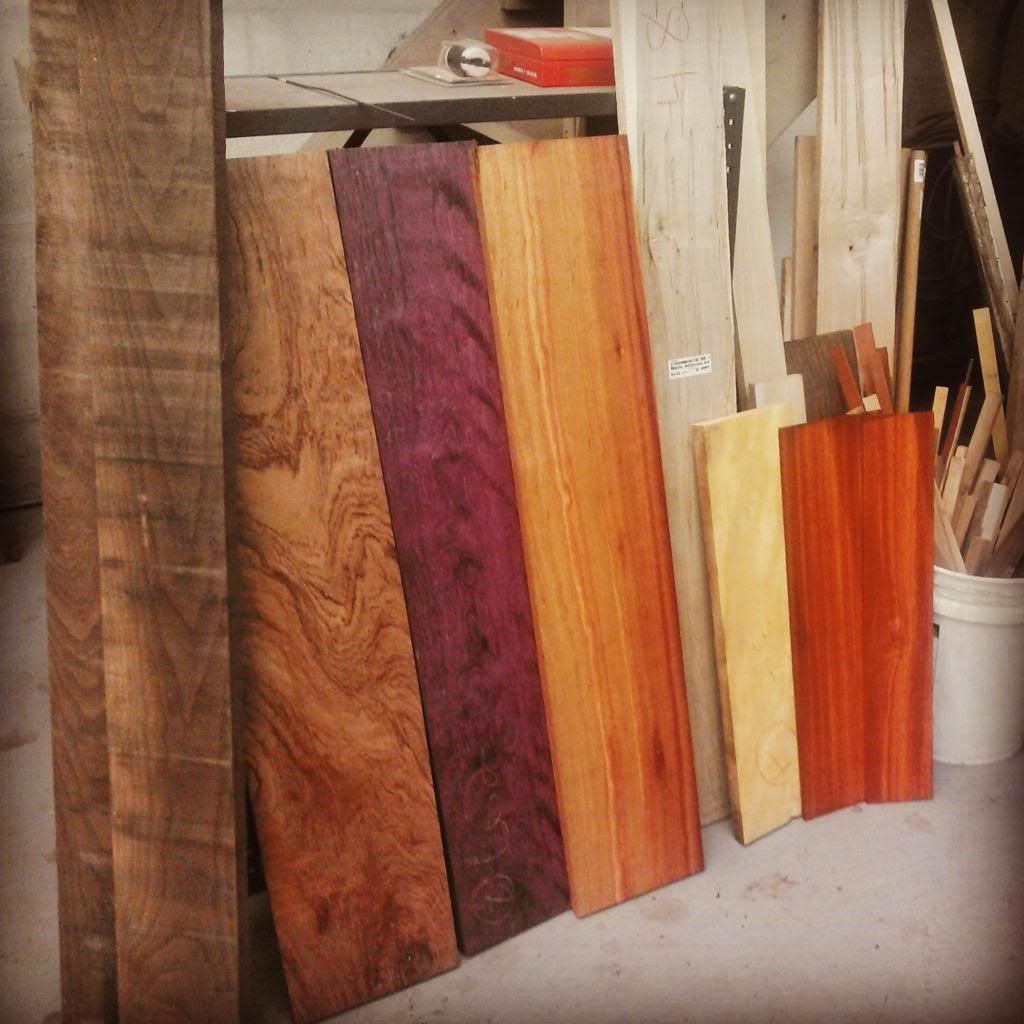
Got a 20%off sale opportunity at the wood store...I took full advantage.
Image

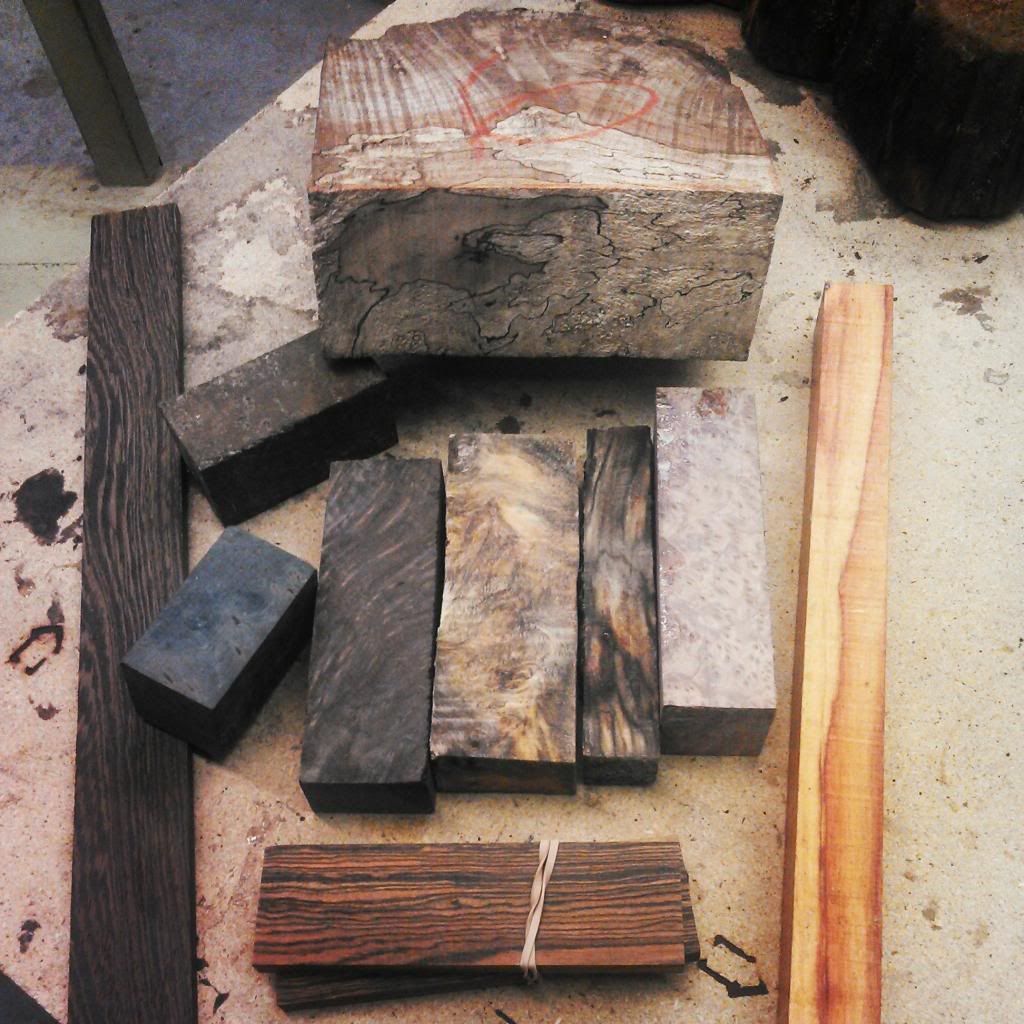
Knife handle materials... Various Redwood Burls, some Blue dyed Burl, Buckeye Burl, and Spalted Pecan. The brick of wood in the back is Spalted Mapel Burl and will resaw into pure knife handle gold...The Santoku from a few post ago with the bloodwood and brass handle used this wood type as the cool section in the front of the handle...also got some tulip wood, Lignum Vitae(super rare!!!), bacote scales, and some Wenge(pronounced - Wain-ge)

Image

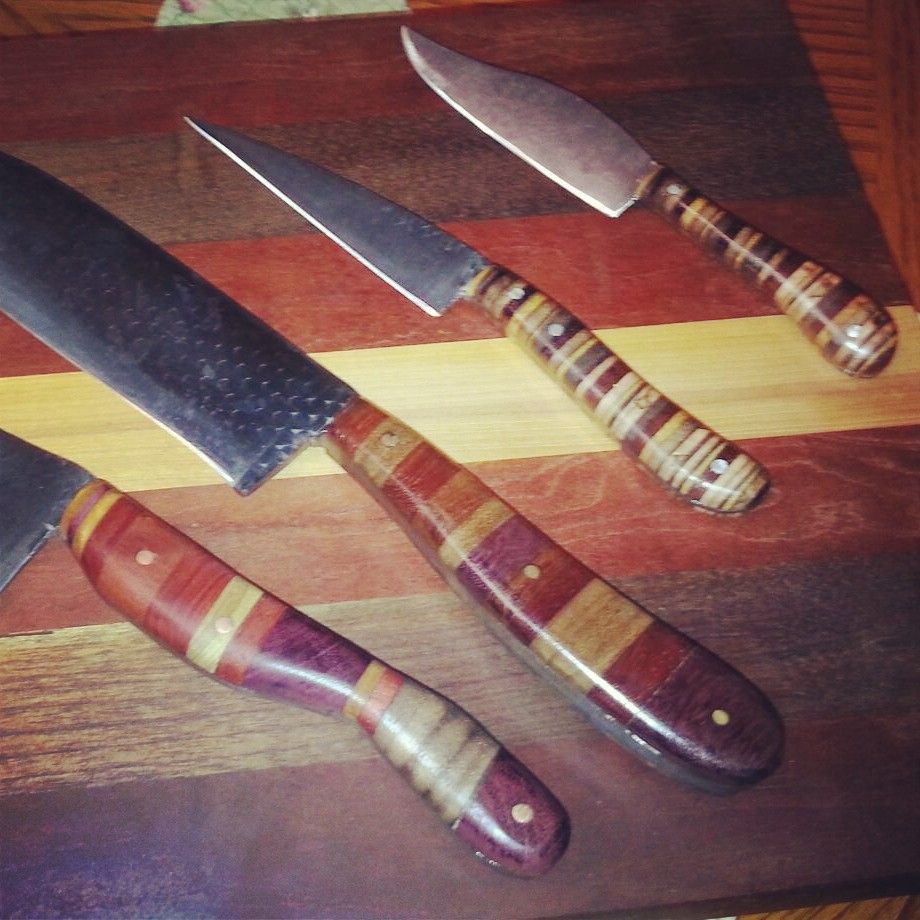
Heres some pictures from this weeks knives. One of the orders was for a pairing knife, boning knife, and a mini cleaver with handles that fit the same style as one that was purchased by a familiy for their dads christmas present. He recieved the drop point utility with the first laminate I made from the mixed exotics... In order to reproduce it I just glued a stack of scraps togther that would be thick enough for two 3/8" scales to be cut from, and used the thin serving board scrap laminate for the smaller knives. He came with his wife today and picked them up. Cool thing was he didnt know he was coming, thought he was getting dragged to "help a friend move furniture" on his birthday :lol: ...Suprise!

Welcome to the doghouse, and here's a stack of handforged knives...Lucky dude!

He was stoked and really enjoyed seeing the different stations and knives in various stages of completion. The only negative was I was cleaning the shop for their arrival and forgot to take good pictures of the three he was picking up. Luckily he sent one when he got them home and had matched them up with the orginal...Pretty neat set of knives he has...definitly one of a kind.

Serving board and the handle second from the bottom were the christmas presesnt...
Image

This pairing and utility were made to replace the ones sold unexpectedly around valentines day. The pairing has Spalted Pecan and aluminum pins and the Utility has Rosewood with brass pins... ( i need a better way to seal the rosewood that wont darken it...In person it still has good color but it looses some to the sealer)
Image

Image

Image

Image

Image

Image

Image
User avatar

Topic author
Florida83FSJCherokee
Posts: 196
Joined: Sat Mar 09, 2013 7:53 pm
Location: Lakeland , Central Florida

Re: Blacksmith forging project thread idea (pic heavy)

Post by Florida83FSJCherokee »

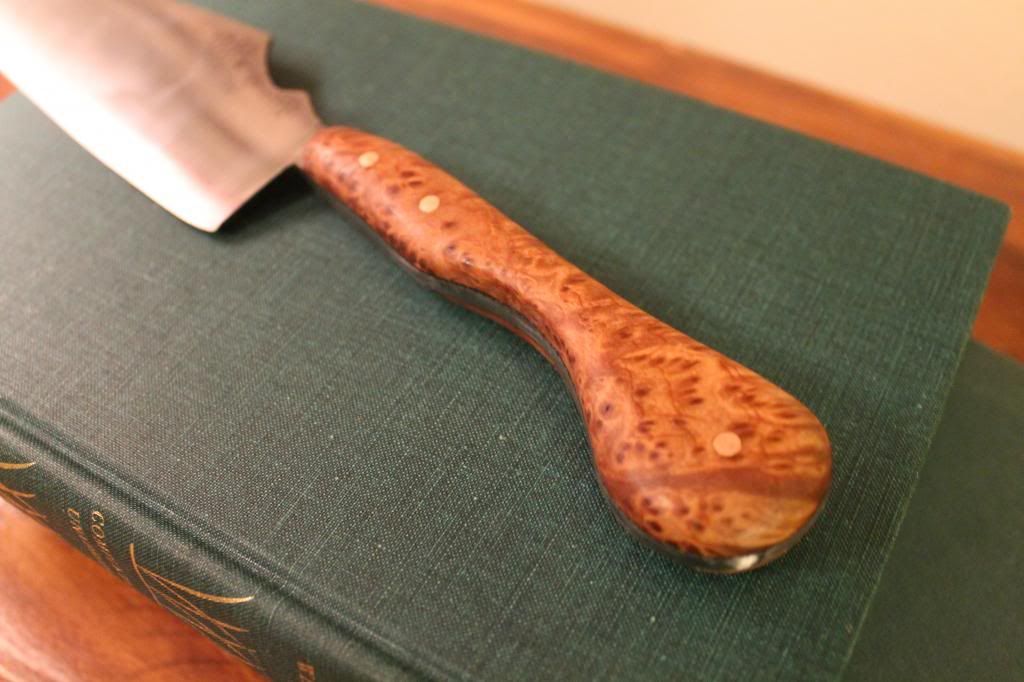
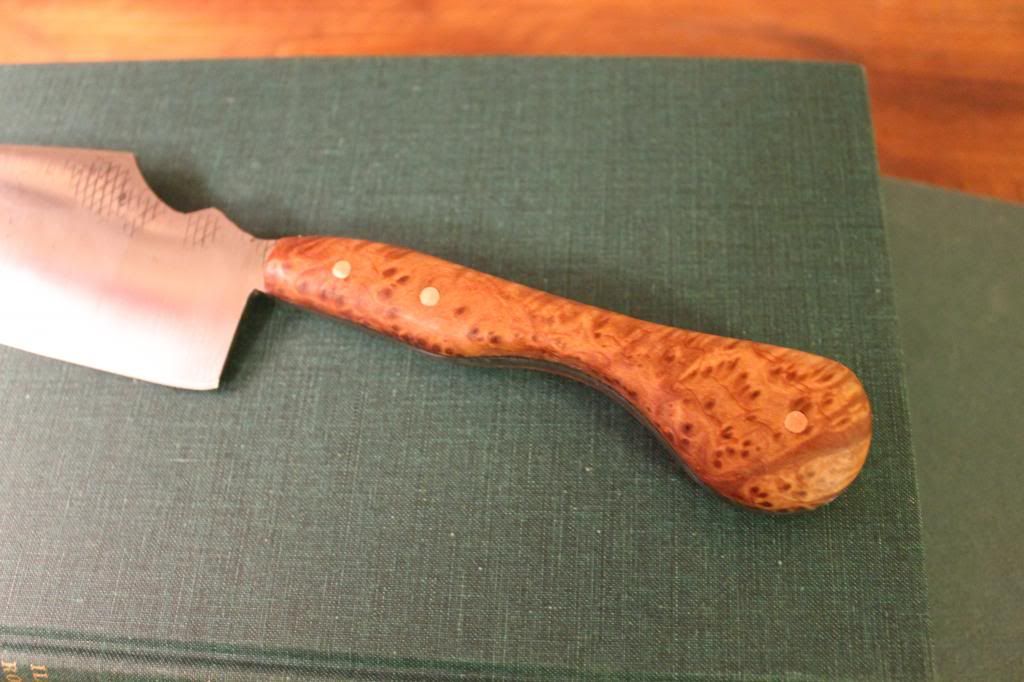
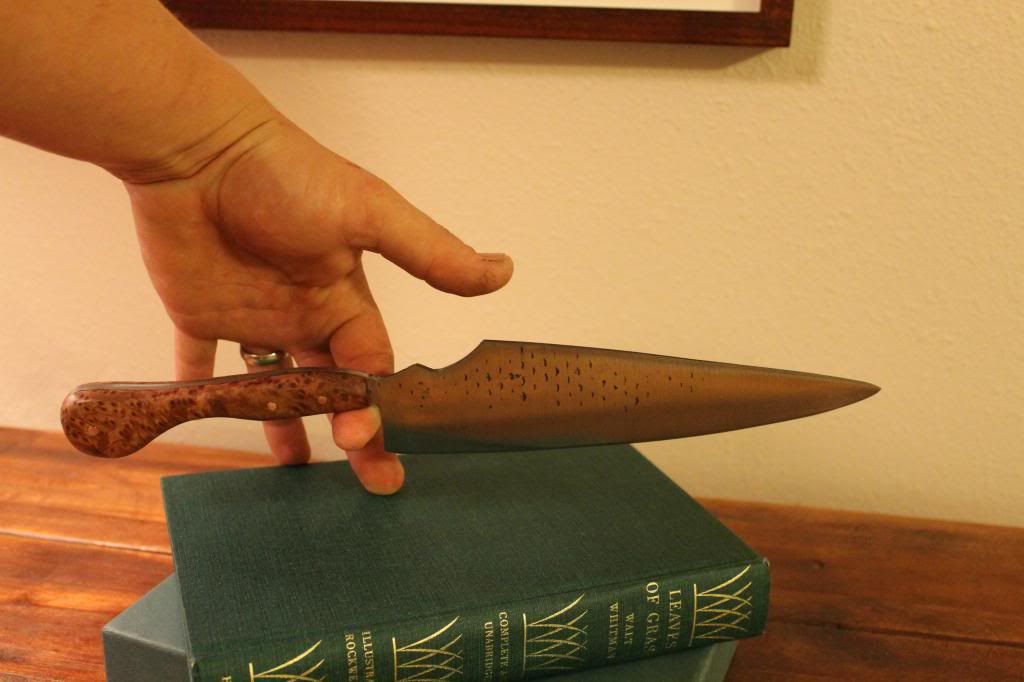
The 8" Chef was ordered with the cut away spine and a pure Redwood Burl handle...Im pretty happy with this one...The copper washes a bit so aluminum might have been a better option, but its still a good looking knife. Ships out tuesday for a Chef in Oakland California...

Image

Image

Image

Image

Image

Image

Image

Image

Its going to a real chef so It had to be perfect! Balanced baby!
Image


Got a mixed week this week, but still busy..should find some daylight shop time instead of the 8pm-1am shift Ive been working...
I was starting to loose it by last friday night... :willy_nil

More updates as I finish them...

Thanks!

JP


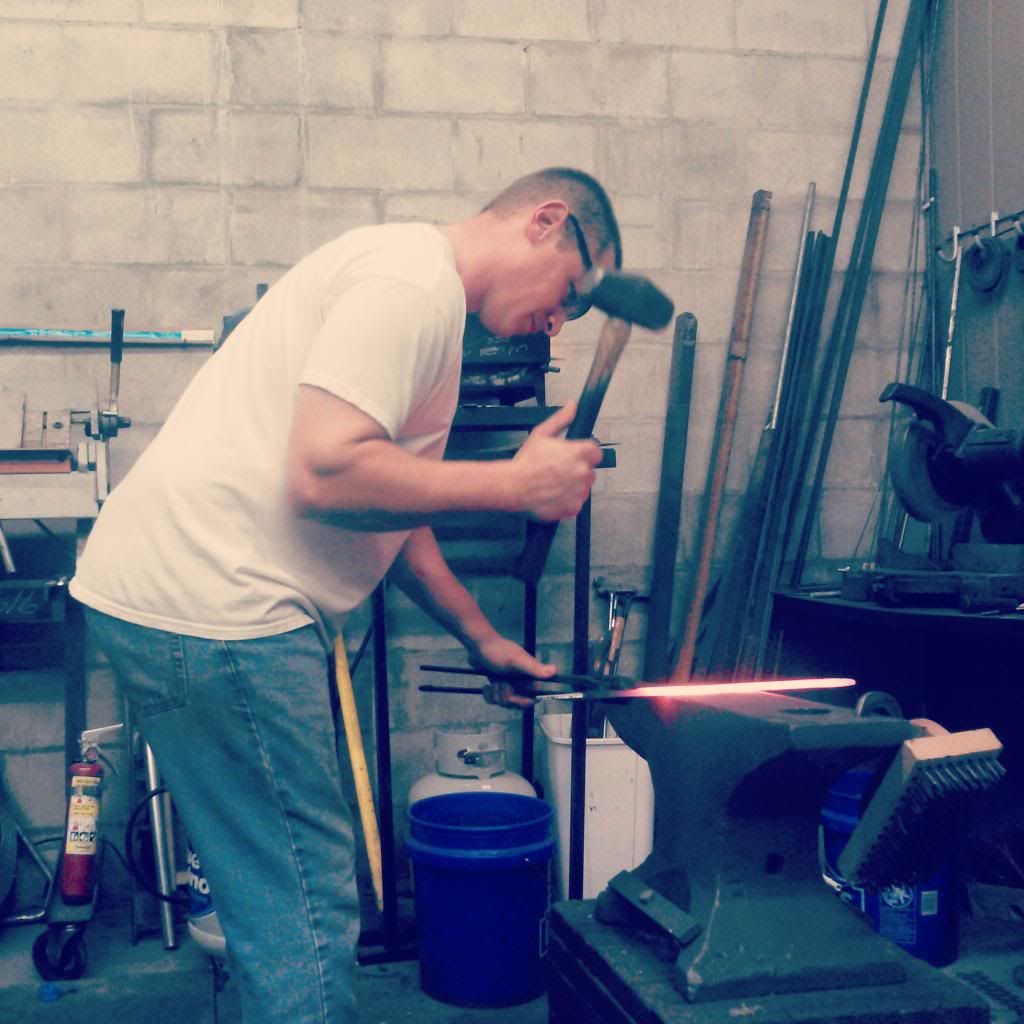
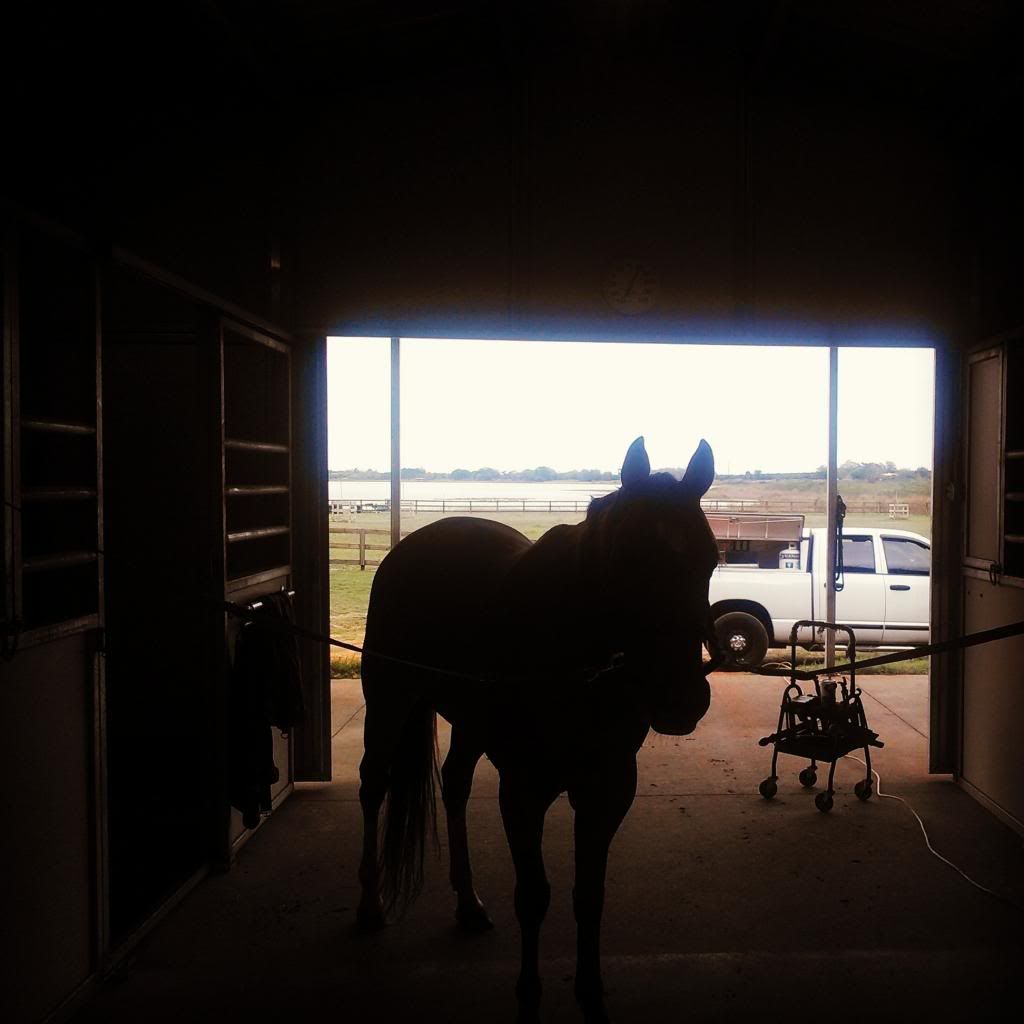
Just in case no body believes I actually shoe horses. :lol:

Im gonna try to do more of this. Im blessed to have some incredible barns to work at so when I get the chance Ill post them. Farriery is cool and pretty darn peacefull.

If they ever figure out a way to upload short videos into the threads ill post a horse getting shod for you guys to see.

Image

Image

bigun
Posts: 1250
Joined: Sat Jun 11, 2011 8:20 pm
Location: Mountainair, NM

Re: Blacksmith forging project thread idea (pic heavy)

Post by bigun »

Sweet looking blades, someday I hope to have a hunting knife that fits my paws! Load videos on to Utube then post the link to here
Post Reply