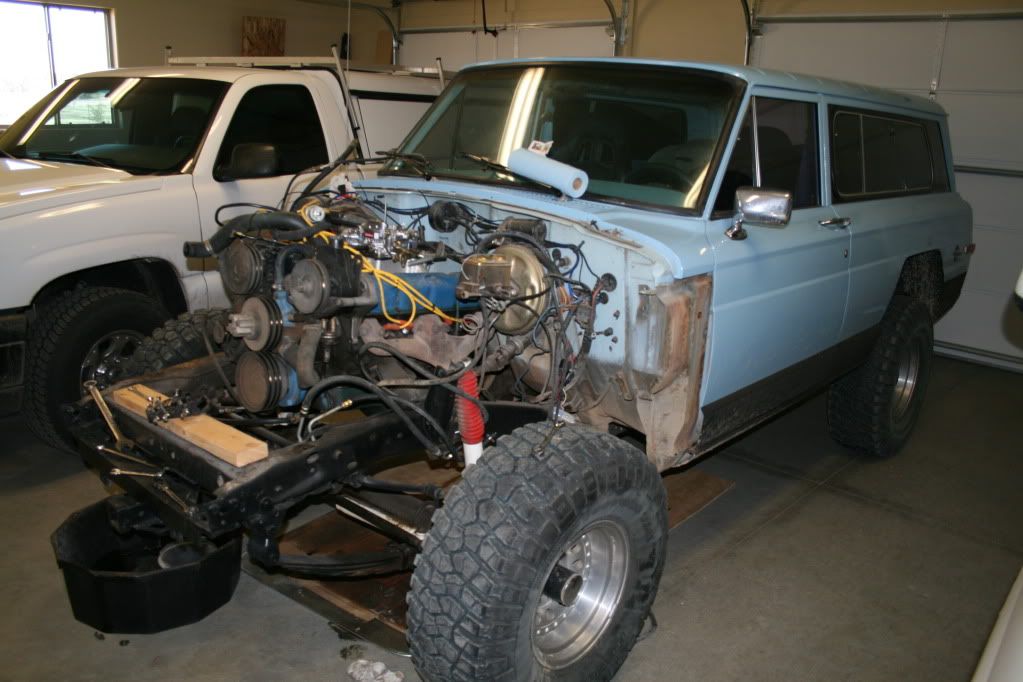
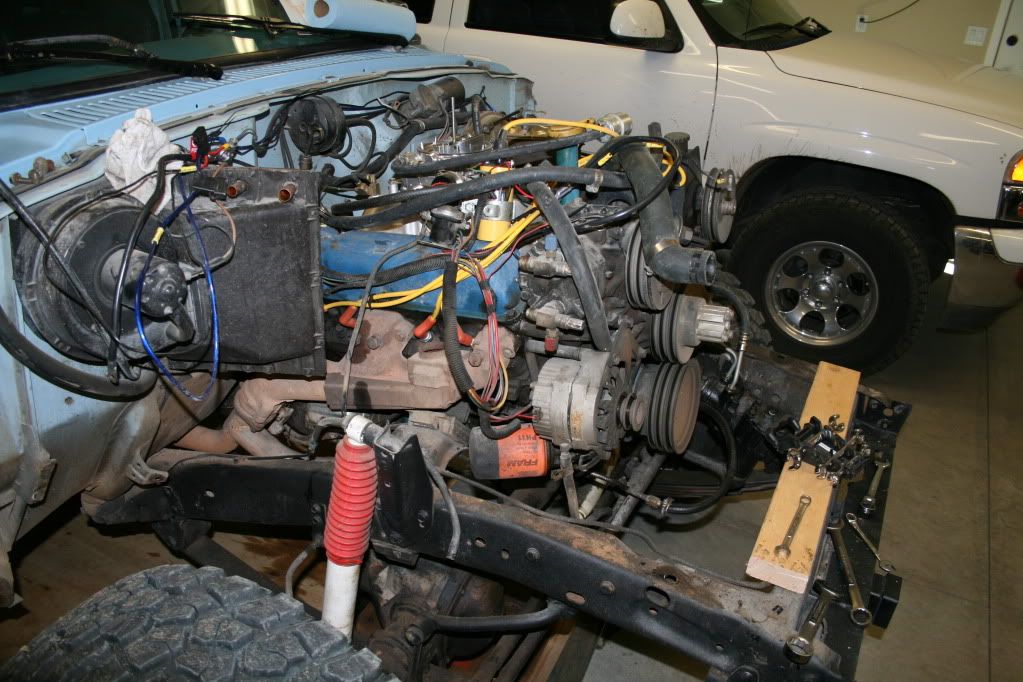
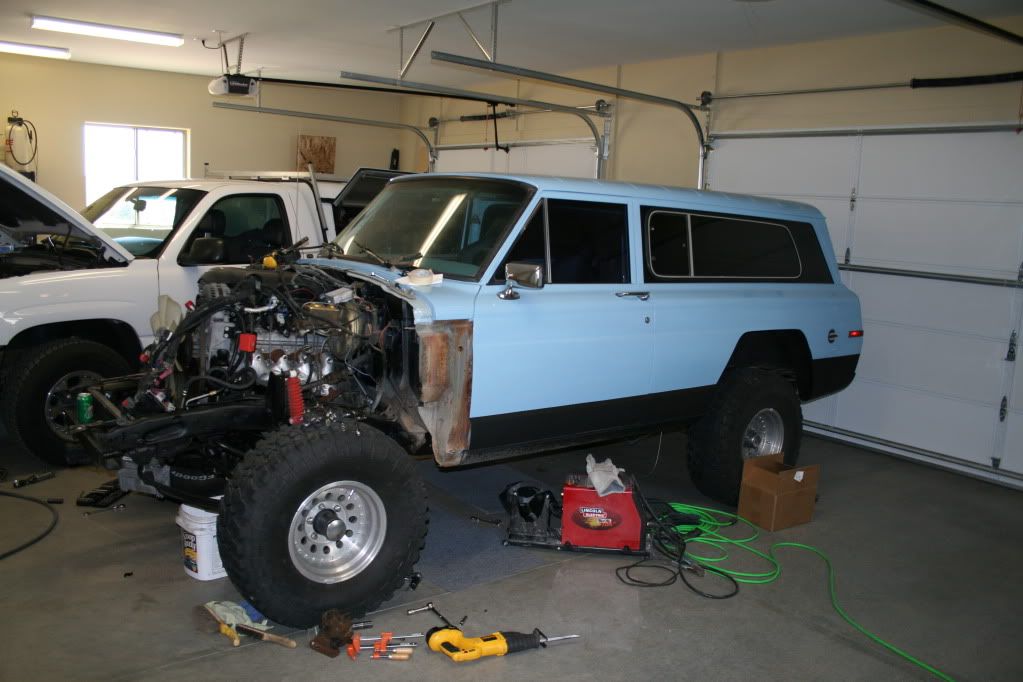
The start of all this happened when I lost reverse in the transmission. I had been wanting to get rid of the wore out Quadra-Trac since I acquired the jeep, but told myself I'd just hold out until something broke. Well, that ended up being the transmission. Then I started to read about the success people have been having with the 5.3 swaps. With all the vapor lock issues I've had with the 360, the prospect was enticing. At this point I was still wondering if I should really attempt this, or just have the engine and trans rebuilt and swap in another transfer case.
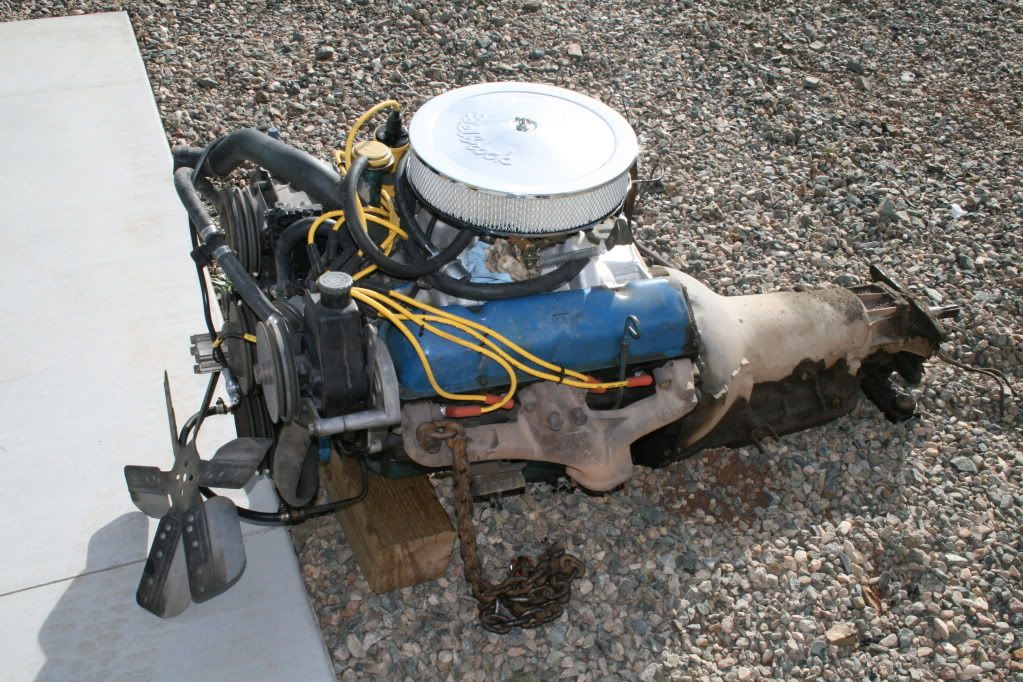
Here was the point of no return. I found the engine, transmission and transfer case all on ebay for a total of $2,100.00. The engine and tranny came complete with the harness, fly-by-wire go pedal and computer.
-------------------------------------------------------------------------------------------------------------------------------------------------------------------------
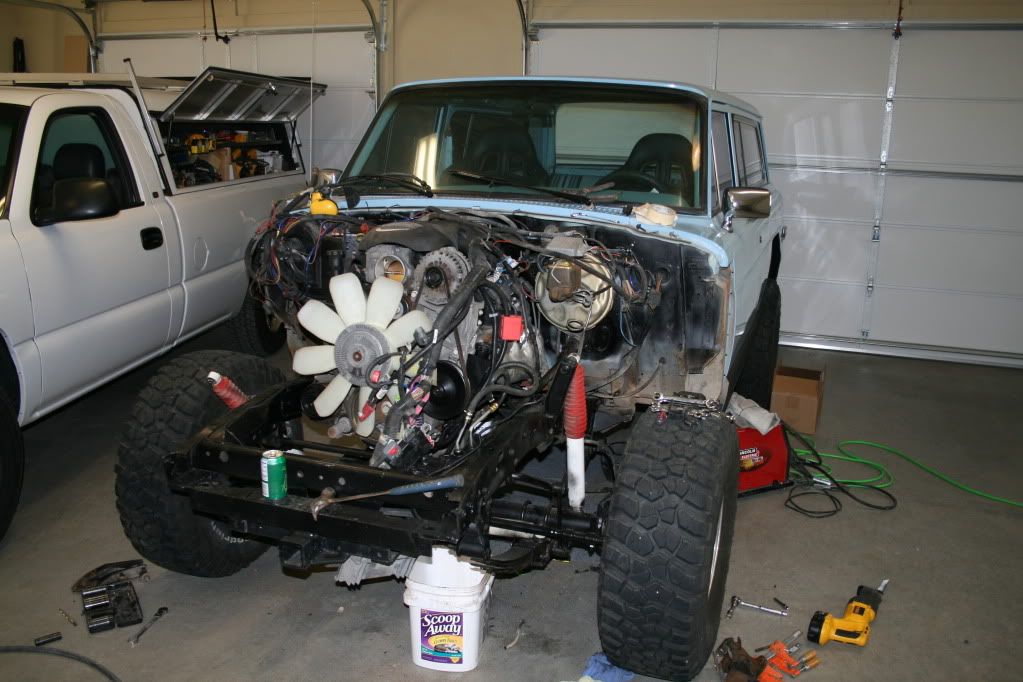
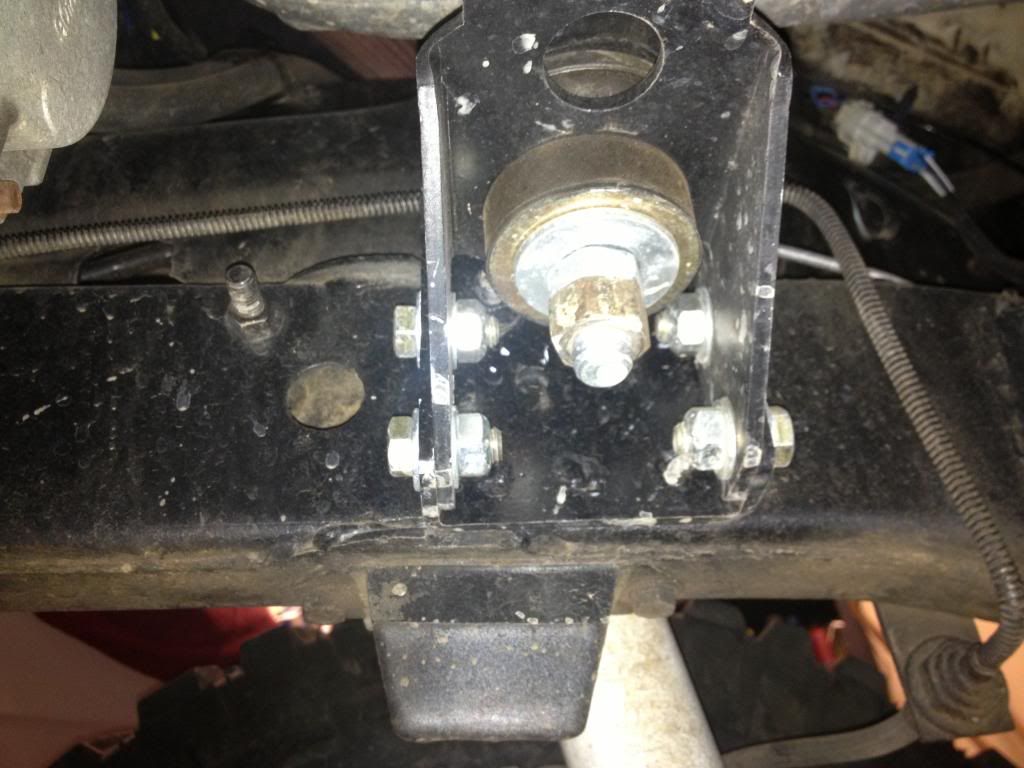
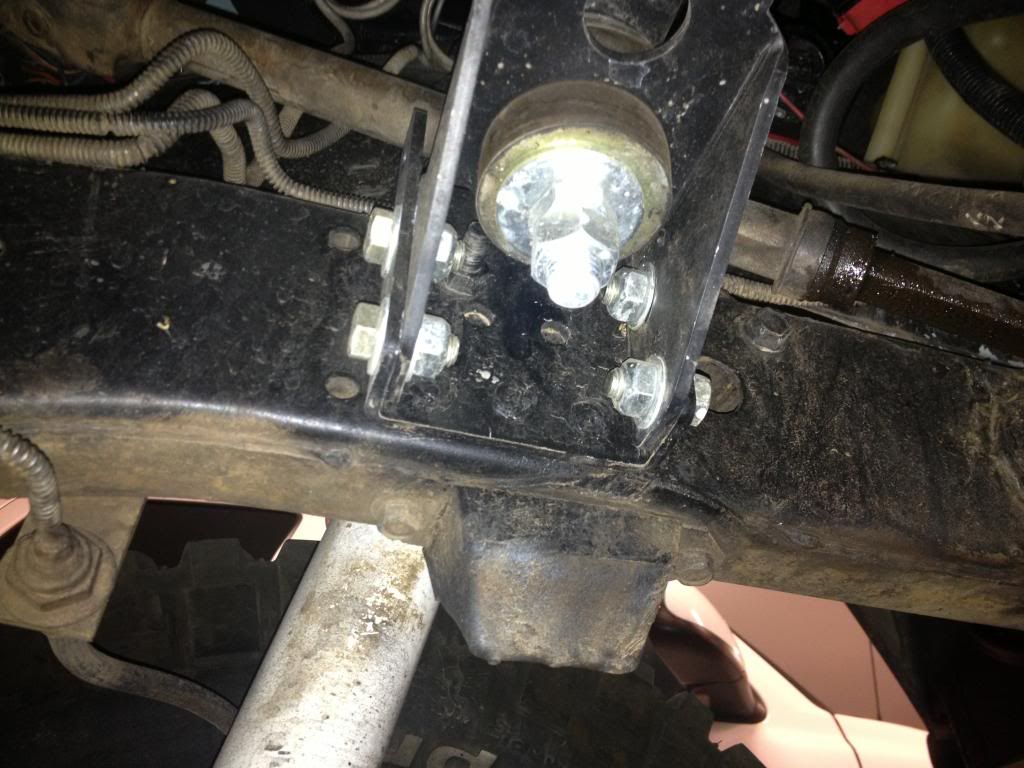
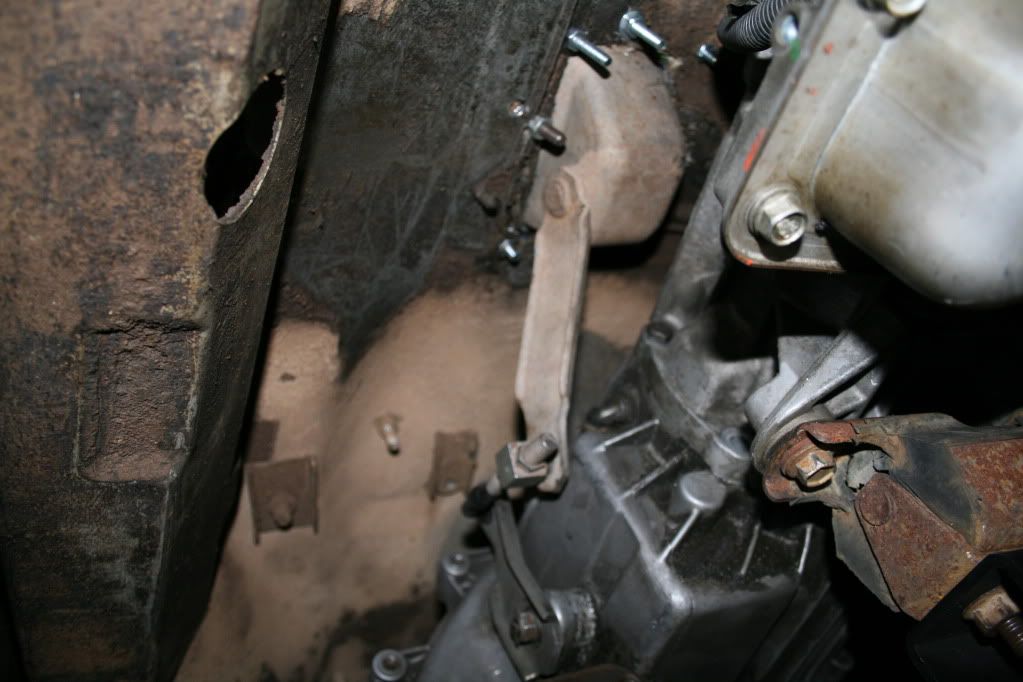
Mounting the motor:
Here are some pics of the motor mounts from Bj's Off-Road. They are very stout. I used a combination of bolts and some welding to mount them. I was able to use 2 of the original mount holes for the bolts. There is no set placement for these mounts, so I actually used the linkage on the transmission to be my guide. By-the-way, the linkage from the T-400 hooks right up to the 4-L60e.

-------------------------------------------------------------------------------------------------------------------------------------------------------------------------
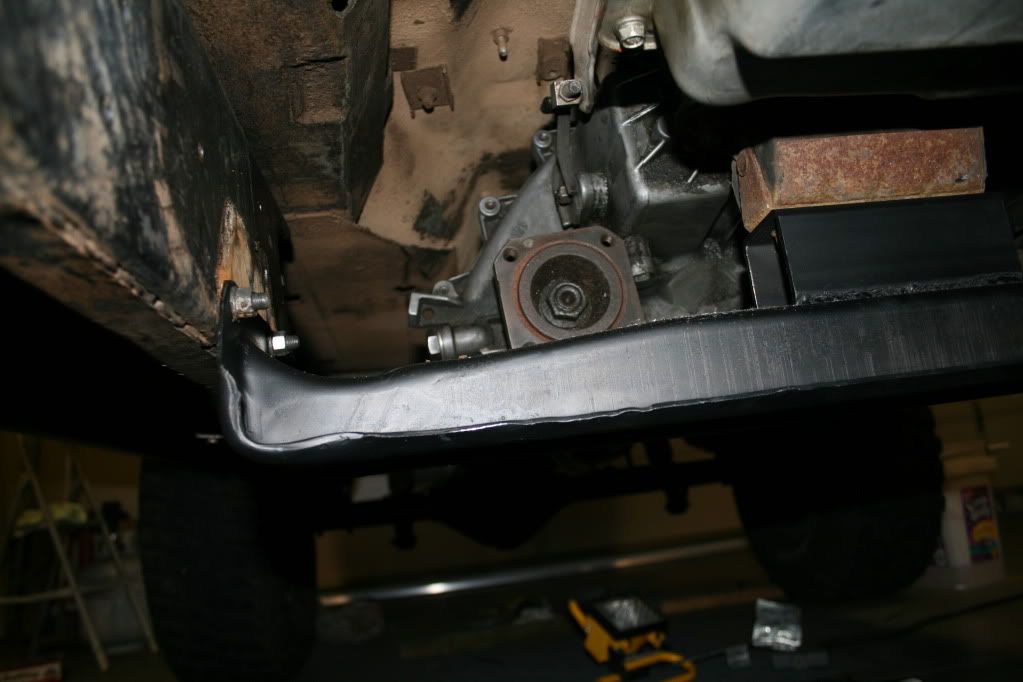
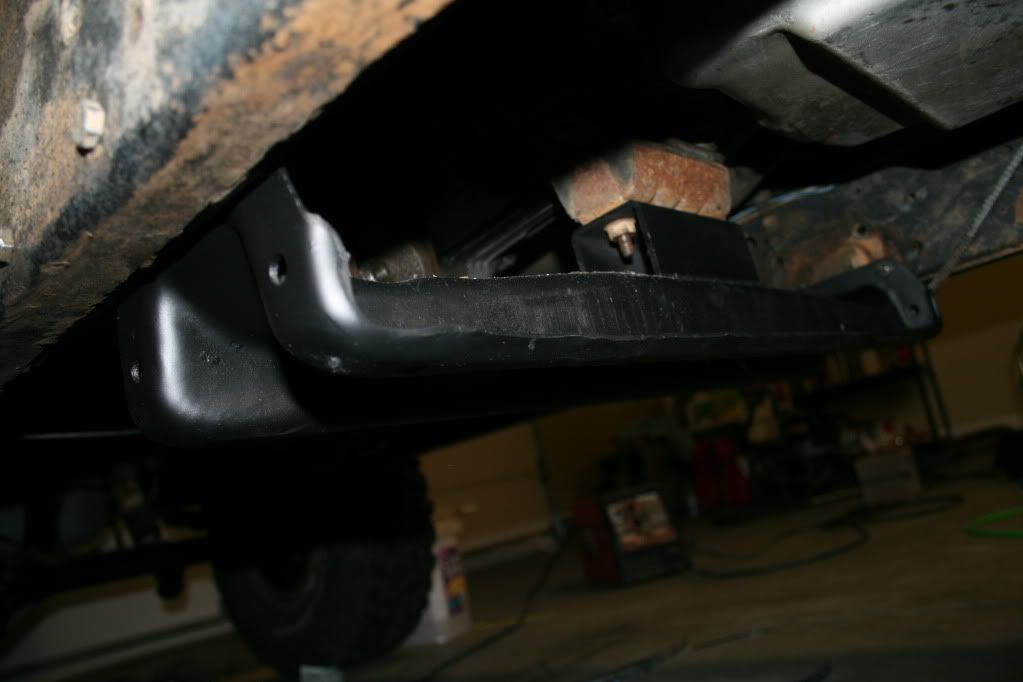
Mounting the transmission:
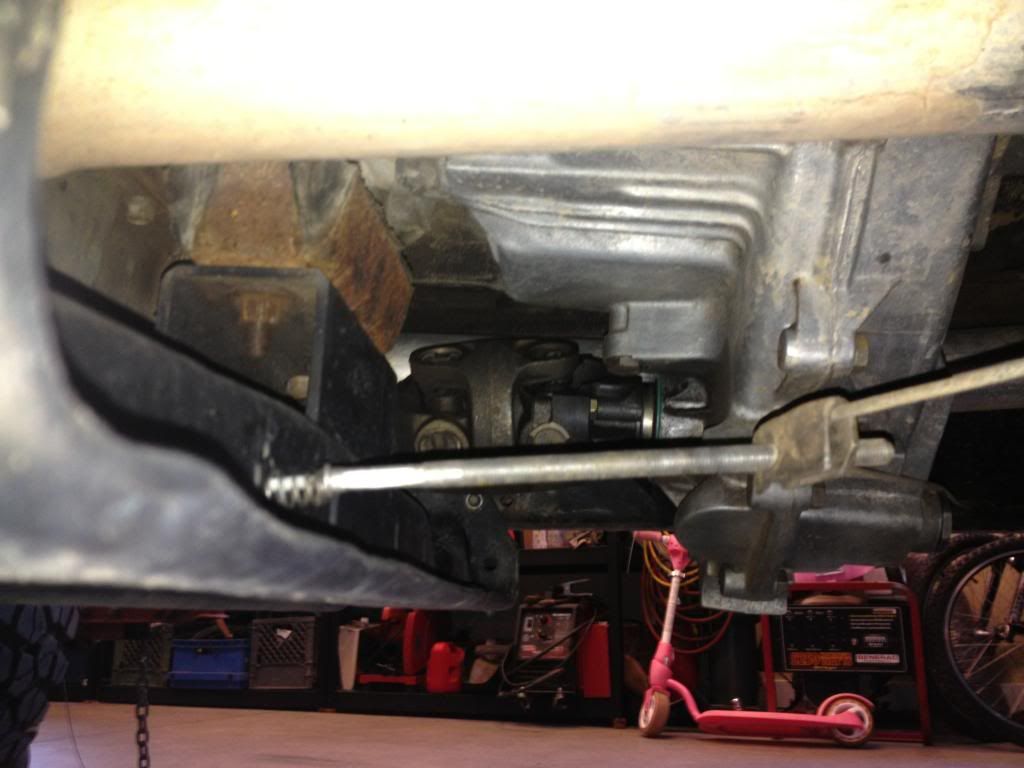
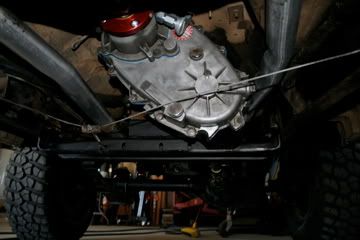
The NP-241 is clocked down more than the original Quadra-Trac case, so the front output on the t-case hit about dead center on the cross-member. For some reason,at the time, I couldn't find a clocking ring for the application, so this is how I fixed it. I lowered the cross-member and added a 2-1/2" perch. I hated to lose that clearance, but it is what it is. I have done some pretty gnarley trail riding since the build, including some rocks and shelf drops and have yet to hit, so I don't think it's hurting me too much. As it turns out there is a clocking ring for the application and this might be easier if you plan this swap. Here are the pics of what I did, if anyone's interested?
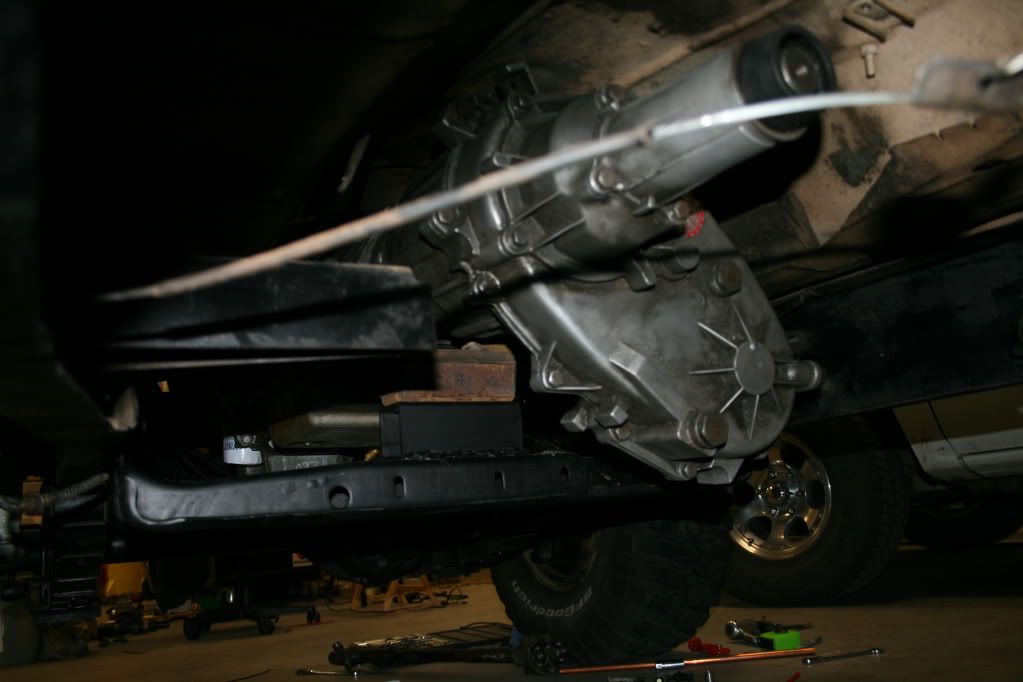
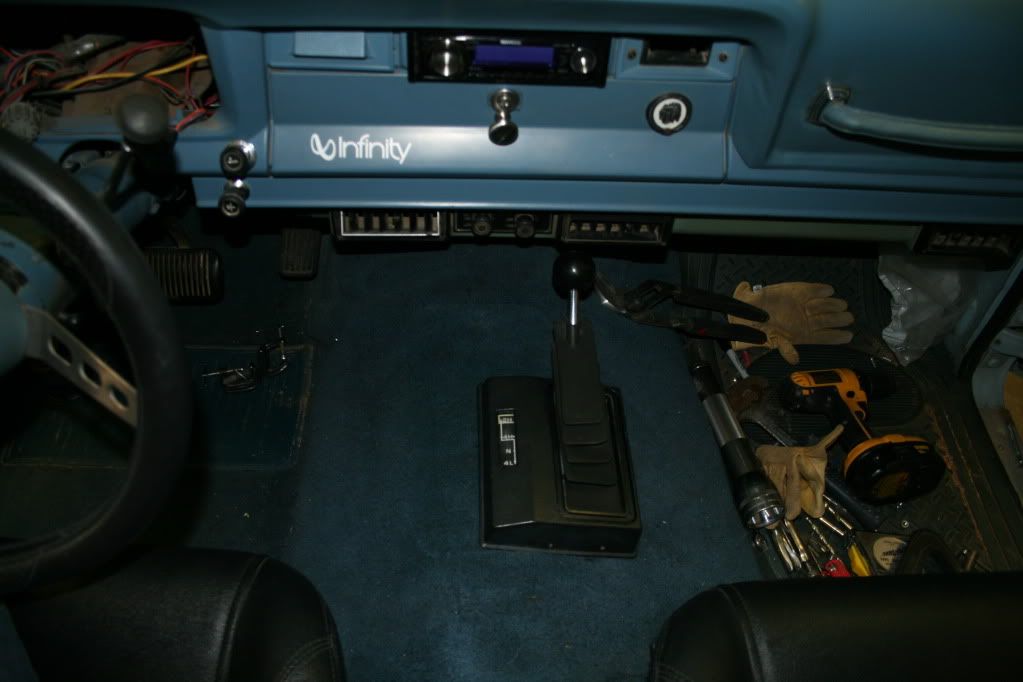
I used the transfer case shifter from an 89 Suburban. I just had to cut about 4 inches off the linkage rod and do just a little bit of tweaking and it works like a dream.
------------------------------------------------------------------------------------------------------------------------------------------------------------------------
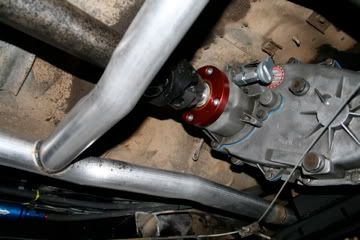
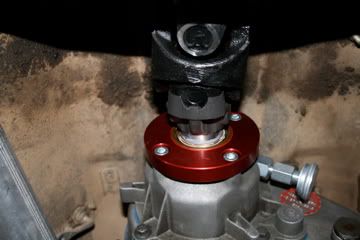
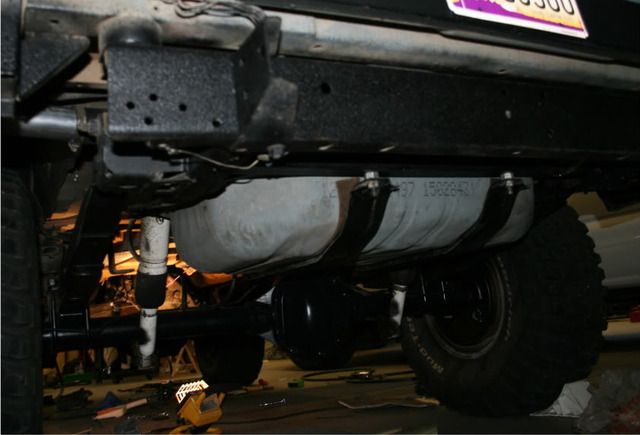
Completed drivetrain:
Here are some pics of the completed drivetrain. I had a new front driveshaft made, because it had to be lengthened and the rear shaft was shortened for the application. The pics show the S.Y.E. (slip-yoke eliminator) I purchased this through JB conversions. http://www.jbconversions.com/products/s ... td_sye.php It also shows the V.S.S. (vehicle speed sensor) I used to adapt the cable drive speedometer to electronic. Here is the sensor I purchased through Dakota Digital. http://www.dakotadigital.com/index.cfm/ ... prd109.htm
It's an 8,000 pulse and if I remember right, the E.C.M. calls for 4,000. I let Brendan (I will explain better who Brendan is later in the thread) know at Lt1 swap so he could adjust for it when he flashed the computer. I did have to tell him my dif. ratios, tire size and gear count from the t-case. There may be other ways to do this, but this was what I used and have no problems.
By-the-way, you will see, at this point I had a c.v. joint on the shaft at the t-case. If you are using the offset rear dif., don't do this. I had a low speed vibration and was told by others who have done the swap that this was my problem. I have since swapped in a GM 10 bolt with a semi-floating axle upgrade to eliminate the typical C-clip axle issues. This also took care of my vibration issues once and for all.


-------------------------------------------------------------------------------------------------------------------------------------------------------------------------
Fuel tank and lines:
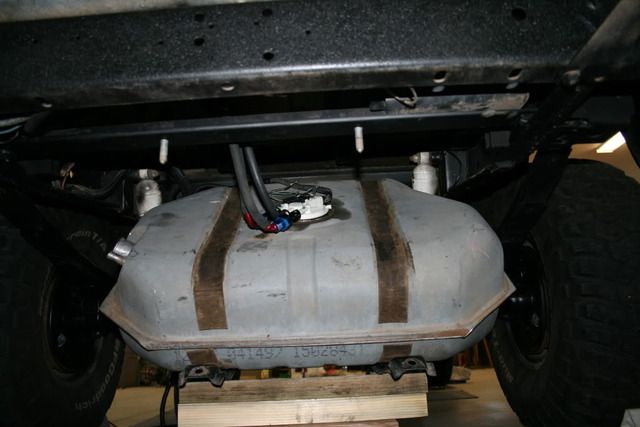
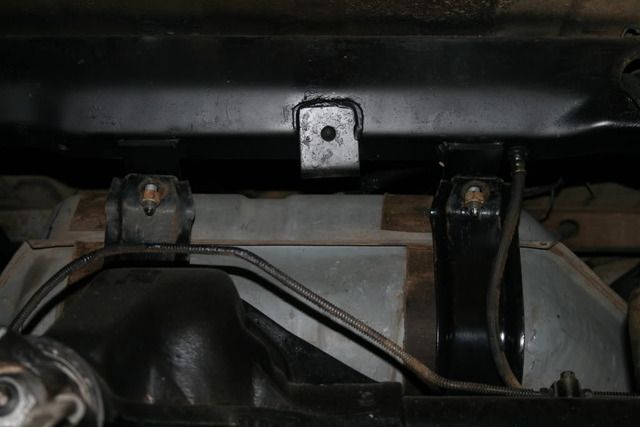
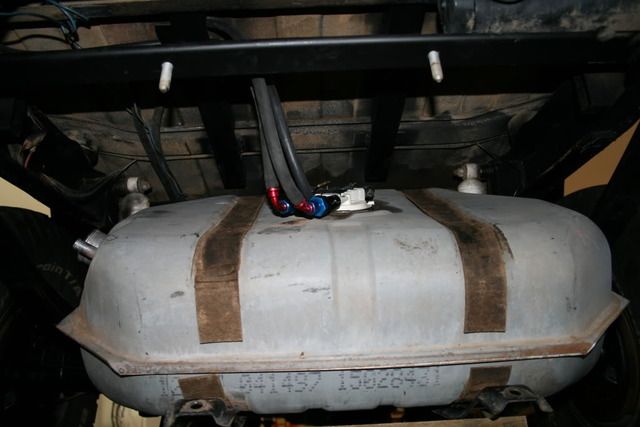
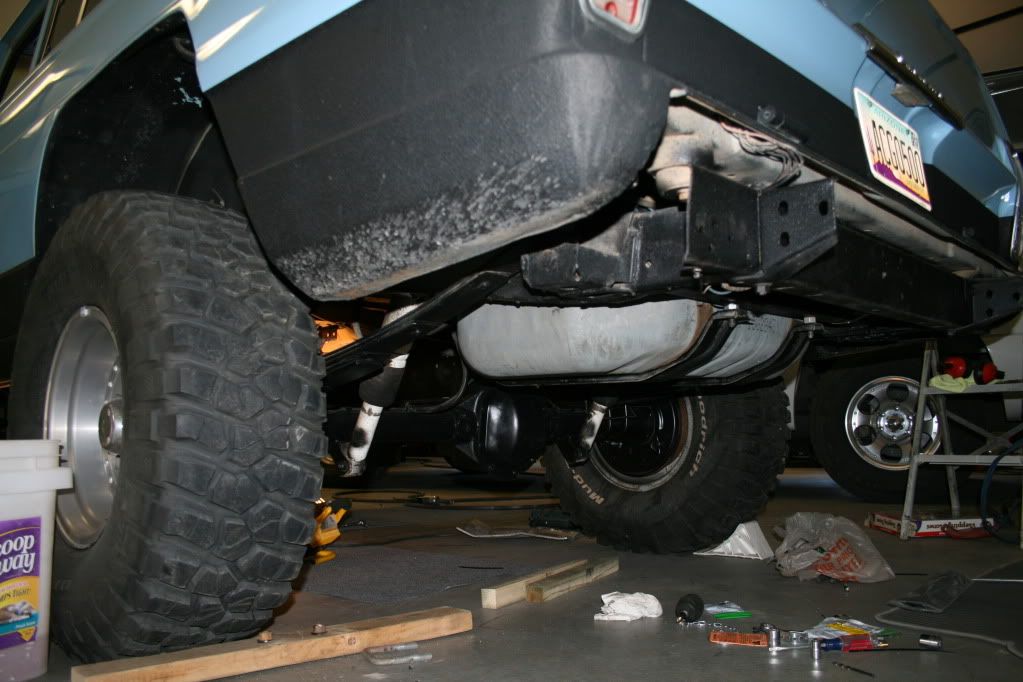
This is a 20 gallon fuel tank from a 97 2 door Blazer. The fact that it has the GM fuel pump makes it a perfect choice. Fits like it was made for it. It's even formed to leave space for the shocks! I did have to shim the tank down just enough to leave room for the fuel lines and fittings. I also had to add a cross member for the straps to attach to at the rear and just welded a couple small 1/4 inch thick tabs to the front cross member for the front strap bolts.
I got all my hose, filter and connectors from Summit Racing http://www.summitracing.com/ I used 6-AN hose. If you call them and tell them what you are doing, they will hook you up with all the fittings that you will need. I used their filter (SUM-230118). If I remember right, you need 3/8 connectors for the fuel rail inlet and 5/16 for the return line. Same connectors on the fuel pump. I would definitely call them instead of trying to order online. They will know what you need to make your system. Do be ready for some major sticker shock though. Mine cost over $400.00 for everything I needed. There may be some cheaper alternatives out there and I think I will someday want to swap over to more hardlines, but it works great for now and the hoses were easy to run.

-------------------------------------------------------------------------------------------------------------------------------------------------------------------------
The wiring:
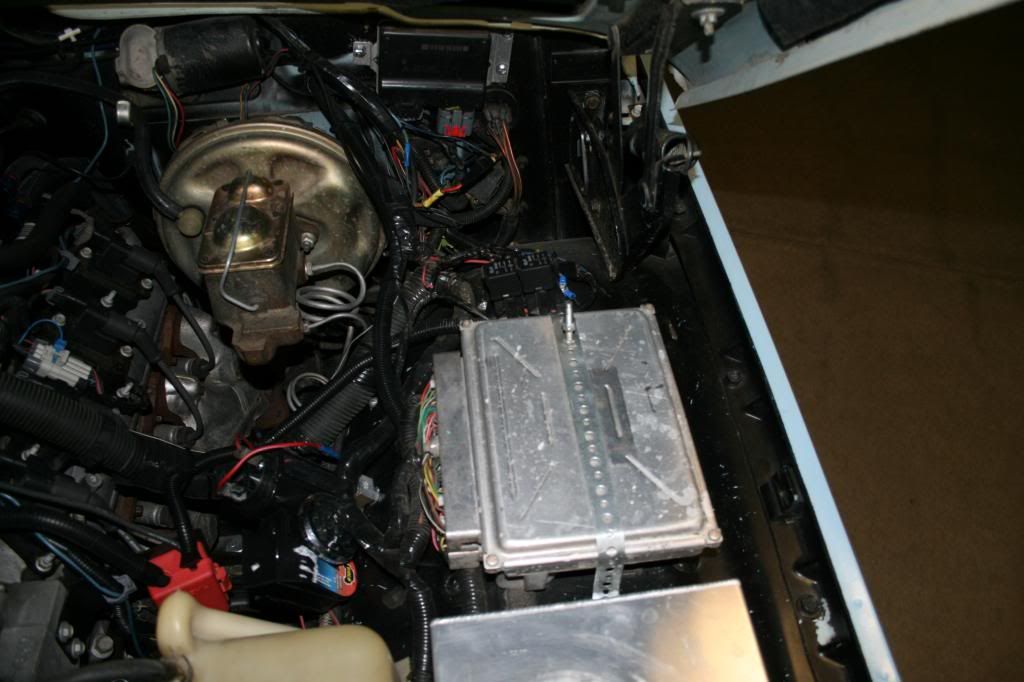
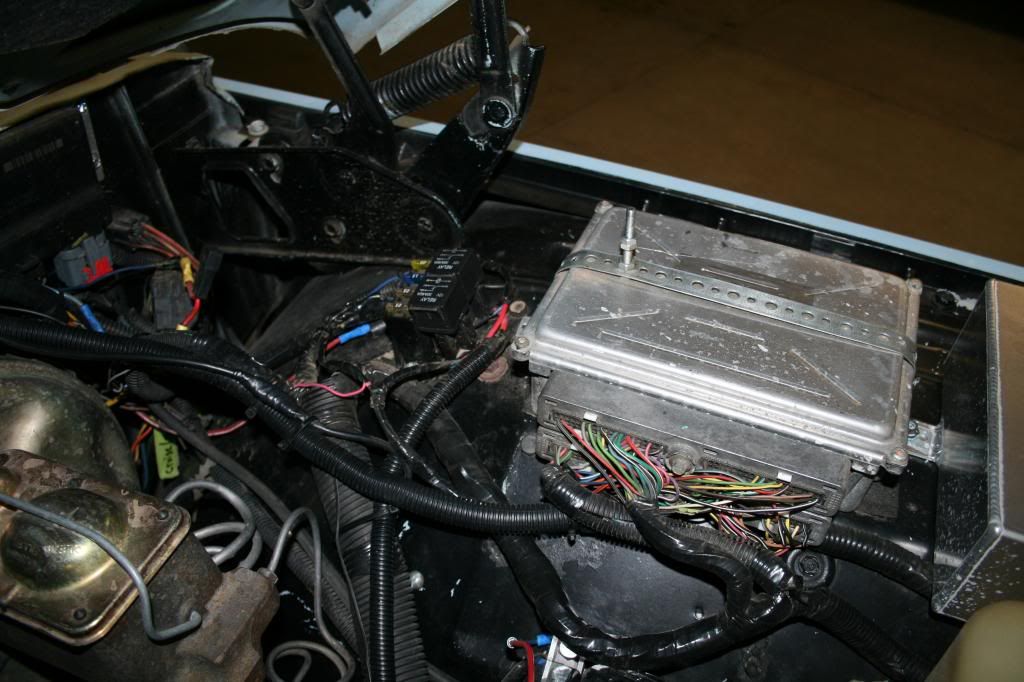
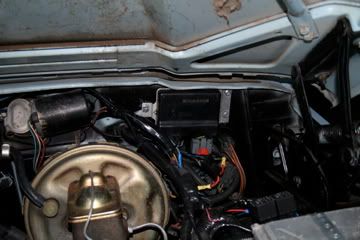
If you ever decide to do this swap yourself, make sure you go to http://www.lt1swap.com. The free information Brendan gives you is invalueable. All the info I needed for the wiring harness came from this site. Everything from wiring the fuse block and relays(including links to where to purchase the parts you need) to what wires you need and don't need in the harness itself. He also answers any questions you might have via e-mail. I can't thank him enough for sharing his knowledge. He saved me about $800.00. All he asks in return is that you give him the opportunity to program your ECM, which he only charges $75.00 for. THAT INCLUDES RETURN SHIPPING! That is beyond reasonable. I feel giving him a shout-out on here is the least I can do for him. Thanks Brendan and thanks again "Wonderwag" for turning me onto him.

Here is where I mounted the ECM and fuse block.
-------------------------------------------------------------------------------------------------------------------------------------------------------------------------
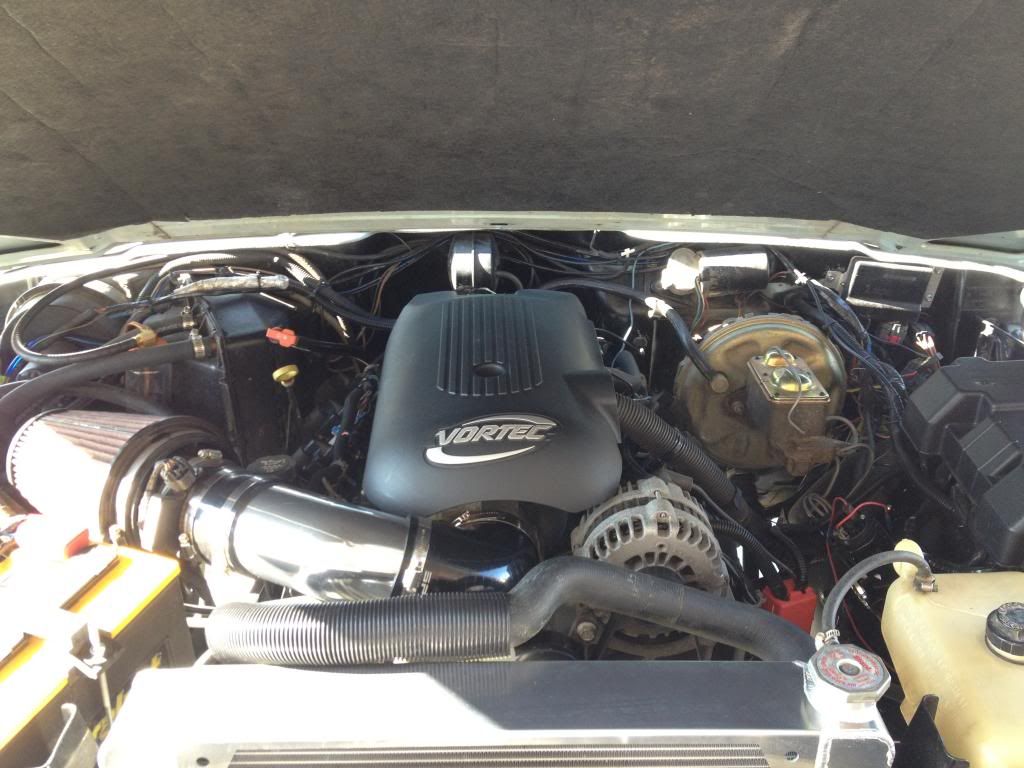
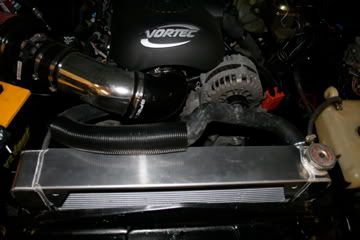
Moving onto the cooling system:
The radiator I used is the aluminum cross-flow for the Chevy swap, from BJ's. It is a very nicely made unit with beautifully clean welds. I am currently running without a shroud with the factory 5.3 fan and it actually cools surprisingly well. In the heat of summer, which is usually in the mid to upper 90's here, the only time it climbed a bit was when I would sit in a drive-thru or stuck in traffic. The hottest it hit was 218 degrees. That's about 8 degrees hotter than either one of my other vehicles with the 5.3 ever gets, but not too bad for no shroud. I will be looking into having a shroud made when I have a little cash again.
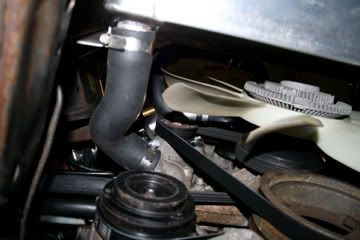
One complication I did have was fitting hoses for the application. I spent a lot of time walking through the hose isles in the local parts stores trying to find the perfect ones and here's what I came up with:
For the upper hose I ended up piecing 2 together, but it works perfectly. I used the original hose for a 5.3 Silverado [Dayco E71989] for the engine side and one from a 93 Chrysler LeBaron [Dayco E71075] for the radiator end. Both are cut to fit. If anyone finds a one piece that works, please let me know.
Now for the lower hose. I actually found a hose that fit absolutely perfect with no cutting. It's like it was made for it. It is from a 1995 Ford Taurus [Dayco B71381] The only problem was that the radiator outlet was 1-7/8" and the hose is 1-1/2". SHNIZZLE STICKS!! After spending a bit more time searching, I decided to just take my radiator to a local shop and have the outlet changed to a 1-1/2". I also had them add one more fitting to accept the 5/16" throttle body warmer hose. Worth every bit of that $75.00!
-------------------------------------------------------------------------------------------------------------------------------------------------------------------------
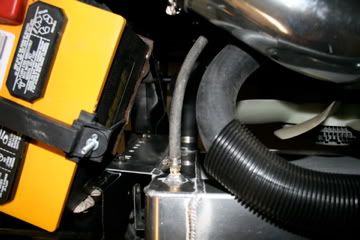
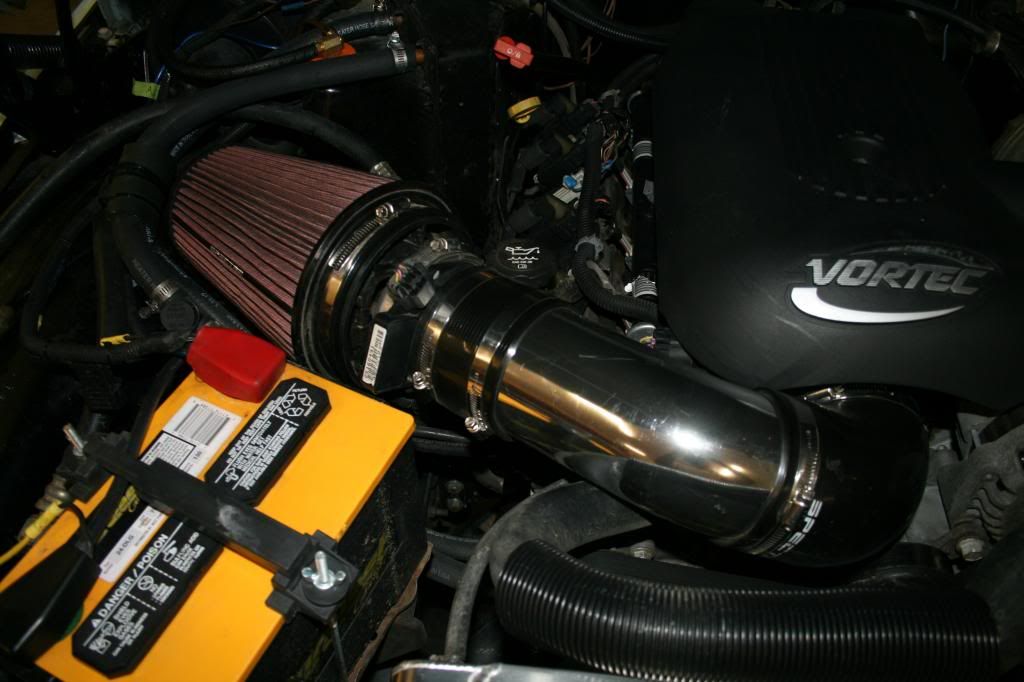
The Air Cleaner:
The air cleaner I used is actually just the aftermarket Spectre series from Autozone for the 2003 Silverado. I had to cut the tube down, but by some miracle, by turning the tube 180 degrees it aimed right for the only space I had for the assembly to fit! It's hard to see in the pics, but I did make up a little bracket that goes from a mounting tab on the tube, to a bolt in the engine block.....Like a glove!
-------------------------------------------------------------------------------------------------------------------------------------------------------------------------
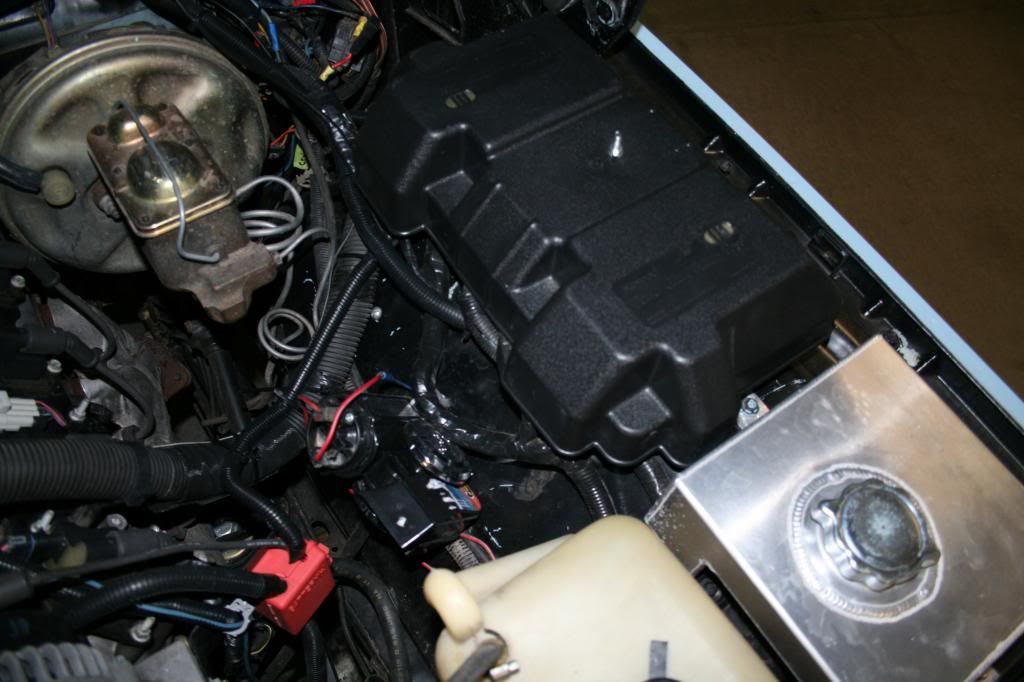
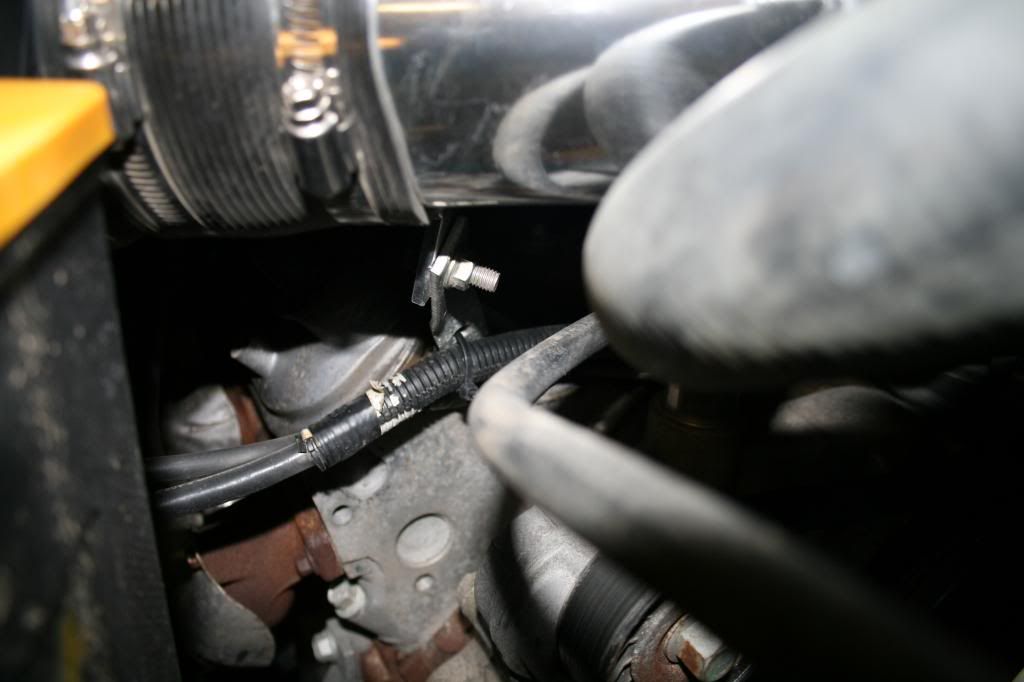
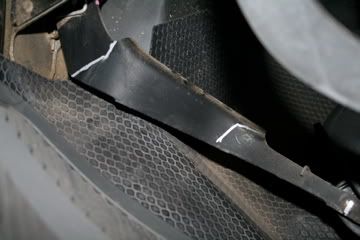
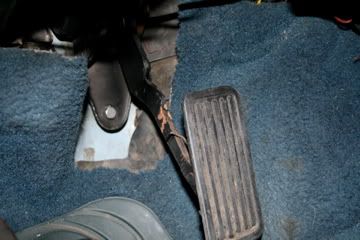
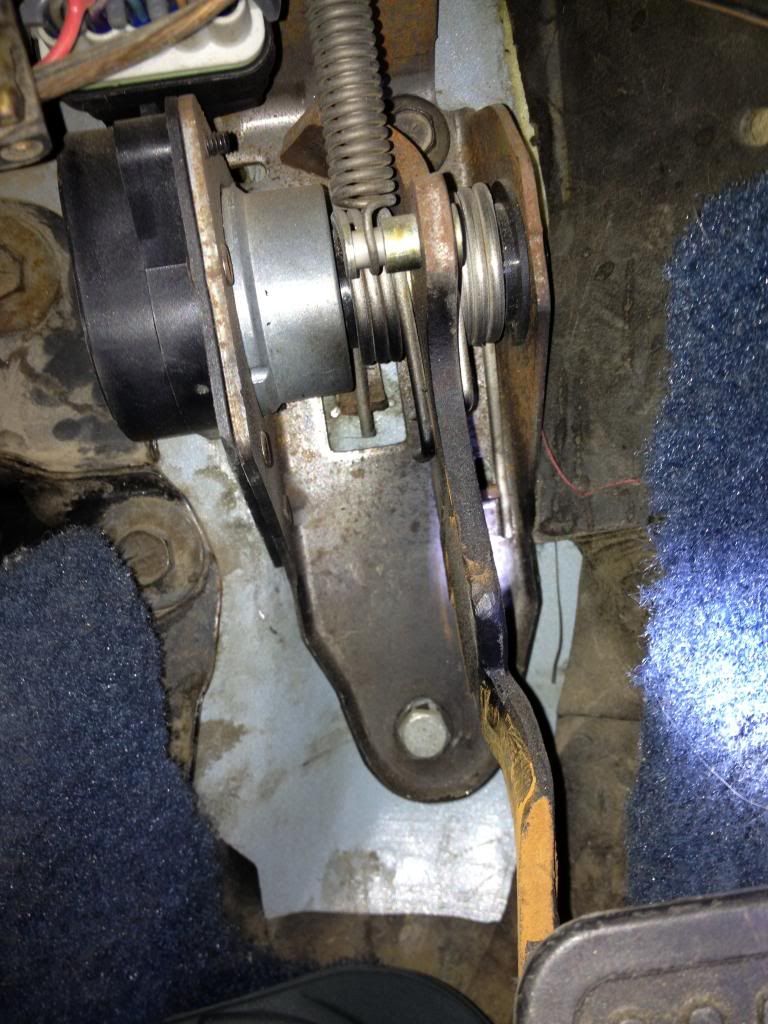
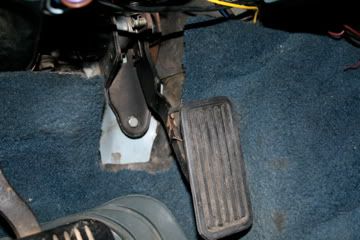
Modification of the GO pedal:
Here are the modifications I had to do to make the gas pedal work in the Jeep. It was really not that difficult to set up. I did have to cut and weld the arm of the pedal, but other than that it was just a matter of drilling one hole for the mounting (the other hole I used was one from the old pedal) and a hole in the firewall for the wires. Then it was just a matter of plugging it in. I mounted the control box for it on the driver's side firewall, right above the fuse box and other harnesses.
These first pics are of the pedal in my 2003 Silverado.(same pedal) I made the marks to show the section I cut out of the arm for the Jeep to make it fit. Then the pics of it installed in the Jeep. The last pic shows where I mounted the control box.

-------------------------------------------------------------------------------------------------------------------------------------------------------------------------
Dakota Digital dash:
The Dakota gauge cluster was definitely the easiest way to go, because it is all programmable for any speed sensor and is also adjustable. I was able to use the wires from the computer for the speedometer and tach. It comes with it's own sensors for oil pressure and temp. The cluster is also able to accept any fuel sender, so this was just perfect for the application. It even has a built-in check engine, 4wd, cruise, brake and turn signal indicator. Just for fun, it also gives you 0-60 time, 1/4 mile time and speed, 2 trip odometers, hour meter and adjustable engine service mileage. I got it through BJ's Off-Road for cheaper than direct from Dakota. Still NOT cheap!

-------------------------------------------------------------------------------------------------------------------------------------------------------------------------
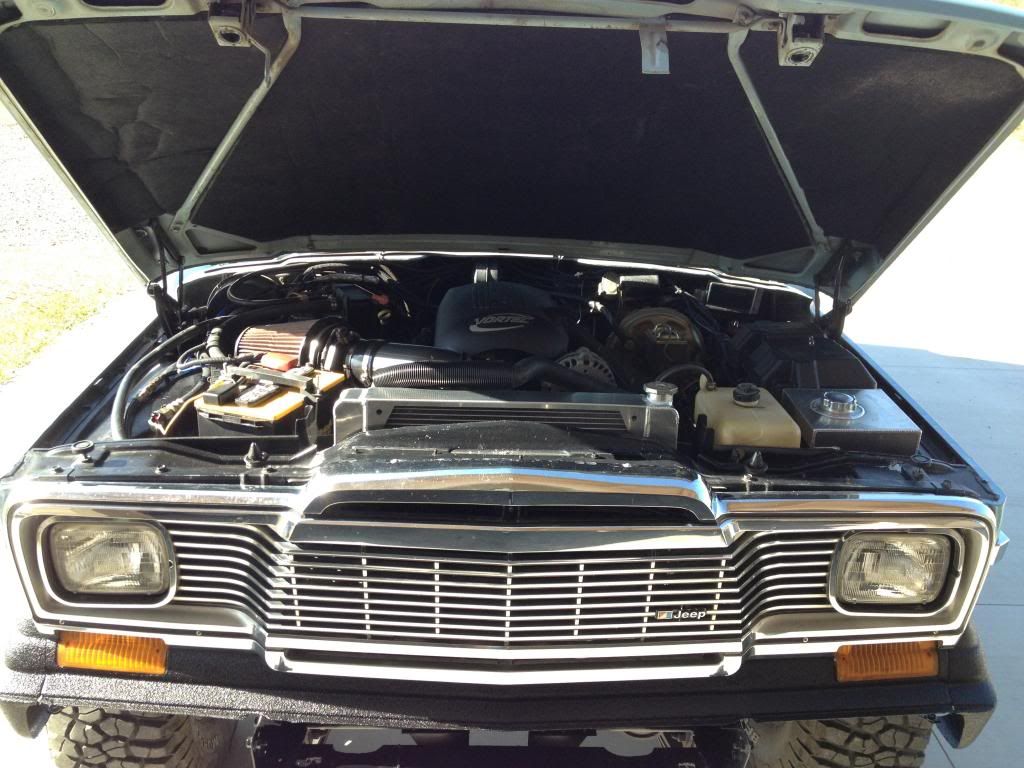
DONE!!!!
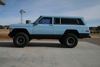
Well, against all odds, I am now driving a 1979 Jeep Cherokee Chief with a 2003 GM 5.3 engine and it is just the most gratifying thing I have ever accomplished completely on my own. Everything works great and the power is just incredible! I estimate my total cost for the project to be at about $5,500-$6,000 bucks and in my opinion an incredible value. It's a one of a kind and it now has the dependability of a newer vehicle, with all the class of a classic Jeep. It doesn't get any better! I have put almost I get somewhere between 15-17 mpg, depending on the mix of highway and town driving.(heavy on the town mileage and the go pedal) I have heard of others getting 20+ mpg from these on the highway, under 65 mph or so. This sounds very possible. Most of our highways are 65+ mph, so I don't know if I'm achieving that, but if I could get the lead that has somehow found it's way into my right shoe out for town driving, I could do better for sure. The power is just TOO fun! One thing I know for sure is that I am doing a WHOLE lot better than the 9-10 mpg I was getting from the old 360 and the dependability doesn't even begin to compare. Thanks for checking out my thread! You can hear it run on Youtube here. http://www.youtube.com/watch?v=XrqX1ip2KkM Letting you know ahead of time, I am no cameraman.