I’ve done very little welding any no body work to speak of. If you have experience you’d be willing to share I’d appreciate it, especially detailed photos of the fit up required for sheet metal.
I like the looks of the square rear door corners that most conversions have but I’m going to do it the Aussie way. Leaving Wagoneer rear doors and using the gained space for storage.
I think I can do it using only the sheet metal from my Wagoneer and maybe a few square feet of new sheet metal to finish the back and make the storage compartment doors.
Here are the conversions that most influenced my design choices:
I'm basically going with the Australian style conversions because they don't modify the doors and they basically use a Wagoneer roof.

I want to keep the roll down window feature in the truck. I don't know if this window is functional but it looks like it could be.

Here’s a conversion that's typical of what Creative Conversion of Australia produces. The storage space created in the wheel wells isn’t much in these smaller rigs.

If you look at the void left when you chop up a Wagoneer it could be a sizable storage space. The mail box shaped lines I’ve drawn here are approximately the size of the compartment I should have when I'm finished.

I drew in a door on this conversion and they should be a pretty decent storage bins.

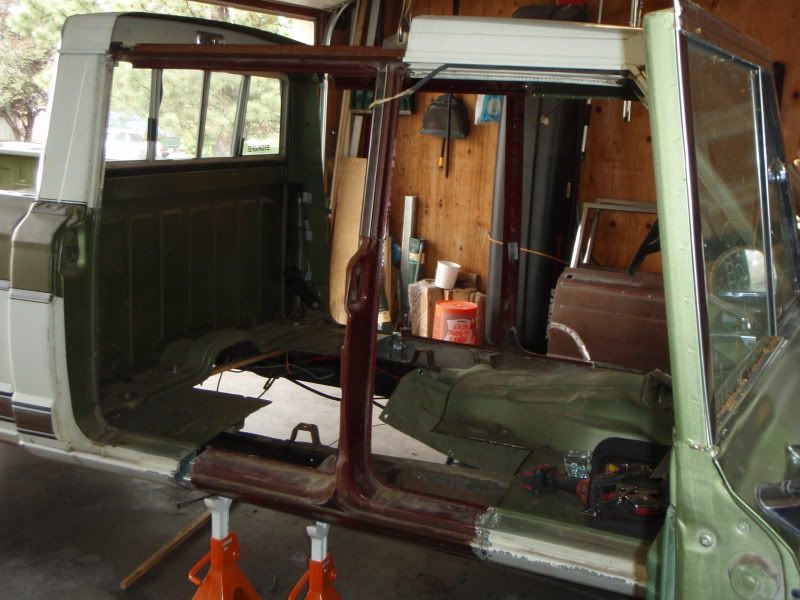
This isn’t my Wagoneer but I needed the interior picture to demonstrate where I’m moving sheetmetal.
I’m going to use the window regulator so I’ll use the tailgate sheet metal and access panel for the interior wall of the cab.

The floor will need to be cut long because the rear of the cab will be double walled to conceal the window mechanism.
The tabs will be cut even longer than the floor. I’m thinking I’ll be able to bend them up to allow easier fitment and welding to the rear wall.
I’m afraid I might have to notch some of the lower corners of the access panel to clear the wheel wells.
The interior skin of the tailgate will come forward to the yellow line.
It'll probably have to go farther toward the rear to clear my roll cage.

Please ignore my lack of Photoshop skills but this is kind of where it should end up.

The D pillars will come forward and get tilted to achieve a vertical window with the least amount of slope possible on the back of the cab.

Since I’m not cutting up a truck to get the back of the cab I’m going to use what’s left of the floor. The end nearest the tailgate has a flat panel welded to it so I’ll put that at the bottom of the cab to shed water. It won’t look factory but it’ll look pretty good I think.

I think I know how to tie the corrugated floor panel into what will be left of the exterior of the tailgate but it’s going to be more angular than the factory stamping that’s for sure.

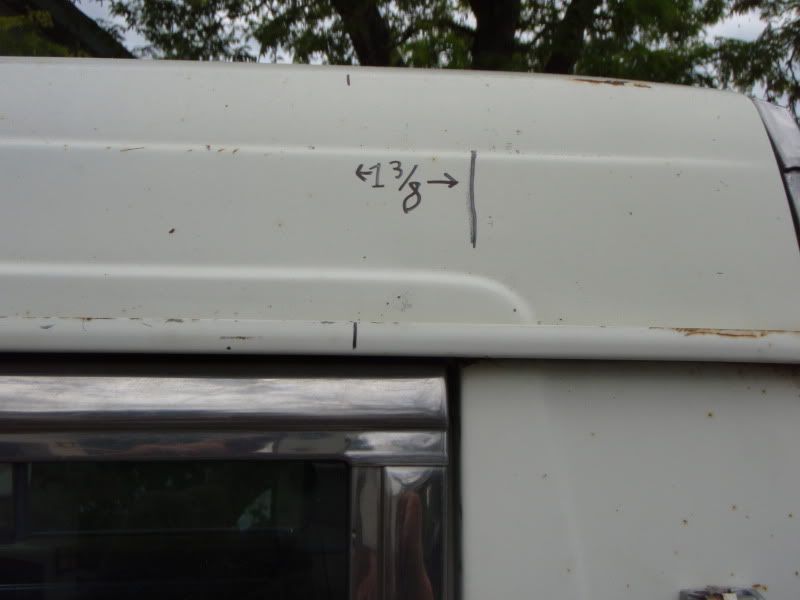
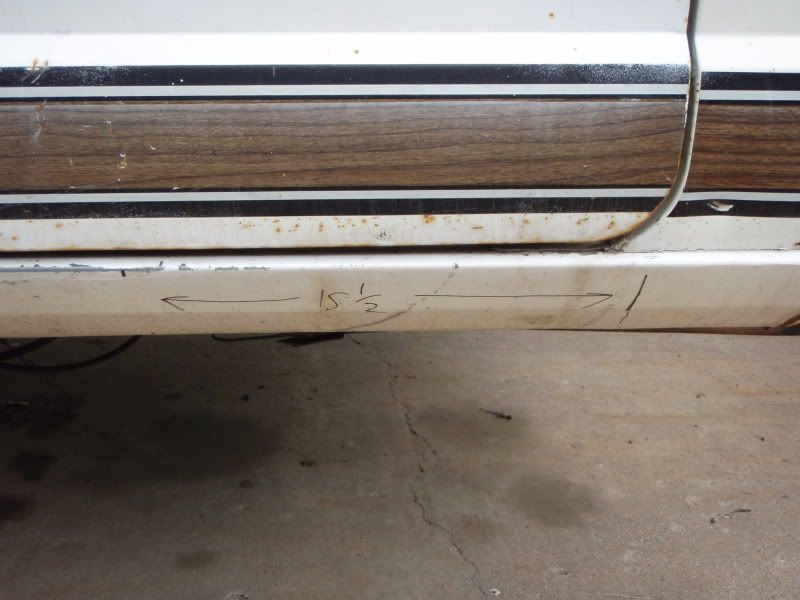
This one’s mine and here’s where I think I’ll end up cutting it.
The red is where I’ll cut and the green arrows show where I plan to move things.
I'll need to leave a little extra for trimming and rounding the corners to match the back of the cab.

Here’s what I’d like to end up with.

This cab should be pretty close to what I’ll end up with but I’m doing a flatbed not a box.
I don’t want the small window this cab has but mine will be almost the same length because I need to clear my roll cage.

I hate to lose the propane filler I built into the original spot but I haven’t figured out how to reuse it.

Here’s what I looked like when I bought it.

Here’s how it looks now.

Here’s how far back the rear hoop sits.

Just for kicks here’s the roll cage before we installed it.

I’m sure it’ll bother some people that I’m cutting up such a Clean Wagoneer but the finished truck will be worth it.
My cousin is going to help me with this project, wish us luck!