Ad blocker detected: Our website is made possible by displaying online advertisements to our visitors. Please consider supporting us by disabling your ad blocker on our website.
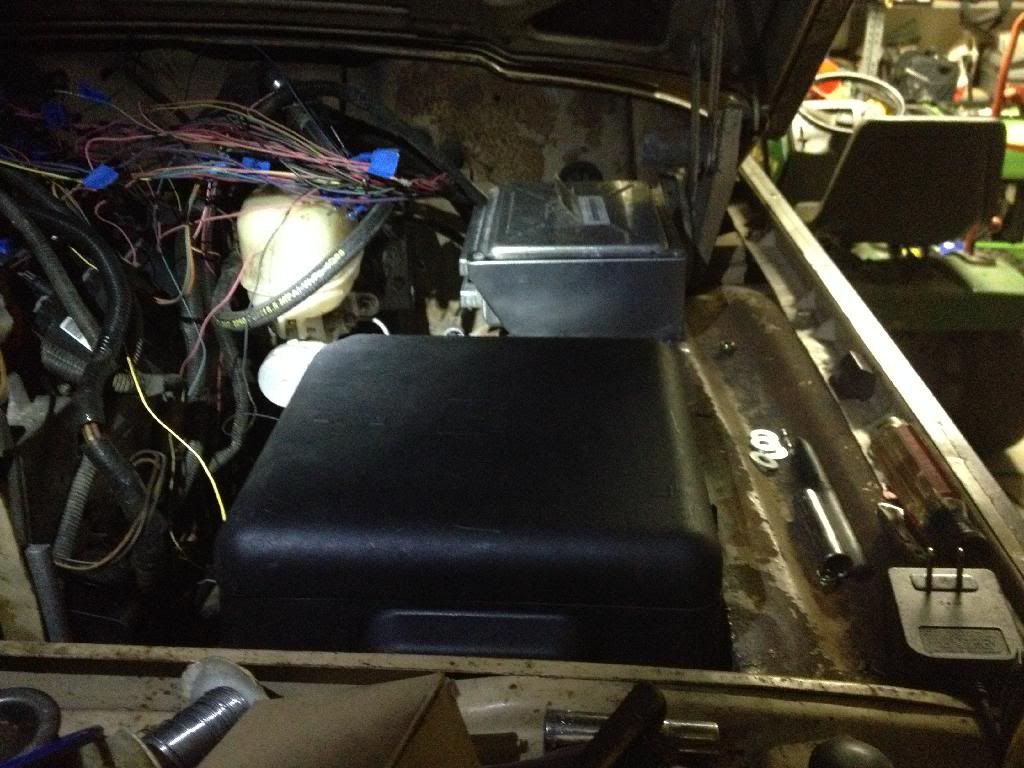
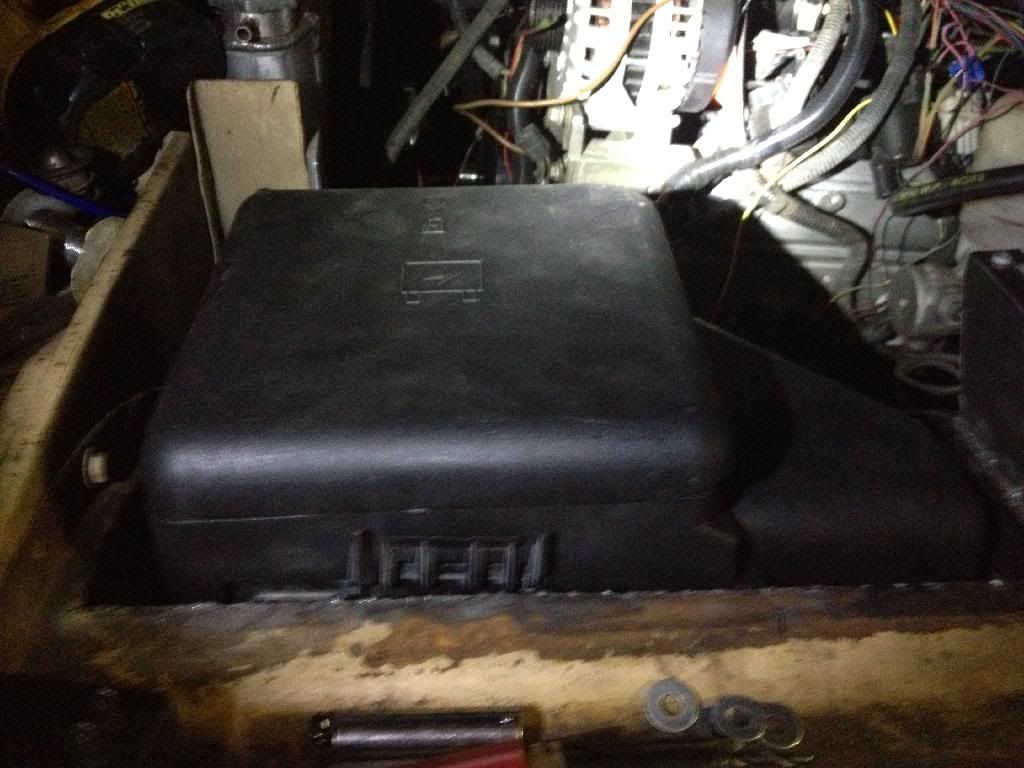
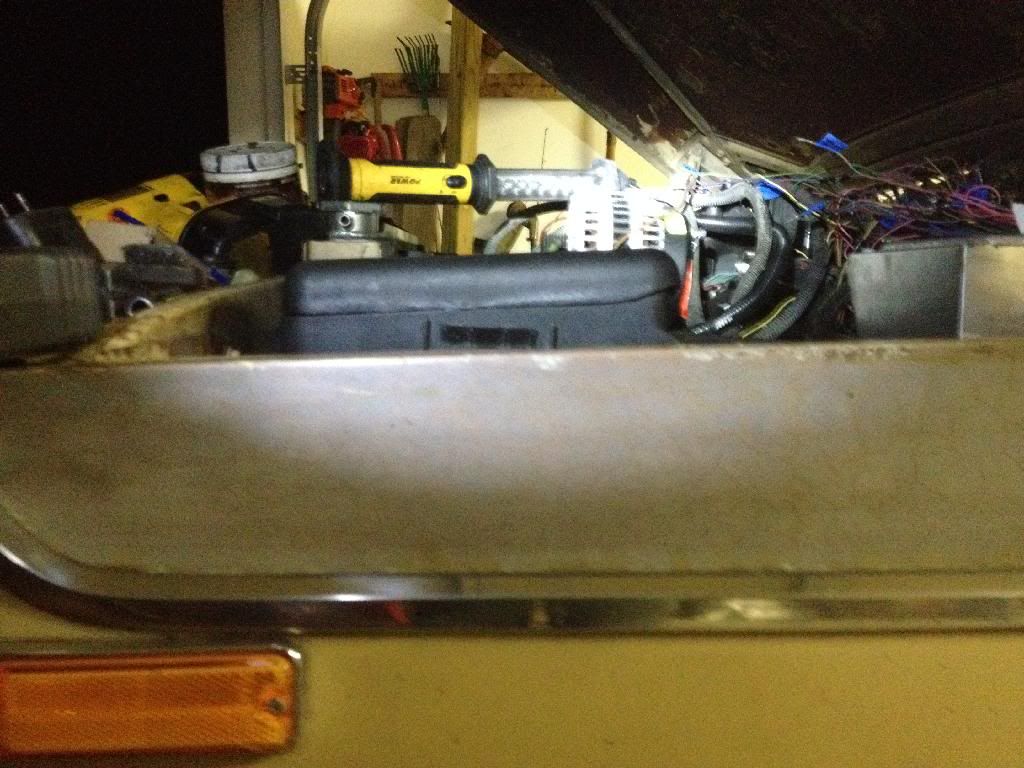
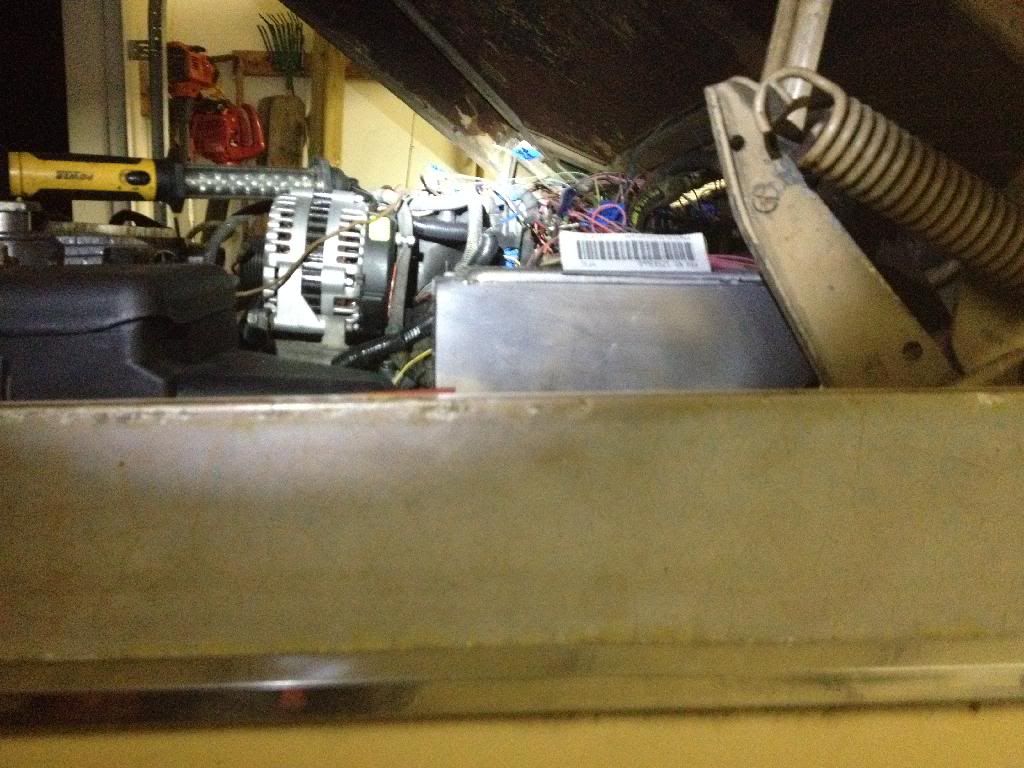
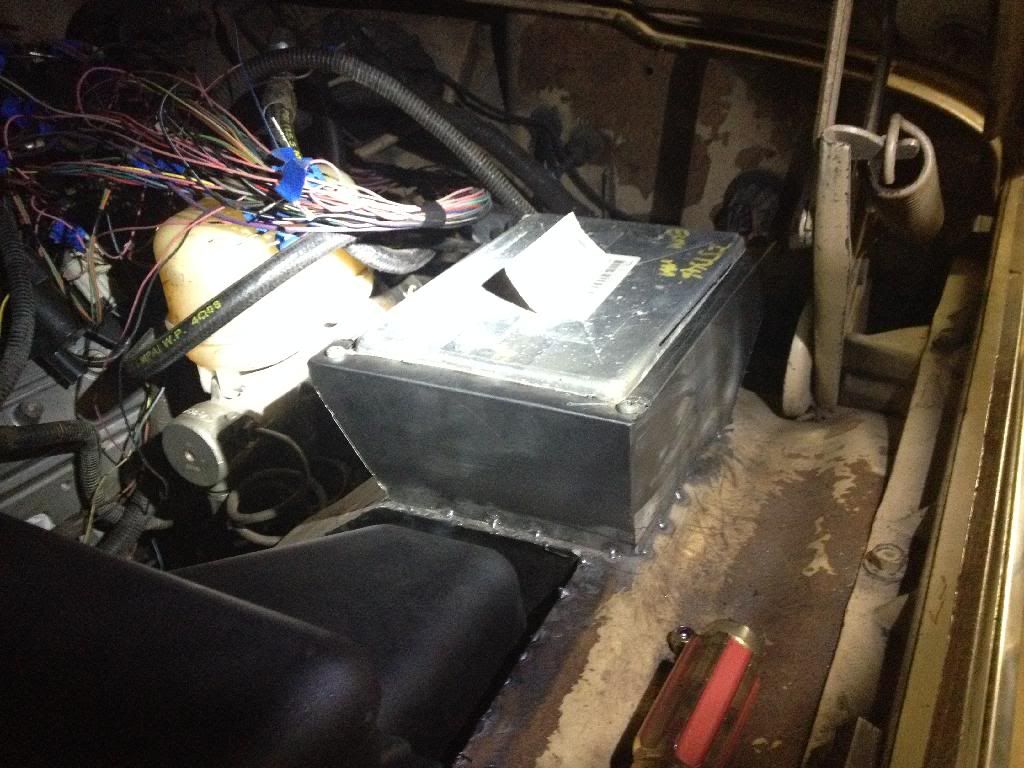
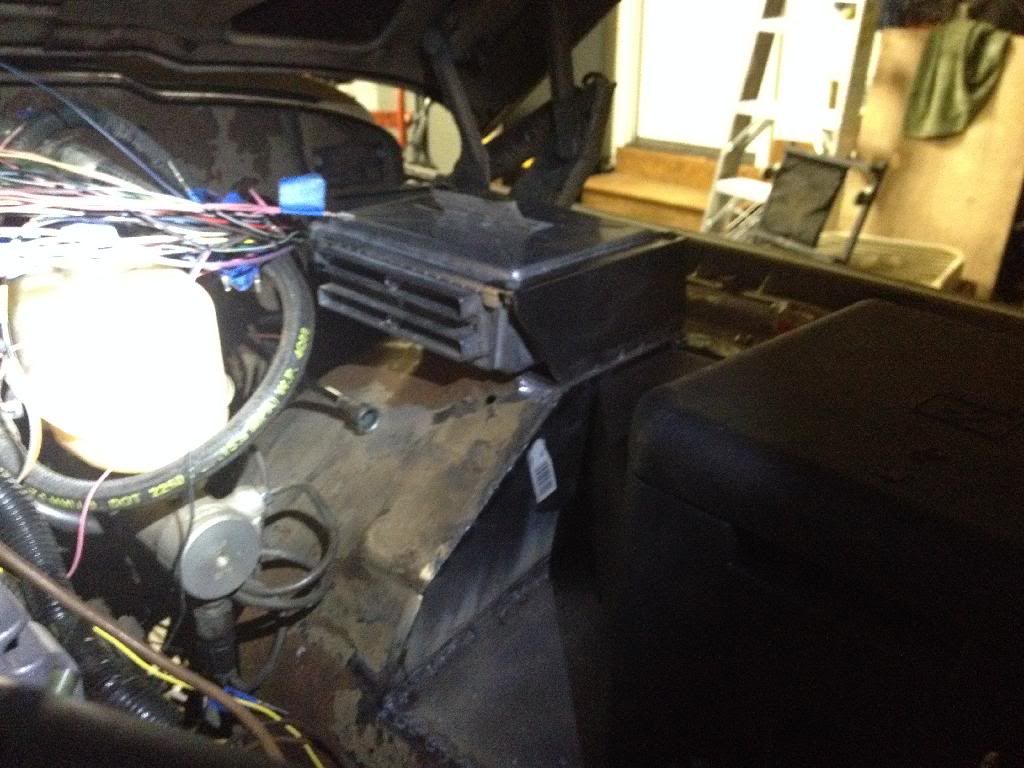
Finished roughing in the fuse box. It's all tacked in, just need to finish welding and clean up.
Made a mount for the ECM right behind it.
Now I can finish wiring everything up.
Looking good! Following...hoping to start a swap soon.
1988 Grand Wagoneer, , 6" on 33x12.5 BFG M/Ts & Mickey Thompson Classic wheels
Currently undergoing a 5.3/6L80E/NP241C swap!
You can view my Build/Work In Progress thread by clicking HERE!
wire and install fuel pump/sender
plumb fuel lines
air filter
radiator supports
patch floor hole
adjust driver seat mount
throttle cable
plumb and hook up PS and hydro boost
fab new battery box
wiring
fix rear window
install 63" rear springs
install rear axle
rear shocks
fab and install front coil springs
install front axle
front shocks
bleed brakes
modify drive shafts
fab exhaust
wheels and tires
torque converter
gear selector
lube job
program and tune ECM
Regardless, I'll be at ECI. Either in a fsj or a dodge.
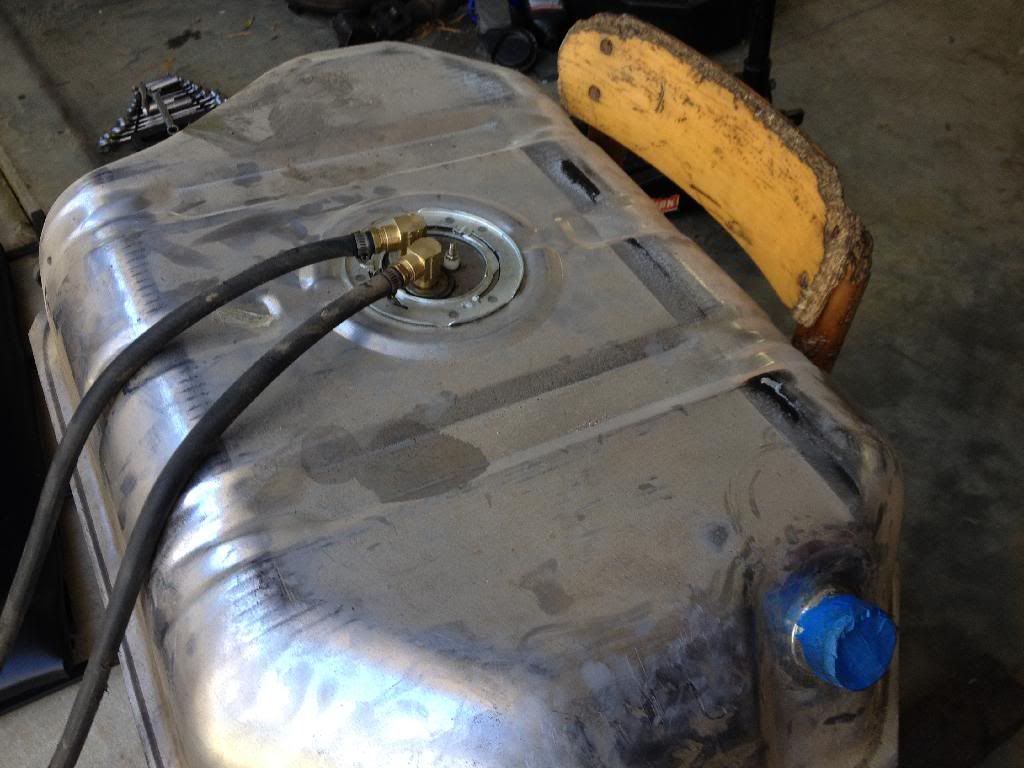
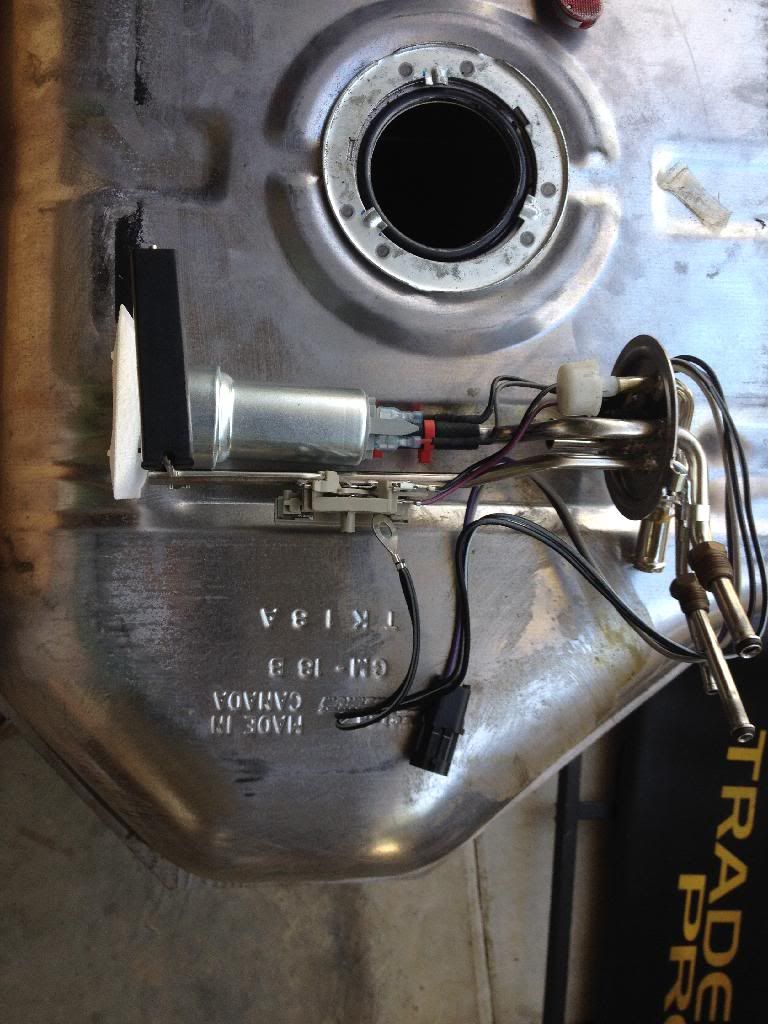
Pulled the fuel tank and put the new sender and 400 lph pump in.
How it was with the 401. Made my own unit with a jeep sender. No pump in it then.
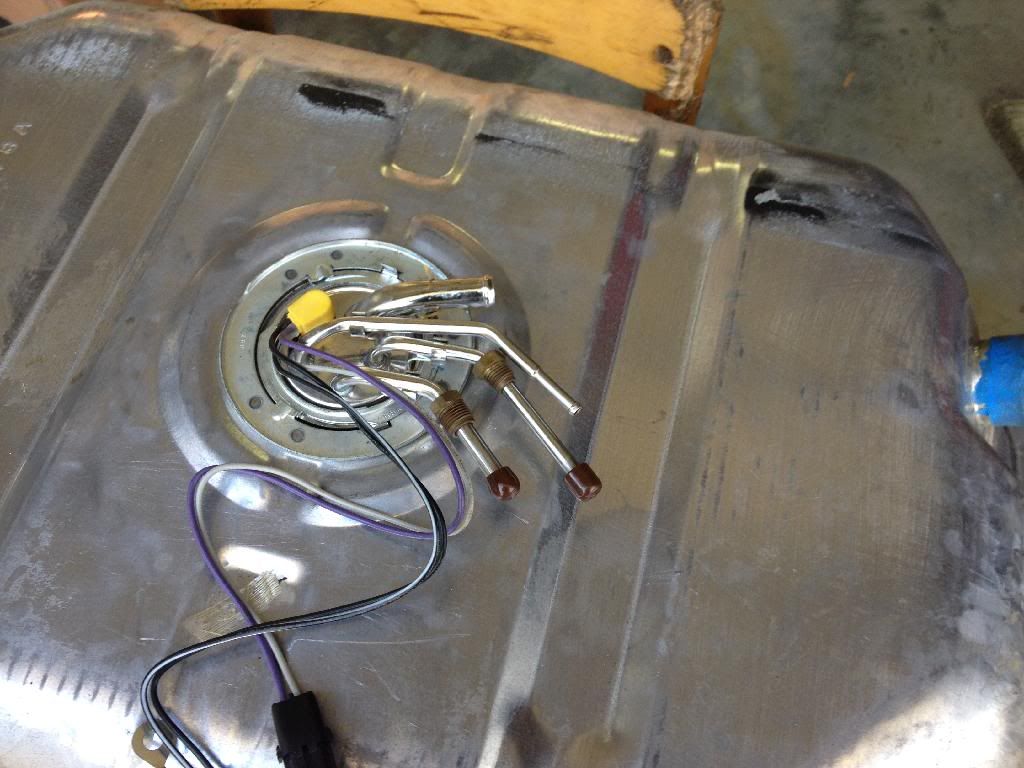
GM sender and fuel pump. Pretty much went in like it was made for it.
All put together.
Holding off to put it back in till I get the 63" springs installed. Have some cutting and welding to do so best to hold off since there is a little fuel left in the tank.
Last edited by lobie on Sat Mar 08, 2014 6:36 pm, edited 1 time in total.
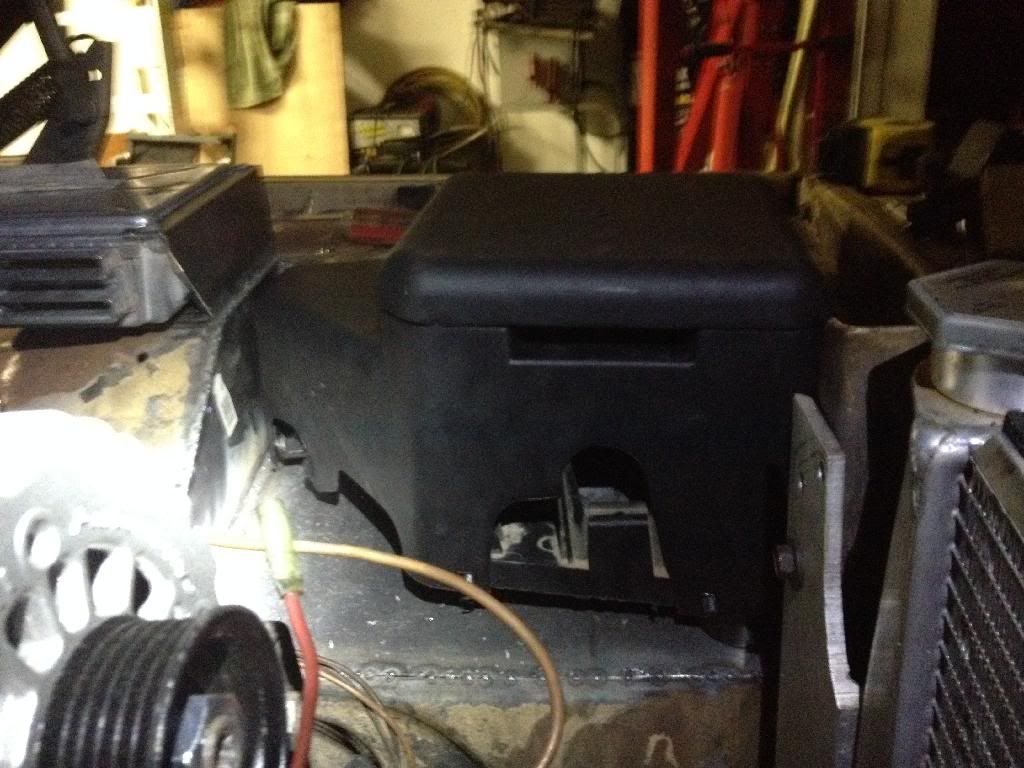
I went back to the stock radiator. The aluminum needs some fab work to get it secured in place. One of our CFSJC members is using the stock radiator with no issues. I used a stock radiator in my 4runner years ago when I did a LS1 swap with no issues. Also with the technology the cooling flow through the LS series engine are far better than in the past.
I installed a tranny cooler on the front of the radiator to keep the tranny cool.
Out with the new, in with the old.
Last edited by lobie on Sat Mar 08, 2014 6:35 pm, edited 1 time in total.
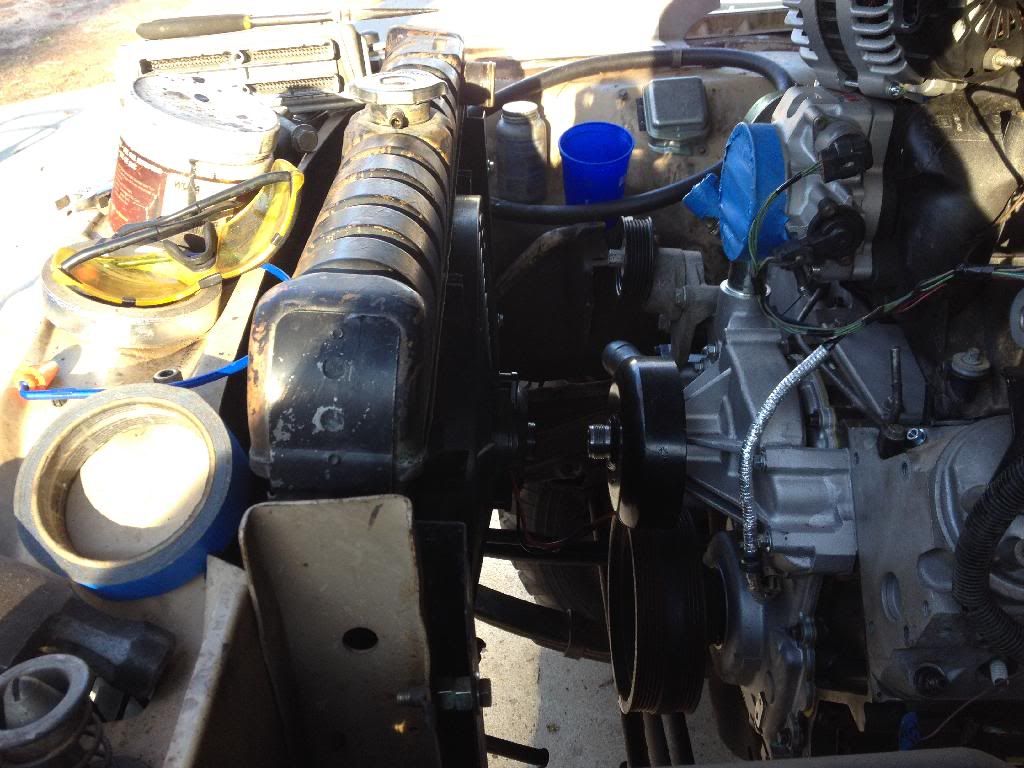
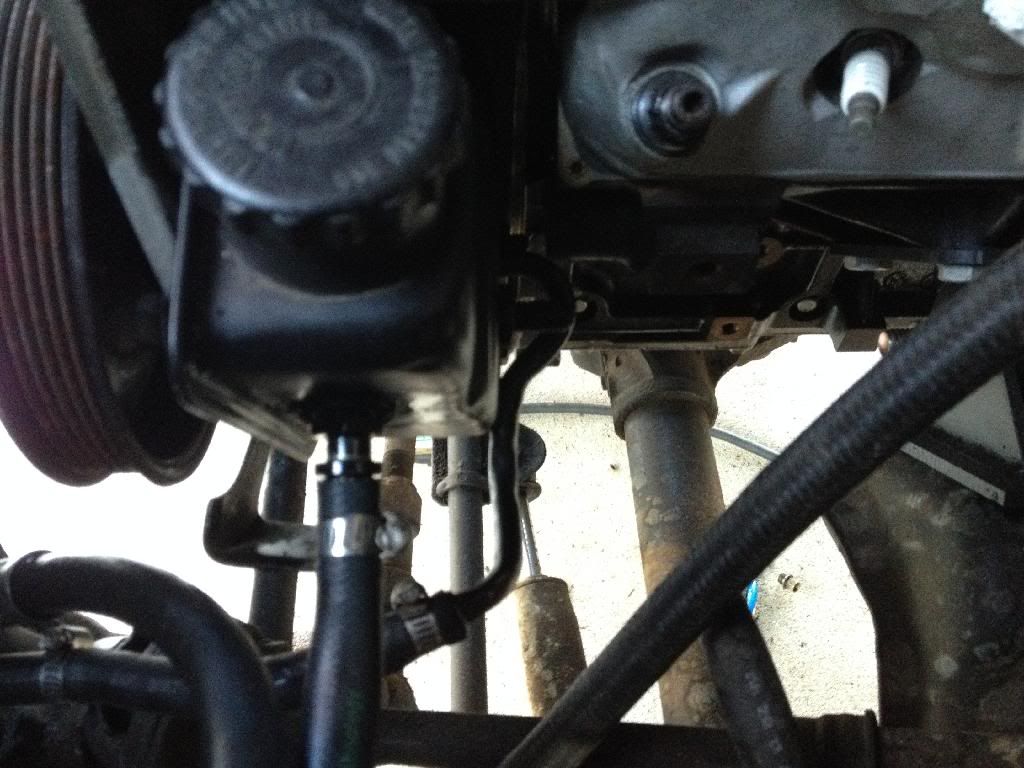
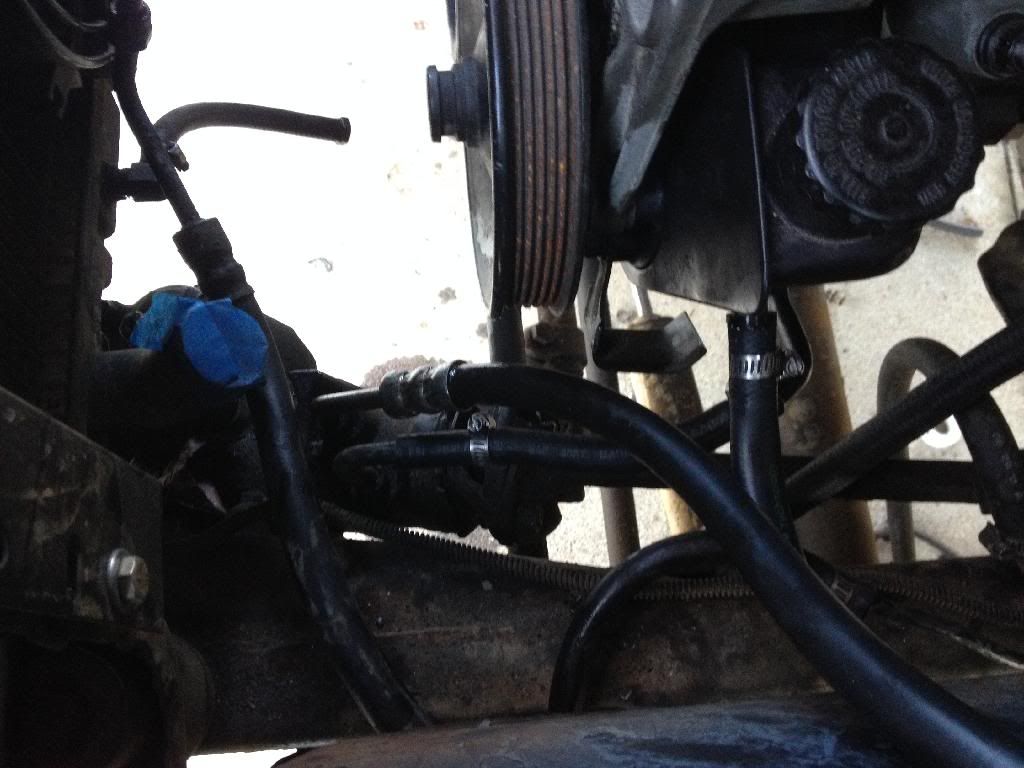
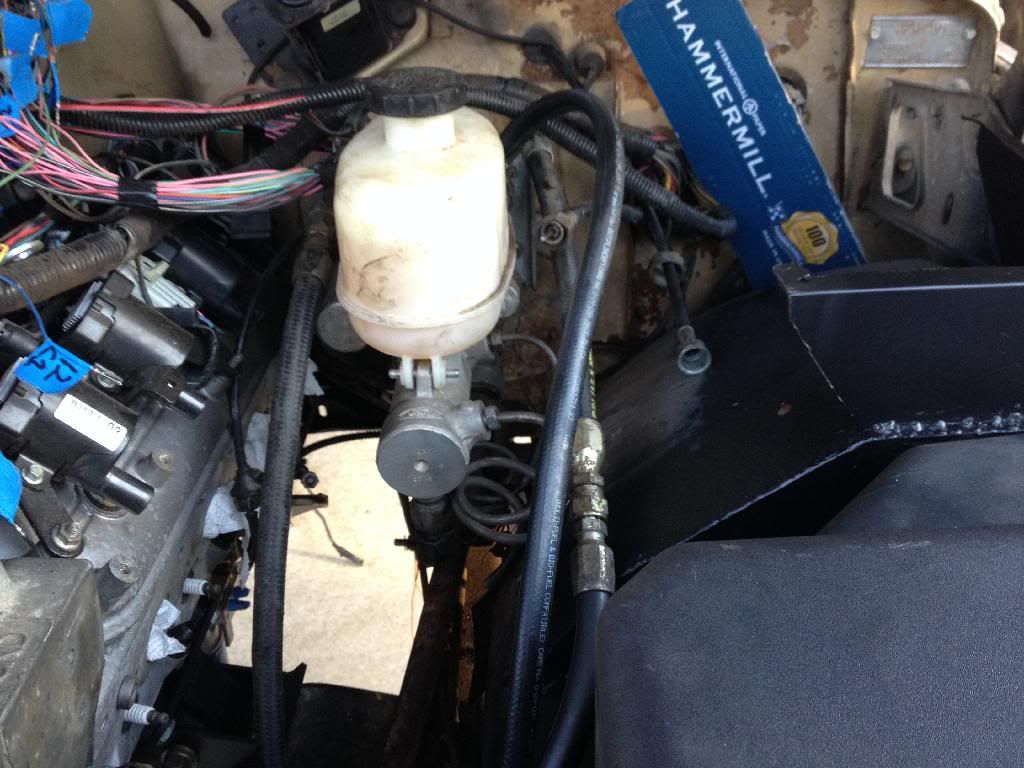
Hooked up the power steering and hydro boost. Missing an adapter I had on the cummins build. Must have left it in the pump when I sold it. Just need another one to hook up the pressure line.
I pulled the pump off the engine and took the can off to put another return nipple on it for the hydro boost return. It's hard to see in the pic but it comes straight out towards the fender.
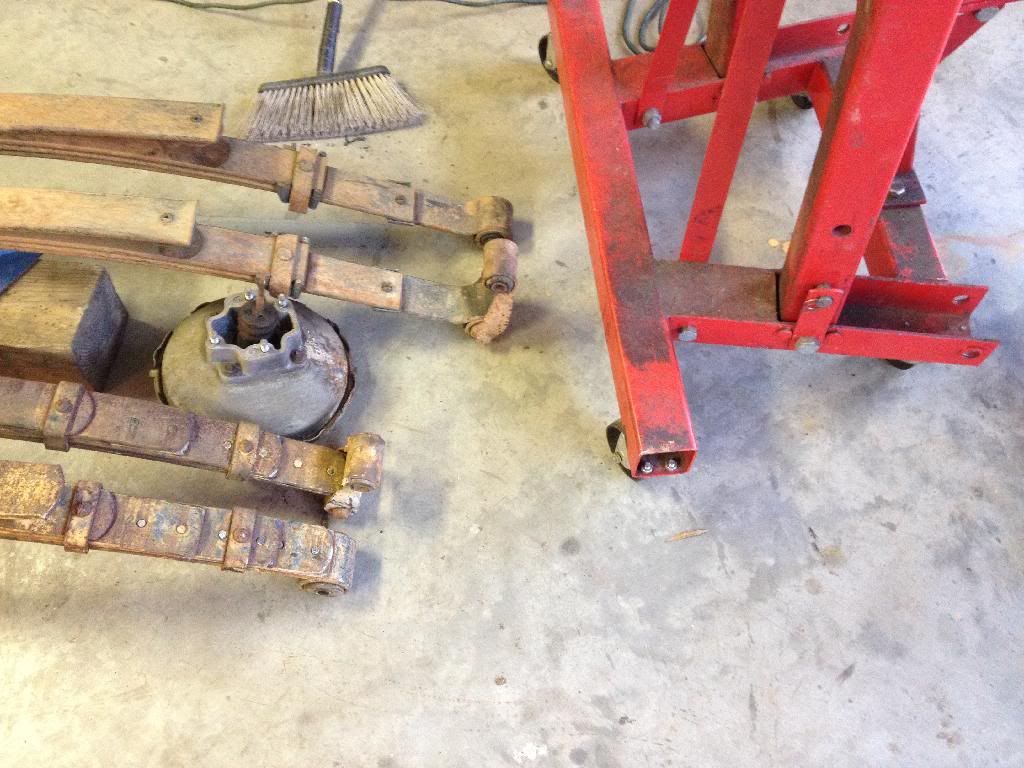
Last thing I did before calling it quits for the day was remove the rear springs. Tomorrow I'll put the brackets on for the 63" springs and weld it all up. Hope to get the fuel tank back in too.
Got it mocked up and places marked to cut just ran out of steam today.
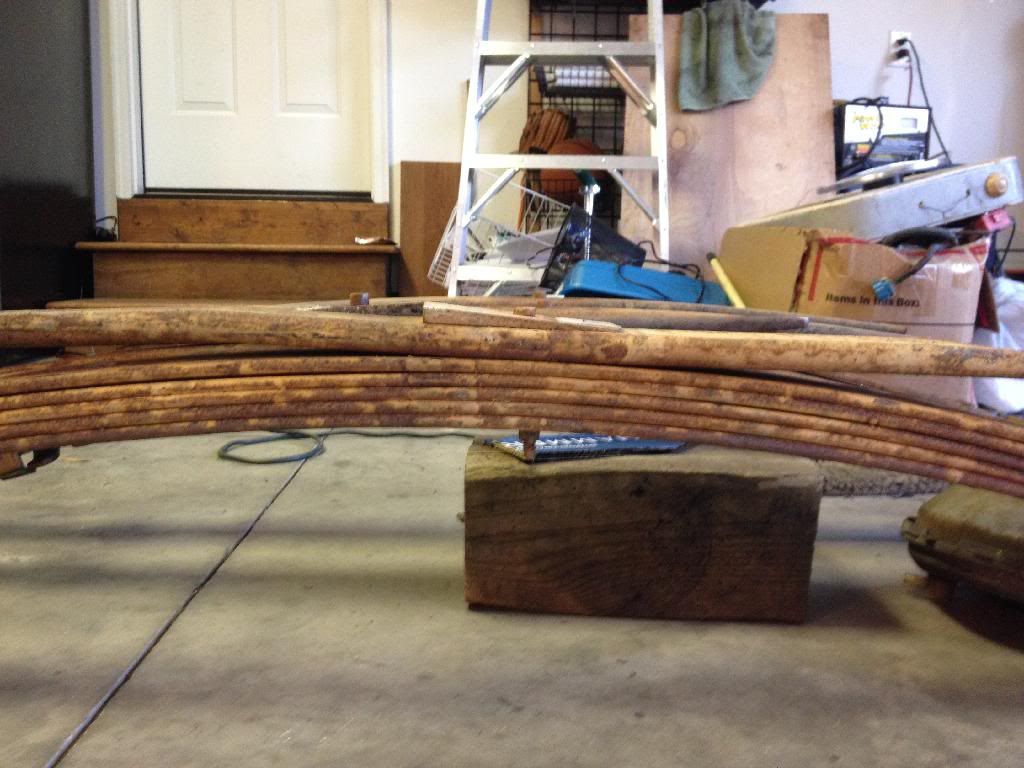
Pics are of the 63" springs and the ones I took off. I knew the front had 4" lift springs and the rear had blocks but apparently the rear are rough country springs with blocks. Kinda weird to me. Why replace springs and put blocks under them.....
243 wrote:I have never thought about making my own adapters, did you mate up the trans and transfer case input/output to get your measurements?
I also like the idea of using the stock radiator to avoid hack-fabbing the core support, do you have the hoses sorted out?
The adapters are pretty eaisey. Need to figure a couple dimensions. On the tranny, distance from tail housing flange to end of shaft. On the TC, the distance from end of shaft to mating surface. Last one is the distance the shafts slide in to one another. Do some math and you get the adapter length. I add a 1/4" to the adapter.
Hardest part is getting it all square. Just takes time. On this one I didn't use the machine shop. On the cummins build I was mating male shaft to male shaft with different spline count. Had the machine shop help make a sleeve. About $80.
I have the hose numbers somewhere. Look up posts from War Wagon. It's listed in the 5.3 swap...... Thread.
Only thing I got done today was install the 63" springs. I mounted them 1" forward of the original location. I like the end result. Will need to trim the rear quarters.
35's should fill it in some.
Lobie what did you get your front and rear hangers off of? They look great! I plan on putting some chevy springs on my waggy but will keep the axle centered were it is now. I was planning on using a ruffstuff universal shackle flip for the rear but they are super expensive. I really look forward to seeing this at ECI
89 GW- Rebuilt 360 w RV camshaft, 4 inch Rustys spring lift, 1" body lift, dana 44HD front, 14 bolt rear 3.73's.
78 Cherokee Chief- work in progress
surfwagoneer wrote:Lobie what did you get your front and rear hangers off of? They look great! I plan on putting some chevy springs on my waggy but will keep the axle centered were it is now. I was planning on using a ruffstuff universal shackle flip for the rear but they are super expensive. I really look forward to seeing this at ECI
Dorman part numbers:
722-011
722-010
I used the front one as is and trimmed the rear shackle one a little.
I hope the jeep makes it to ECI. It'll be close.
Awesome, thanks for the information. Same here, I've had a lot of over heating problems lately. Need to get that ironed out
89 GW- Rebuilt 360 w RV camshaft, 4 inch Rustys spring lift, 1" body lift, dana 44HD front, 14 bolt rear 3.73's.
78 Cherokee Chief- work in progress