Phil's 79 Waggie

Area to show off your Custom Build threads.
User avatar

Tatsadasayago
Posts: 3684
Joined: Thu Aug 28, 2014 2:22 pm
Location: Sacramento, CA

Re: Phil's 79 Waggie

Post by Tatsadasayago »

rherndon wrote:
csuengr wrote:
gixxerphil wrote:Can anyone tell me what size these retaining clips for the rear window are? I would like to be able to pick them up locally and not pay as much for shipping as the part.
To make your life easier, cut two holes in your tailgate to access the pins these go on. Go to Ace and but three 7/16" E clips (two to use, one to loose) and two 7/16" nylon washers. Then take the two original clips and throw them across the room (you will do this eventually anyway).
Is it even possible to reinstall the window retainer clips without cutting a hole? I am having trouble getting the clip off to unattach my window.

Am I missing something?
It is, but it ain't easy!

The trick is to get the lift bar down where it's about 5" above the lower edge of the access panel. You reach in with the clip and get it on the pin then with the other hand you get in behind it and press the pin/arm into the lift bar channel. Using your strongest finger, press the clip on so the lower side (closest to the hinges) clips onto the pin. Then press the other side in until you hear or feel the other two tabs click onto the pin.

If you do it right you are rewarded with well attached clips but also red marks on your hands, arms and sore fingers.
I replaced hundreds of lift channels/glass/motors during my time at the dealership and even though I was young and strong, those clips always hurt me. If we were allowed to cut access holes maaaaan that would have made things so much better.
I recall a fellow tech made an installation tool for those clips using a pair of cheap pliers bent all weirdly that he could get in there and snap the clip on in one quick move...but he wouldn't show it to me or allow me to copy it. :x
1977 Cherokee Chief - The Blair Jeep Project III
A collection of parts flying in close formation
User avatar

Topic author
gixxerphil
Posts: 160
Joined: Sat Mar 30, 2013 7:00 am
Location: Auburn, Al

Re: Phil's 79 Waggie

Post by gixxerphil »

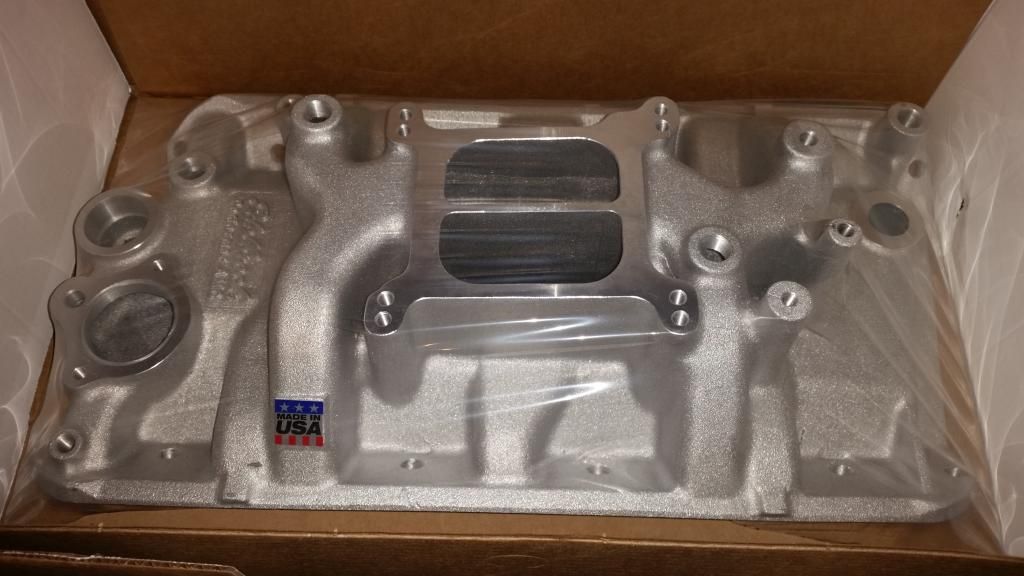
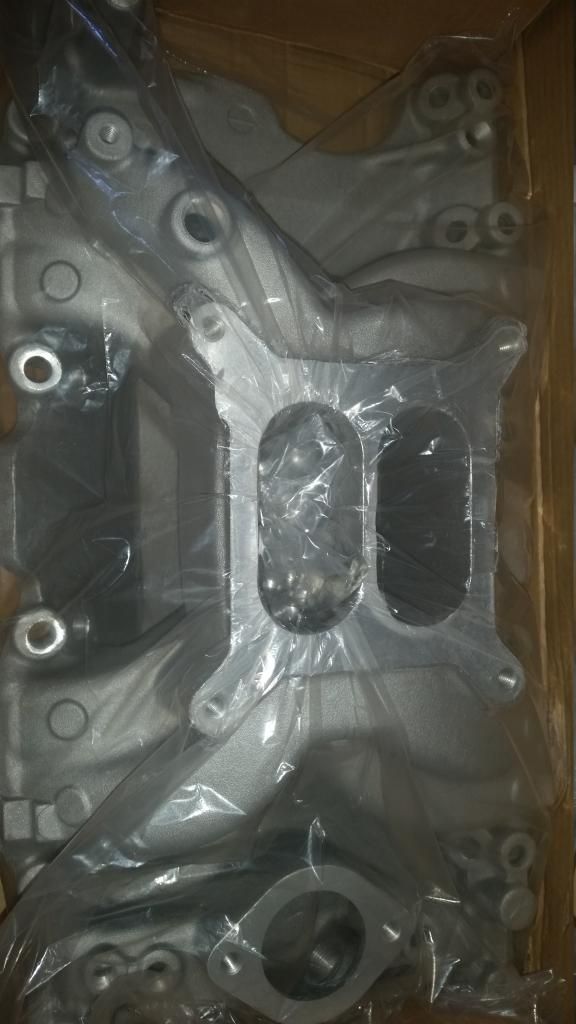
I decided to buy a new Mopar aluminum intake
Image

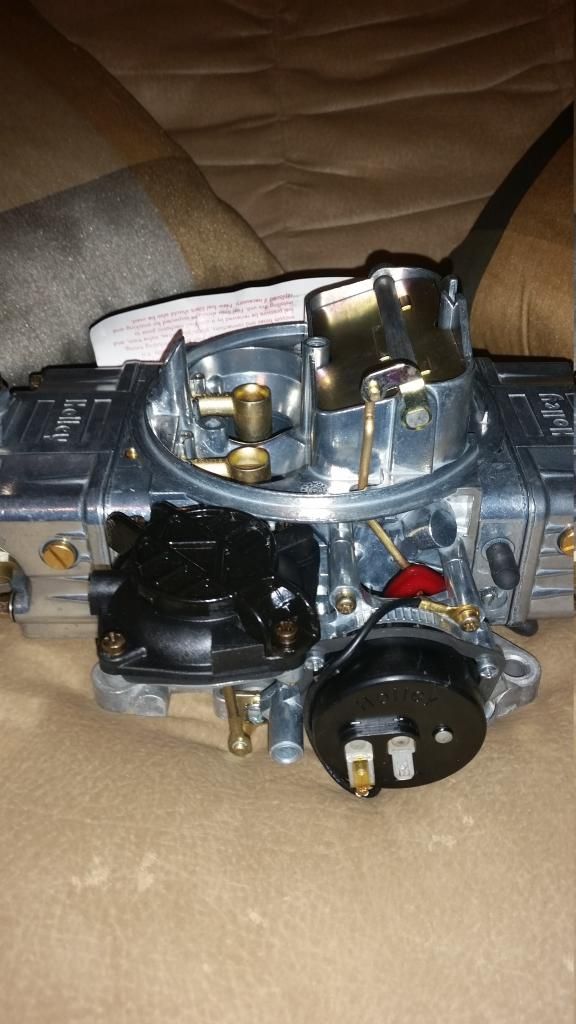
Holley Street Avenger 670 carb
Image

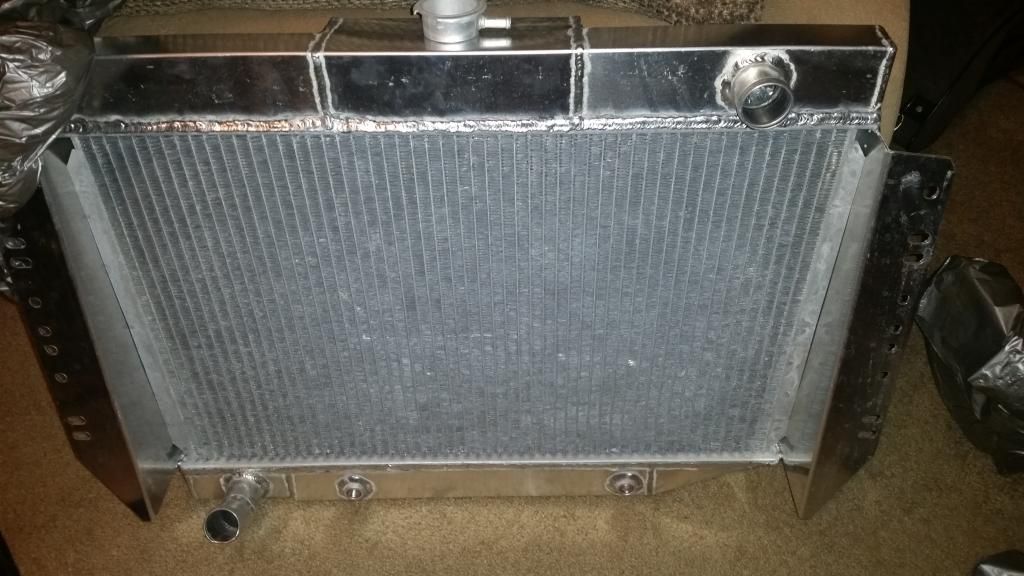
Aluminum radiator and new hoses
Image

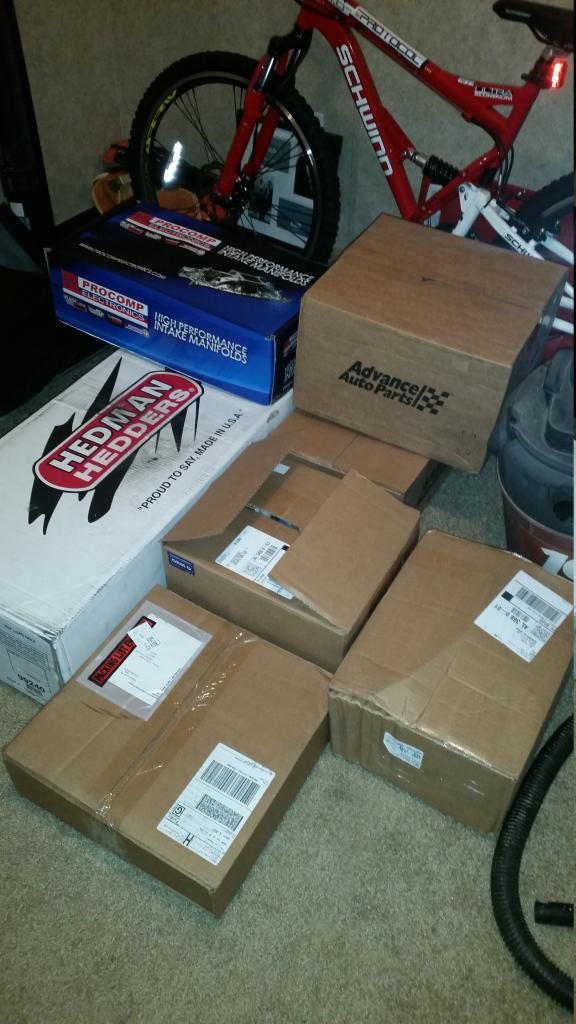
I also bought a new flexplate, Hedman headers, ignition control module, water pump, master brake cylinder, and I'm sure a few more things I can't remember right now.
Image

rherndon
Posts: 142
Joined: Mon Aug 11, 2014 5:25 pm
Location: Houston, TX

Re: Phil's 79 Waggie

Post by rherndon »

Which radiator did you go with? I am thinking I should replace mine while the engine is out.
'76 Wagoneer w/401; Restoration in progress
User avatar

Topic author
gixxerphil
Posts: 160
Joined: Sat Mar 30, 2013 7:00 am
Location: Auburn, Al

Re: Phil's 79 Waggie

Post by gixxerphil »

rherndon wrote:Which radiator did you go with? I am thinking I should replace mine while the engine is out.
I bought it from 1800radiator, I want to say it was $240ish. They had three available, the other two were brass/copper. I believe the aluminum one was the middle priced, but they were all within $40 of each other....... I think.
I will post the part number when I get home.
User avatar

Topic author
gixxerphil
Posts: 160
Joined: Sat Mar 30, 2013 7:00 am
Location: Auburn, Al

Re: Phil's 79 Waggie

Post by gixxerphil »

rherndon wrote:Which radiator did you go with? I am thinking I should replace mine while the engine is out.

The part number is 130441SI, price was $237
User avatar

Topic author
gixxerphil
Posts: 160
Joined: Sat Mar 30, 2013 7:00 am
Location: Auburn, Al

Re: Phil's 79 Waggie

Post by gixxerphil »

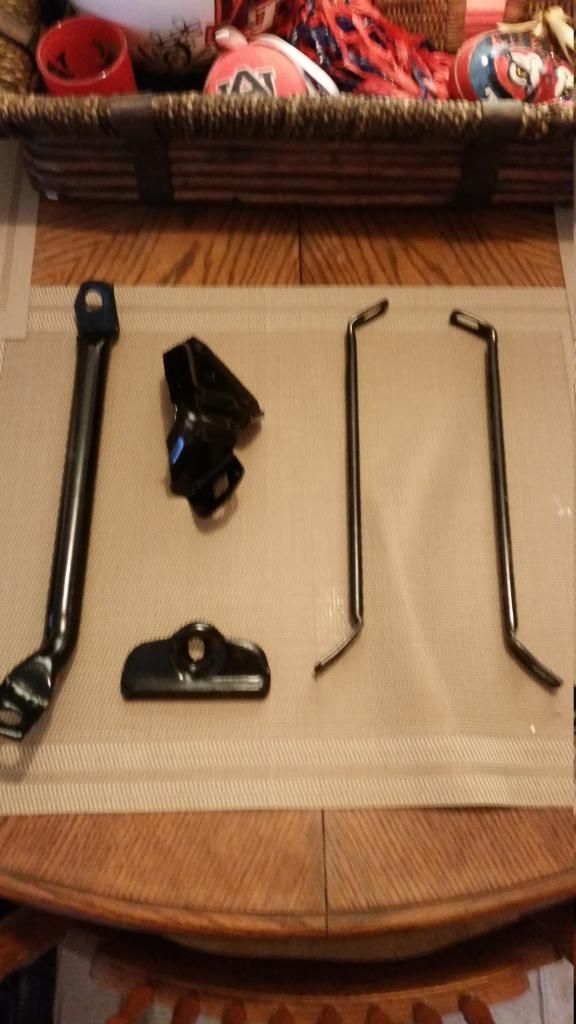
Started getting a few of the smaller parts painted.

Image

Image
User avatar

Topic author
gixxerphil
Posts: 160
Joined: Sat Mar 30, 2013 7:00 am
Location: Auburn, Al

Re: Phil's 79 Waggie

Post by gixxerphil »

I was just told that the aluminum intake won't work. I was sitting there when my mechanic called and asked what intake would work for my Waggie :banghead:
I just hope that they will refund and pay for return shipping.
Any suggestions on which intake?
We are planning to get rid of all the smog crap since there are no inspections here, so do I need one with the EGR?
User avatar

Topic author
gixxerphil
Posts: 160
Joined: Sat Mar 30, 2013 7:00 am
Location: Auburn, Al

Re: Phil's 79 Waggie

Post by gixxerphil »

User avatar

Tatsadasayago
Posts: 3684
Joined: Thu Aug 28, 2014 2:22 pm
Location: Sacramento, CA

Re: Phil's 79 Waggie

Post by Tatsadasayago »

I was wondering about that intake...
Looks like a 360 Dodge intake rather than a 360 AMC. I assumed you had done a Mopar 5.9 swap in.
The Edelbrock 2131 Performer is the ticket as gixxerphil suggested.

There are other choices as well:
http://www.summitracing.com/search?Sort ... 0AMC%20360
1977 Cherokee Chief - The Blair Jeep Project III
A collection of parts flying in close formation
User avatar

Topic author
gixxerphil
Posts: 160
Joined: Sat Mar 30, 2013 7:00 am
Location: Auburn, Al

Re: Phil's 79 Waggie

Post by gixxerphil »

Tatsadasayago wrote:I was wondering about that intake...
Looks like a 360 Dodge intake rather than a 360 AMC. I assumed you had done a Mopar 5.9 swap in.
The Edelbrock 2131 Performer is the ticket as gixxerphil suggested.

There are other choices as well:
http://www.summitracing.com/search?Sort ... 0AMC%20360
I was told by the rep that the intake would work. I have no clue about all this, I'm learning as I go:mrgreen:
User avatar

Tatsadasayago
Posts: 3684
Joined: Thu Aug 28, 2014 2:22 pm
Location: Sacramento, CA

Re: Phil's 79 Waggie

Post by Tatsadasayago »

gixxerphil wrote:
Tatsadasayago wrote:I was wondering about that intake...
Looks like a 360 Dodge intake rather than a 360 AMC. I assumed you had done a Mopar 5.9 swap in.
The Edelbrock 2131 Performer is the ticket as gixxerphil suggested.

There are other choices as well:
http://www.summitracing.com/search?Sort ... 0AMC%20360
I was told by the rep that the intake would work. I have no clue about all this, I'm learning as I go:mrgreen:
Yeah the Rep was on crack! Kinda sad when a sales rep doesn't know his line better than that :(
It wasn't all there in the photo but when I saw the curve at the back of the manifold (For distributor clearance) I knew it was for a Small Block Dodge and not AMC. I should have said something earlier Sir.

It's a common problem with parts for 360s since Mopar, Ford and AMC made them. Kinda like the 400 that Ford, Mopar and GM made em.

FWIW: Someone here was selling a used Performer in the parts Sales section.
1977 Cherokee Chief - The Blair Jeep Project III
A collection of parts flying in close formation
User avatar

Topic author
gixxerphil
Posts: 160
Joined: Sat Mar 30, 2013 7:00 am
Location: Auburn, Al

Re: Phil's 79 Waggie

Post by gixxerphil »

I ordered the Edelbrock. Plan is to put the motor back together Friday after the mechanic closes. I hope to have some pics of the painted motor this weekend :fsj:
Last edited by gixxerphil on Mon Dec 08, 2014 9:13 pm, edited 1 time in total.
User avatar

Topic author
gixxerphil
Posts: 160
Joined: Sat Mar 30, 2013 7:00 am
Location: Auburn, Al

Re: Phil's 79 Waggie

Post by gixxerphil »

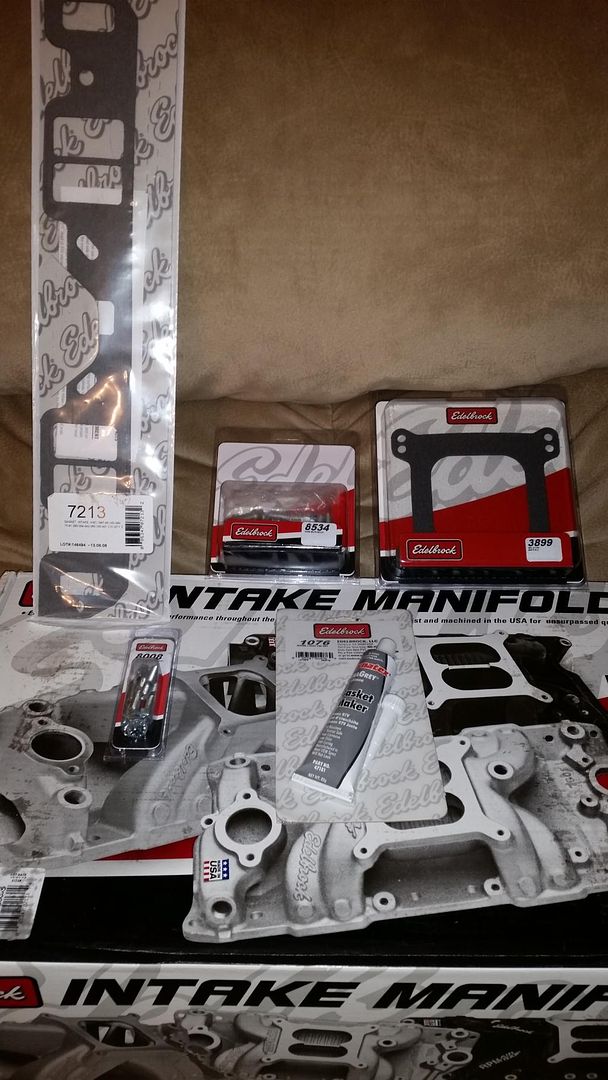
I got the right intake and a few goodies in from Jegs.

Image

Image

We start to put the motor back together today :fsj:
User avatar

Topic author
gixxerphil
Posts: 160
Joined: Sat Mar 30, 2013 7:00 am
Location: Auburn, Al

Re: Phil's 79 Waggie

Post by gixxerphil »

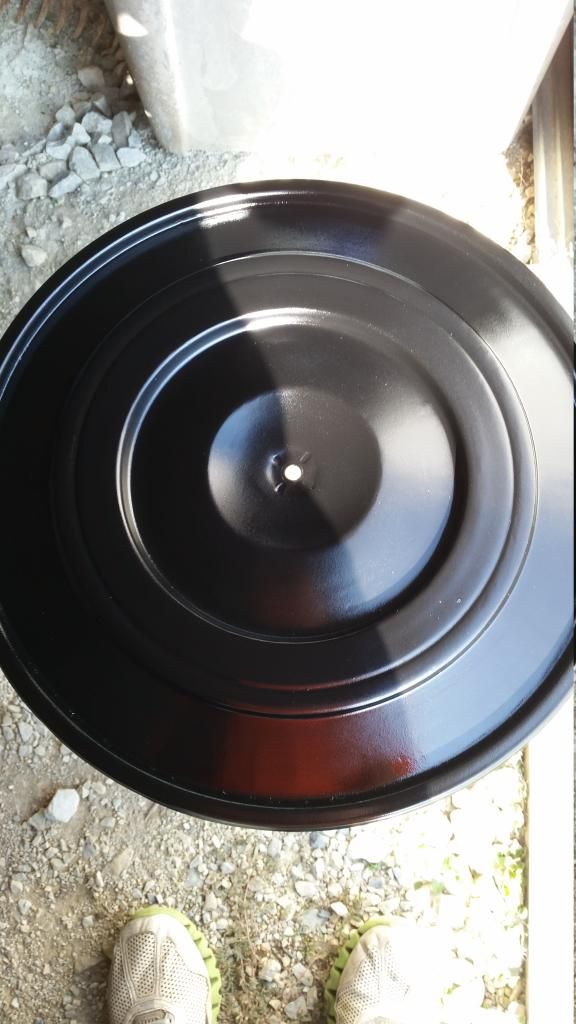
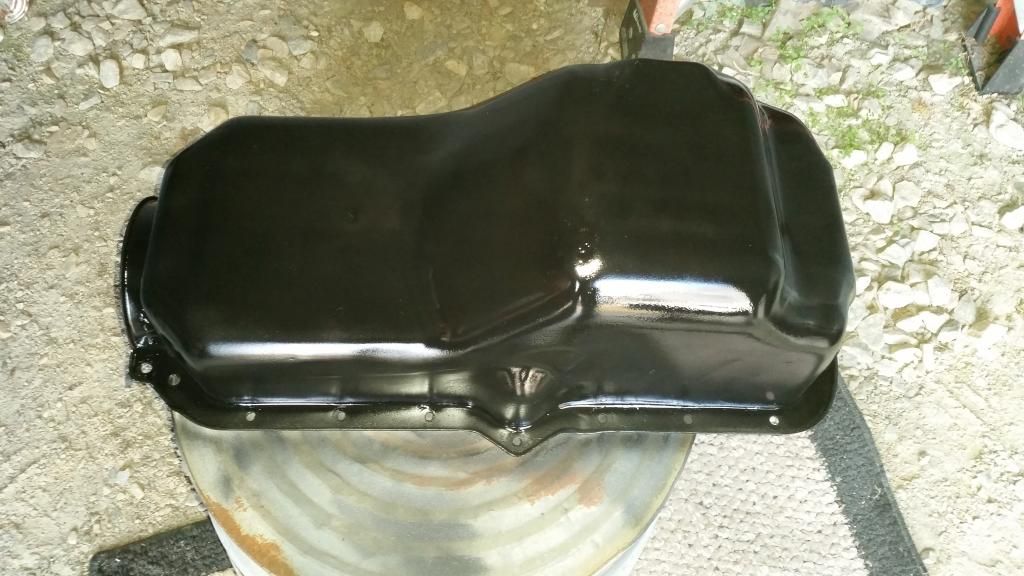
Well, my mechanic's piston holder(don't know what it's called) had a bur in the end of it and warped one of the oil rings. He bought me a new set of rings(nobody had single ones around) we can't get it until the 11th :banghead: I can't really be too mad b/c he is teaching me and giving me one heck of a deal. I decided to come home and paint some more parts. I finished the oil pan and will get the valve covers next.

Image

Cheap Hobby
Posts: 649
Joined: Tue Apr 22, 2014 12:53 pm
Location: Central Valley

Re: Phil's 79 Waggie

Post by Cheap Hobby »

Phil, do not use the intake gaskets you have in the photo. I know the web site recommends them , they won't work. Read the install manual that came with the intake it will tell you to use the factory valley pan gasket instead. The factory gasket is also a shield to keep hot oil off the bottom of the manifold.

The install manual will also have instructions to transfer the sheet metal shield from the bottom of the stock intake to the new intake (mounting screws included with new intake). This shield keeps hot oil off the bottom of the carb mixing chamber. It is easy to remove, just drill the rivets out. clean the shield and install on the new manifold

There will also be a part number listed for a grommet for mounting the pcv valve get this ahead of time to save time. Also look at the heater outlet on the stock manifold. If only the hoe connects then get Napa # 660-1549. If there is a mix of pieces to connect a temperature control vacuum switch for the EGR valve then you will need to match that or find the vacuum diagram and connect the lines correctly and do away with the "in service repair" that was often performed in dealerships to improve vacuum flow to the EGR valve.

Don't be surprised if you need a longer starter cable to clear the headers. Also you will need to install the header and starter at the same time or convert to hand crank start. Install the header on the pass. side before you reinstall the heater box you want all the room you can get for clearance. Headers from the top and down low, starter from the bottom lift headers up and secure the starter then start headers and gasket. It can be done by one but it is painful. You may also need to adjust your fuel supply line for clearance if your truck is in stock un molested configuration.
79 Cherokee WT QT Golden Eagle white with gold windows "Pigger" only blows hubs the night before a road trip or the clodest night of year. Has only been towed cause of stupid.
User avatar

Tatsadasayago
Posts: 3684
Joined: Thu Aug 28, 2014 2:22 pm
Location: Sacramento, CA

Re: Phil's 79 Waggie

Post by Tatsadasayago »

Good catch CheapHobby! I saw the gaskets and just assumed he was aware.
I ALWAYS, Always, run a dab of Permatex Ultra Blue at the head/block joint as well as across the front and rear decks, add the front and rear lip seals, add more RTV, let semi cure then set the manifold on. I line up the bolt holes and let it sit. Once the RTV is almost cured I begin the tightening sequence.
Since I started doing that (Upon advice from a former Trans-Am engine builder), it's been over 20 years since I had an oil leak at the intake.

Nice shiny new toys!
1977 Cherokee Chief - The Blair Jeep Project III
A collection of parts flying in close formation
User avatar

Topic author
gixxerphil
Posts: 160
Joined: Sat Mar 30, 2013 7:00 am
Location: Auburn, Al

Re: Phil's 79 Waggie

Post by gixxerphil »

Cheap Hobby wrote:Phil, do not use the intake gaskets you have in the photo. I know the web site recommends them , they won't work. Read the install manual that came with the intake it will tell you to use the factory valley pan gasket instead. The factory gasket is also a shield to keep hot oil off the bottom of the manifold.

The install manual will also have instructions to transfer the sheet metal shield from the bottom of the stock intake to the new intake (mounting screws included with new intake). This shield keeps hot oil off the bottom of the carb mixing chamber. It is easy to remove, just drill the rivets out. clean the shield and install on the new manifold

There will also be a part number listed for a grommet for mounting the pcv valve get this ahead of time to save time. Also look at the heater outlet on the stock manifold. If only the hoe connects then get Napa # 660-1549. If there is a mix of pieces to connect a temperature control vacuum switch for the EGR valve then you will need to match that or find the vacuum diagram and connect the lines correctly and do away with the "in service repair" that was often performed in dealerships to improve vacuum flow to the EGR valve.

Don't be surprised if you need a longer starter cable to clear the headers. Also you will need to install the header and starter at the same time or convert to hand crank start. Install the header on the pass. side before you reinstall the heater box you want all the room you can get for clearance. Headers from the top and down low, starter from the bottom lift headers up and secure the starter then start headers and gasket. It can be done by one but it is painful. You may also need to adjust your fuel supply line for clearance if your truck is in stock un molested configuration.
Tatsadasayago wrote:Good catch CheapHobby! I saw the gaskets and just assumed he was aware.
I ALWAYS, Always, run a dab of Permatex Ultra Blue at the head/block joint as well as across the front and rear decks, add the front and rear lip seals, add more RTV, let semi cure then set the manifold on. I line up the bolt holes and let it sit. Once the RTV is almost cured I begin the tightening sequence.
Since I started doing that (Upon advice from a former Trans-Am engine builder), it's been over 20 years since I had an oil leak at the intake.

Nice shiny new toys!

Thanks for the headsup guys :-bd I am compeletly new to all of this stuff, so I appreciate any help I get. As far as the EGR, I believe the new carb doesn't have it(on the suggestion of the mechanic). We are getting rid of the smog stuff b/c we don't have emissions here and he says it will run a bit better without it.


It's best to explain things to me like you would a 5 yr old :mrgreen: I work in an ER, never worked on a vehicle to this extent, other than basic maint.
User avatar

lindel
Posts: 923
Joined: Tue Oct 04, 2011 2:47 pm
Location: Tool, TX

Re: Phil's 79 Waggie

Post by lindel »

Actually, those gaskets will work fine. You'll need to trim the end pieces so that they'll fit properly in the engine block, and then seal the gaps with black RTV. A lot of people don't even use the end seals (and this is on either the valley pan gasket or the more typical intake gaskets), but use a bead of black RTV instead.

Lay the intake gaskets in place, then put the end seals on. You'll see where you need to trim them, and where to fill in the gaps with the RTV. You could be especially anal ;) and lay a thin bead of RTV, place the end seals (after trimming them) and run another thin bead of RTV, and make sure that the ends are sealed to the intake gaskets.

A big part of the reason I like these type gas is that they block off the exhaust passage that warms the carb up.
Lindel
User avatar

Tatsadasayago
Posts: 3684
Joined: Thu Aug 28, 2014 2:22 pm
Location: Sacramento, CA

Re: Phil's 79 Waggie

Post by Tatsadasayago »

There is a reason so many of us are a bit peculiar about the intake gasketing and sealing is due to the common leak points at the front and rear of the manifold. Using the rubber end seals along with, or ditching them and using RTV Silicone alone is considered a 'best practice' by most AMC types.
Gearhead University is now in session: :lol:

RTV stands for Room Temperature Vulcanization. When the silicone is exposed to the atmosphere a chemical reaction takes place that cures it into a fairly hard rubber.
When installing the intake manifold there are two objectives:
1. Sealing the air/coolant /oil areas.
2. Maintaining the seal over time.

Installing either type gasket (Metal bathtub or composite/paper) and rubber end seals without using RTV will do the first job but it won't be long before oil leaks appear. Over time the end seals weaken and become brittle--often cracking apart.
Placing RTV across the end seal areas, especially where the engine block and cylinder head meet assures a longer lasting oil seal.
The purpose of RTV is to act as a gap filler, adhesive and sealant. Knowing the properties of RTV is key to a successful installation.

As an adhesive, RTV can be spread across mating surfaces in a thin layer, then a gasket placed onto it, OR joining the two surfaces without a gasket. When the silicone cures, the gasket is essentially glued into place or it acts as a gasket alone.

As a gap filler, RTV is applied in a thick 'Bead' across the mating surface and allowed to cure until it is mostly hardened. When the two surfaces are placed together the RTV will be compressed and act like a large O-Ring. (Think squishing surgical tubing flat against a table top)

As a sealant, RTV acts as an adhesive by sticking to the mating surface and semi-cured RTV forming a liquid, coolant or air seal.

Taking a look at any late model pickup/truck rear differential cover that has been dealer serviced and you will see RTV squished out all around the edges. The factory directs technicians to add a large bead of RTV around the mating surface, wait until it is mostly cured then install. The semi-cured beads will split open like a bratwurst on the grill and uncured silicone squishes out to form a good seal. Squish too soon and the stuff oozes out without much resistance, wait too long and there might be gaps in the seal.

I hope this helps you understand why we do some weird stuff with our AMC intake manifolds.

Jim
1977 Cherokee Chief - The Blair Jeep Project III
A collection of parts flying in close formation
User avatar

Tatsadasayago
Posts: 3684
Joined: Thu Aug 28, 2014 2:22 pm
Location: Sacramento, CA

Re: Phil's 79 Waggie

Post by Tatsadasayago »

Here is a photo of the engine before installing the intake.
Image
The green arrows point to where the front and rear engine block deck meets the cylinder head. That is the leak point I mentioned.
The red lines show where the end or 'lip' seals go and these places are where the oil leaks happen. Whatever method you employ to seal the intake, it's these two areas you will want to pay attention to. :)

Jim
1977 Cherokee Chief - The Blair Jeep Project III
A collection of parts flying in close formation
Post Reply