Wilderness Gladiator

Area to show off your Custom Build threads.
Post Reply
User avatar

Topic author
BigJ200
Posts: 228
Joined: Tue Jan 17, 2012 1:36 pm
Location: Kuna, Idaho
Contact:

Wilderness Gladiator

Post by BigJ200 »

I recently bought a 64 J200 Gladiator. I have big plans for it. It will be completely torn down and rebuilt. It will be customized and modernized for maximum comfort and strength.

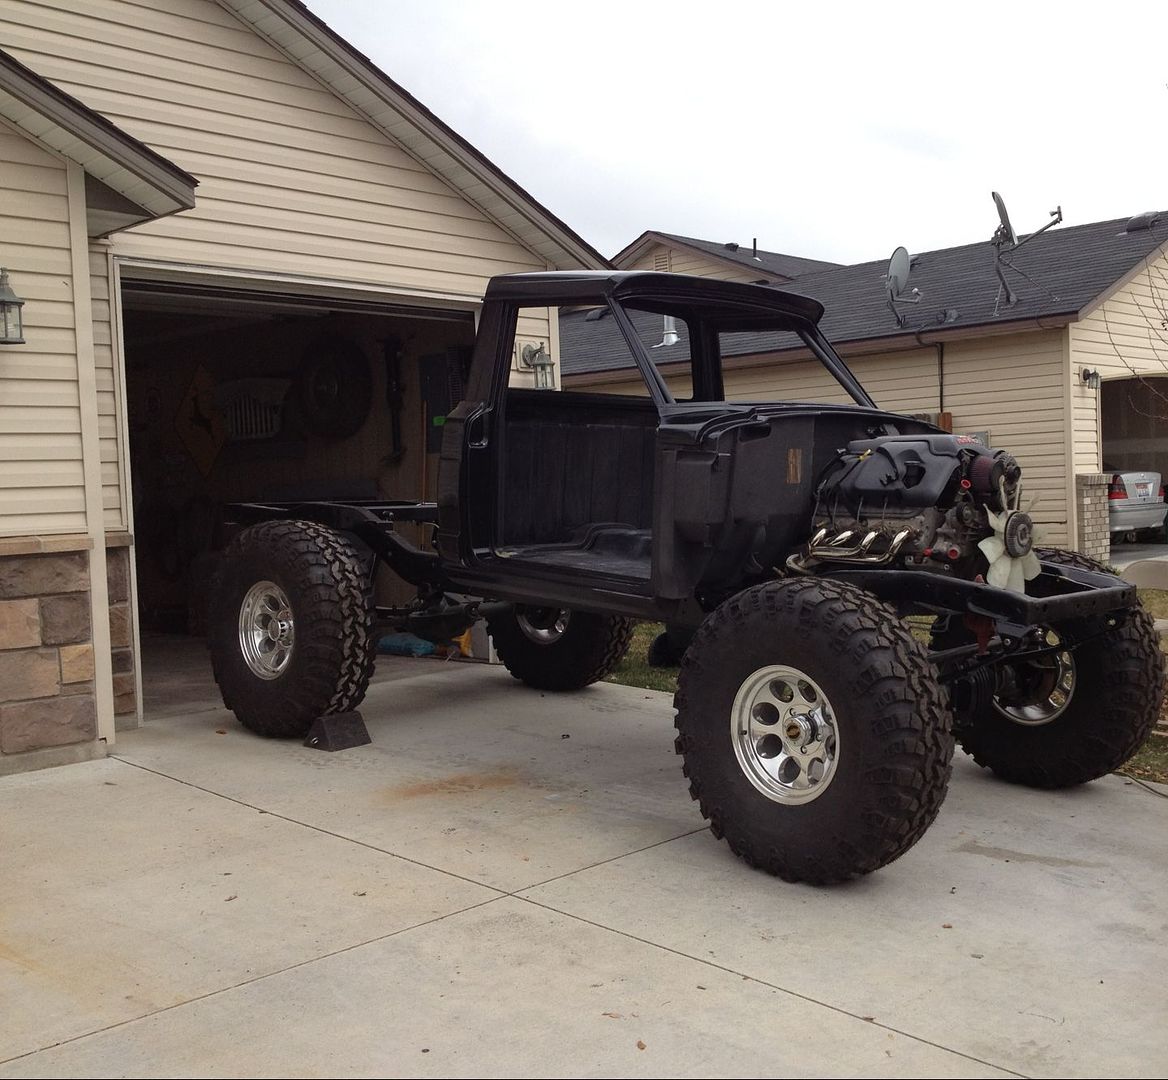
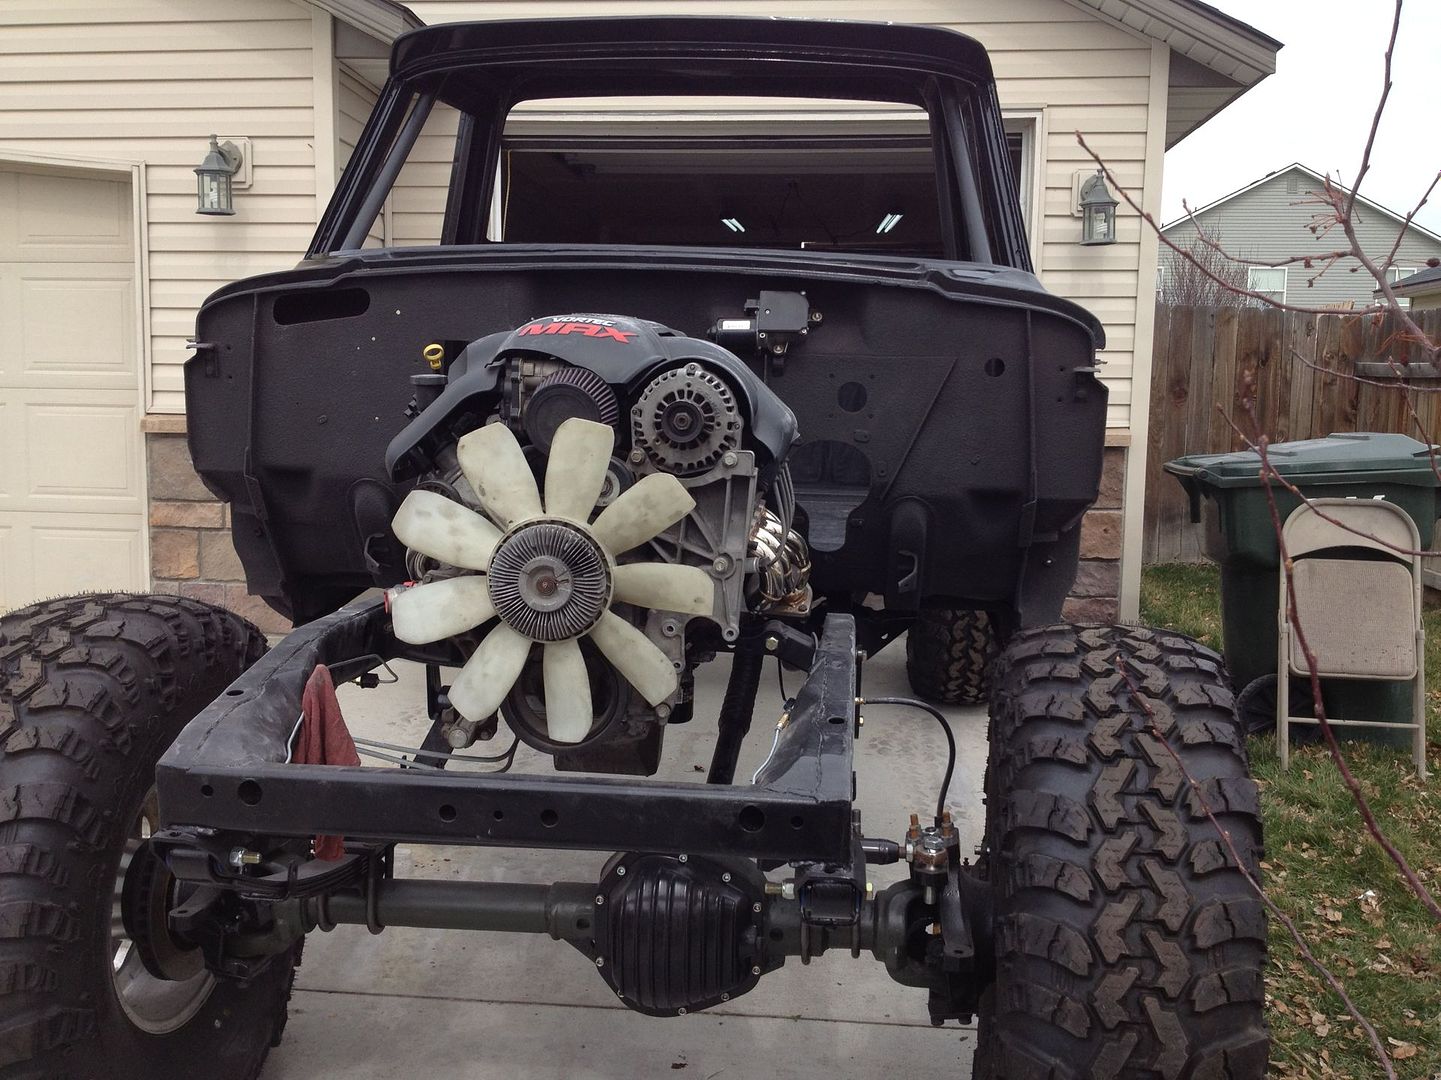
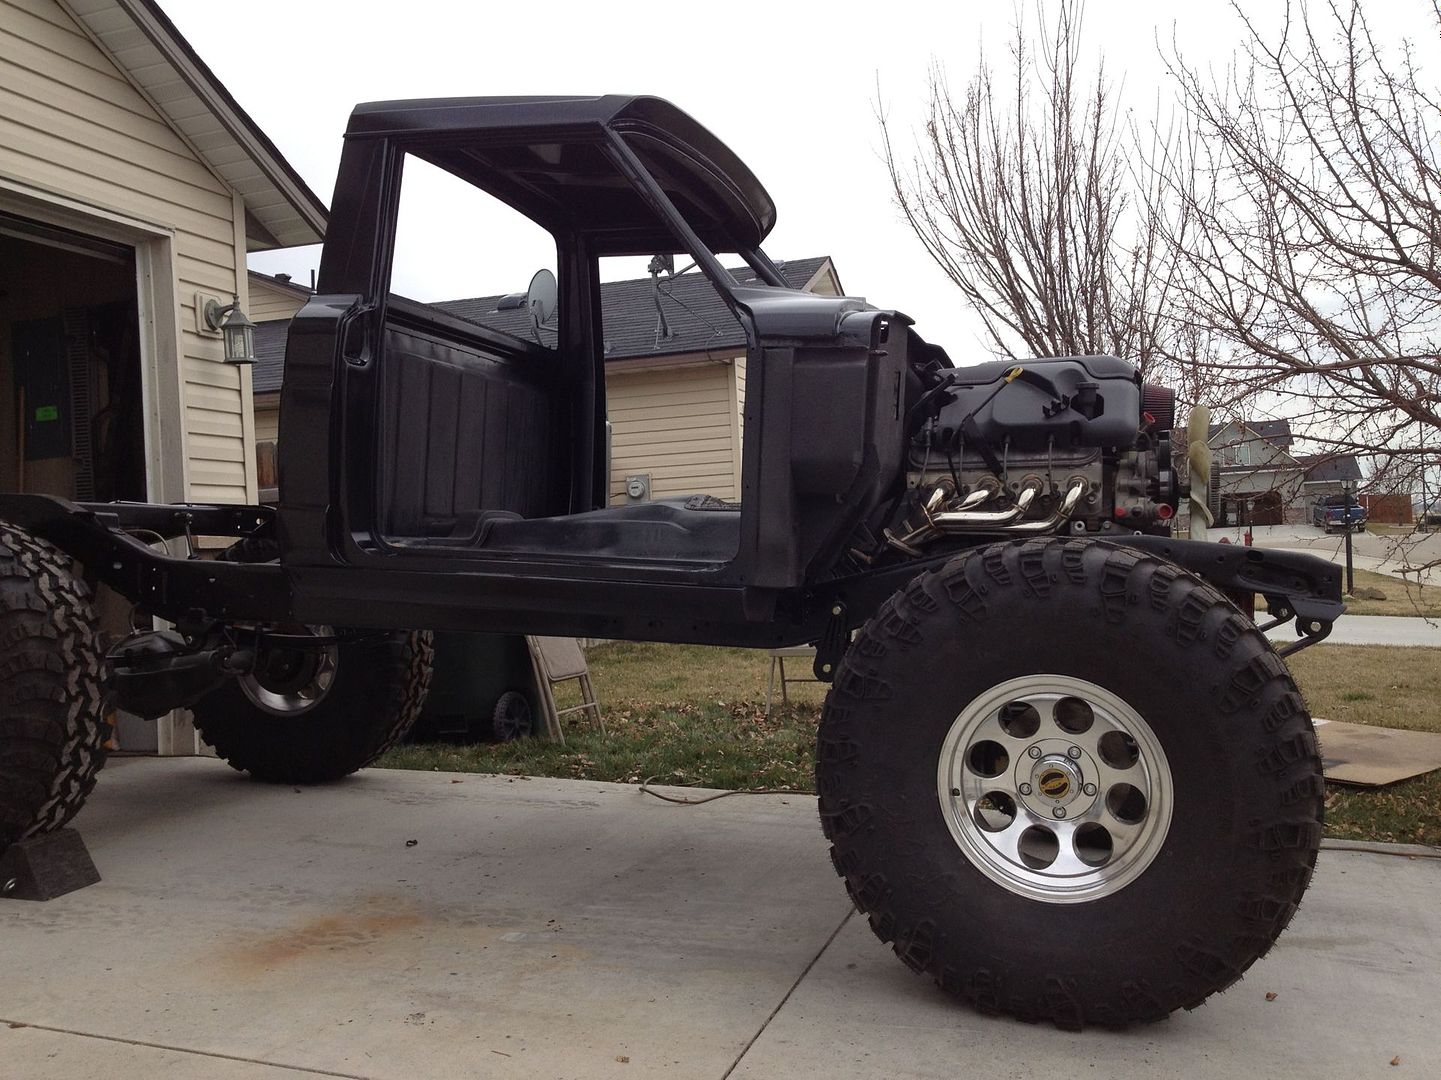
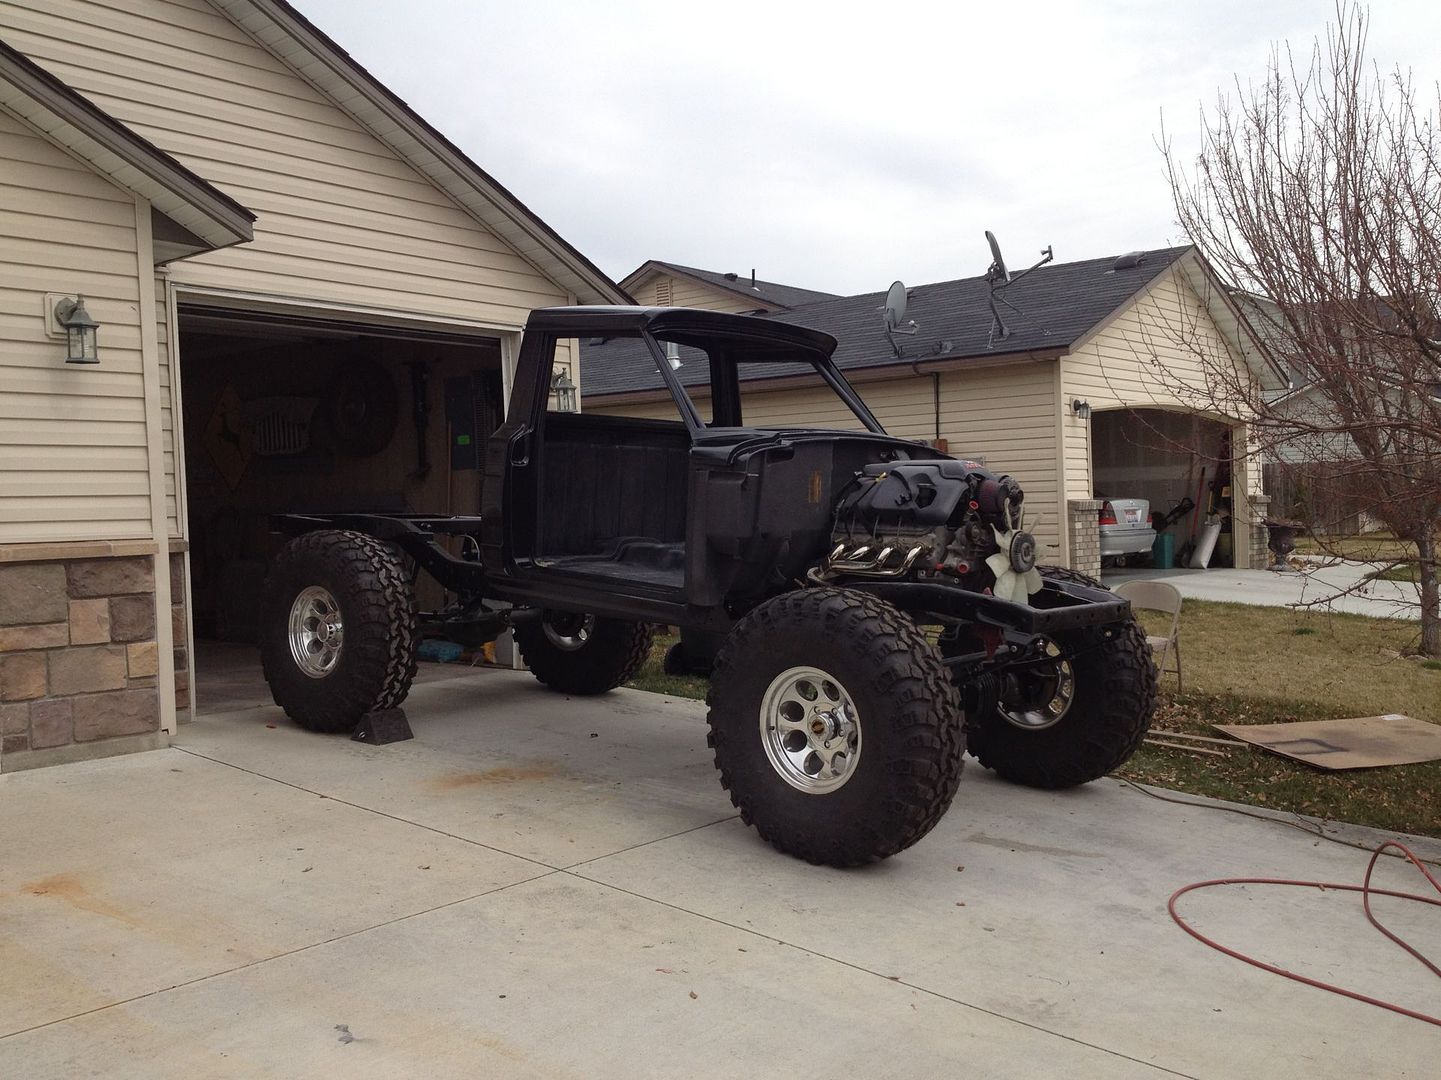
I've shared this build thread on other sites, but wanted to add a simplified version of it here.

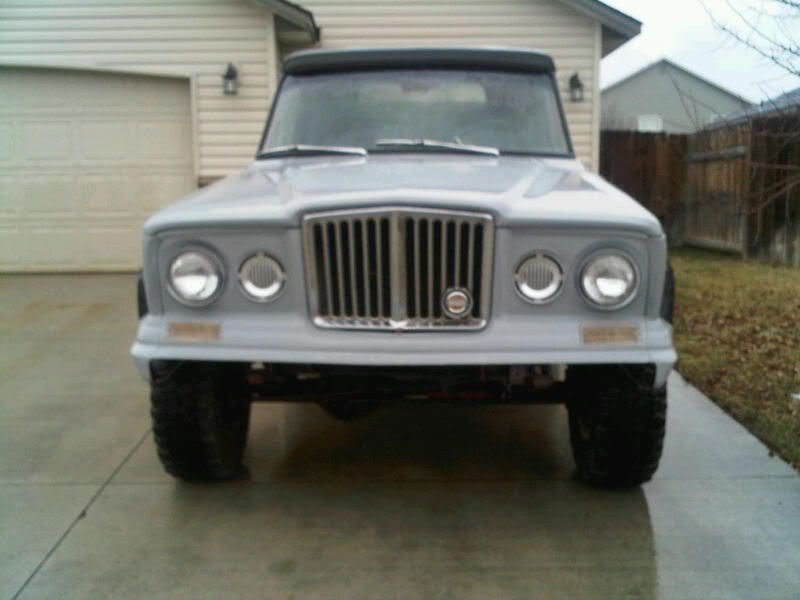
The story is that it was tucked away in a storage unit for 27 years with only 12,000 miles on it. The original owner just stopped paying on the storage unit and they never heard from him again. So they auctioned off the unit. The guy I bought it from won the auction and found this inside. He stored it in his garage and tinkered with it for 7 years. It was supposed to be a father son project, but soon after he got it his son got married and moved away. One day I saw it on CL and decided to just go "take a look". Well, I lasted about 14 minutes. Next thing I can remember is driving it home. Guess I liked the look.

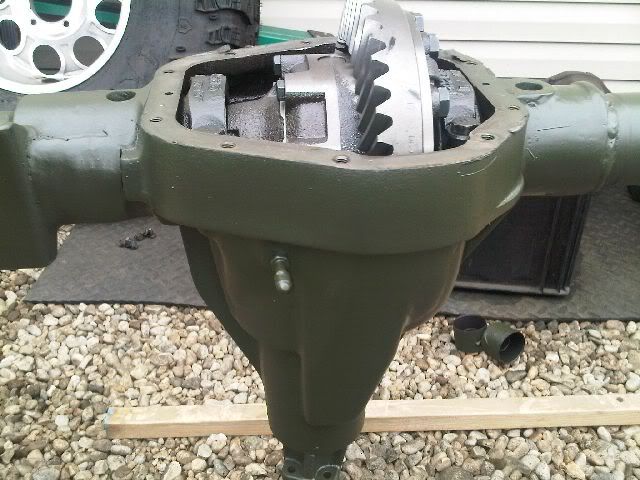
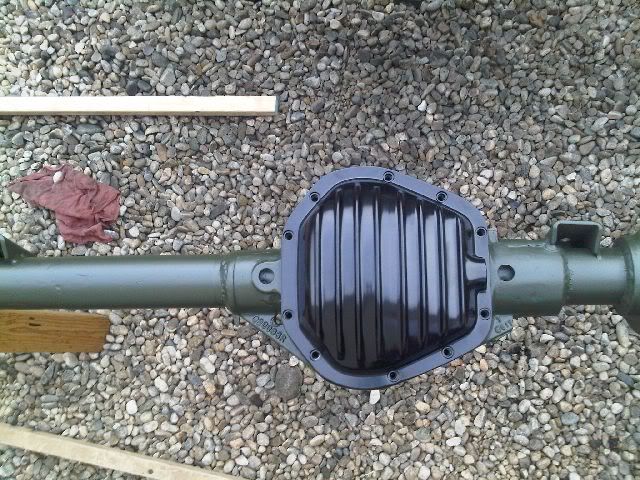
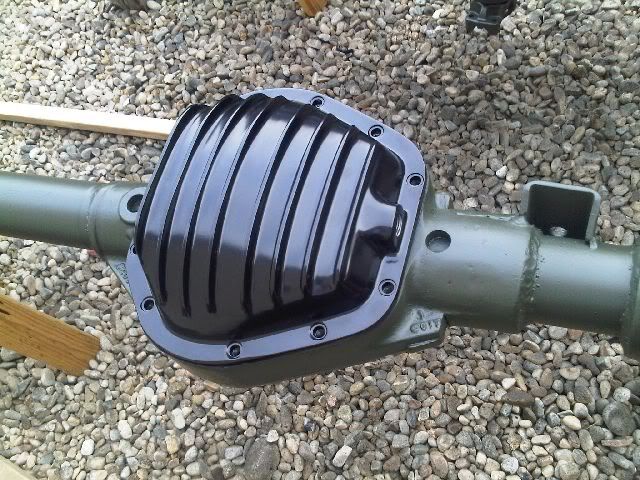
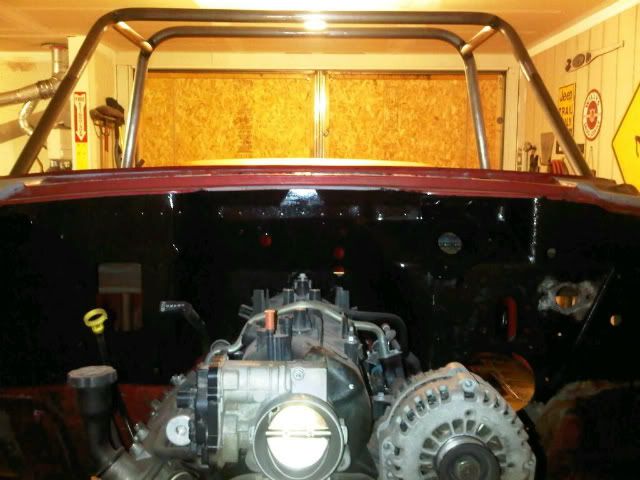
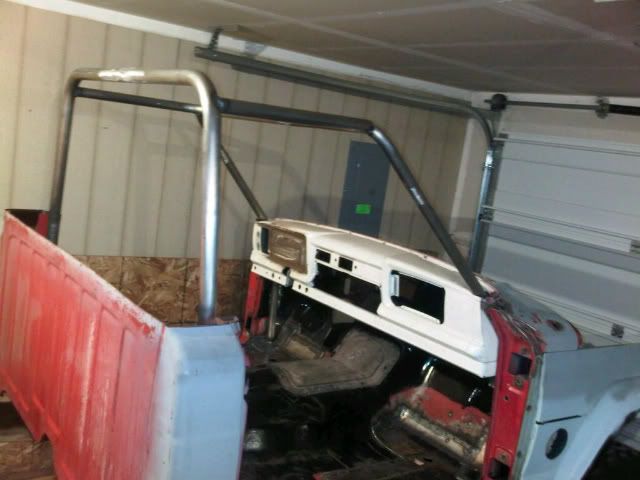
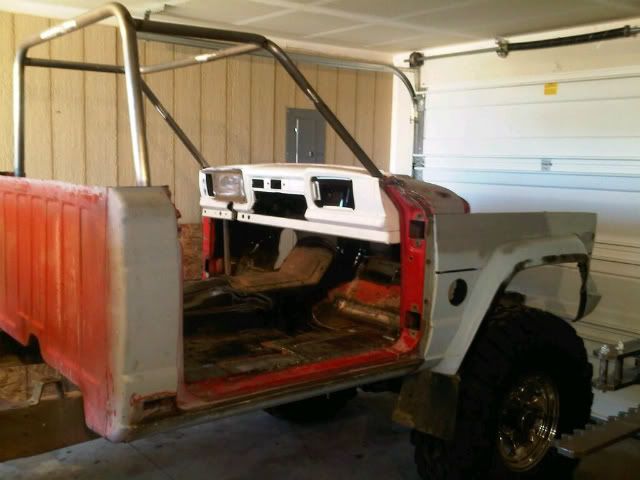
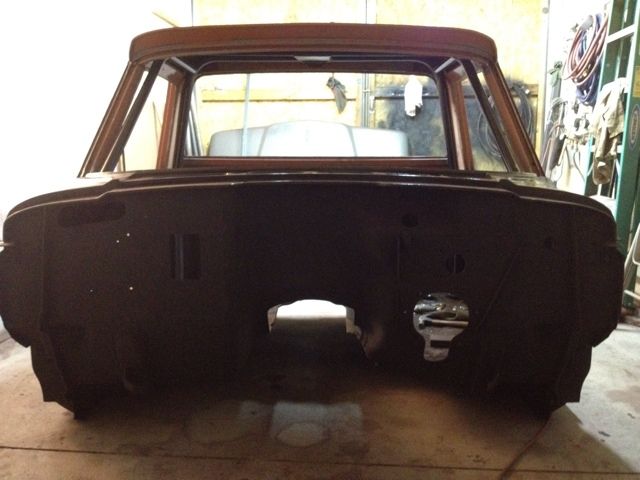
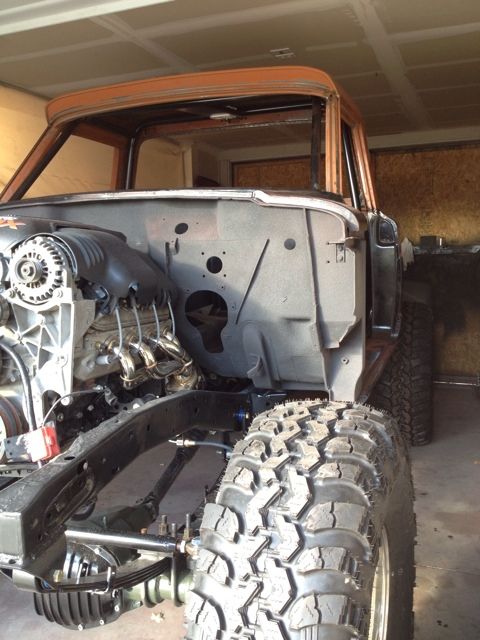
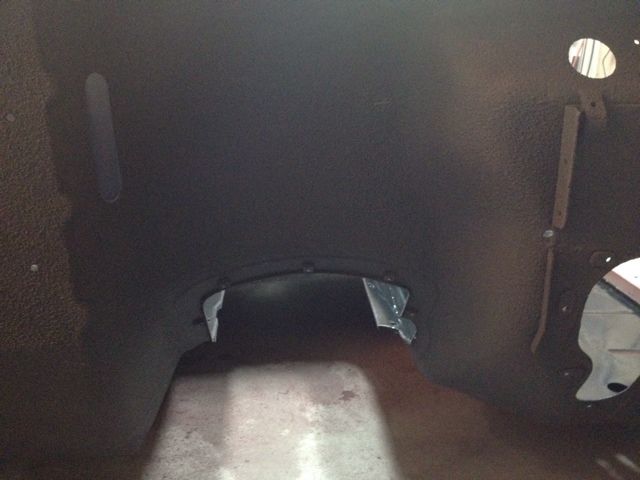
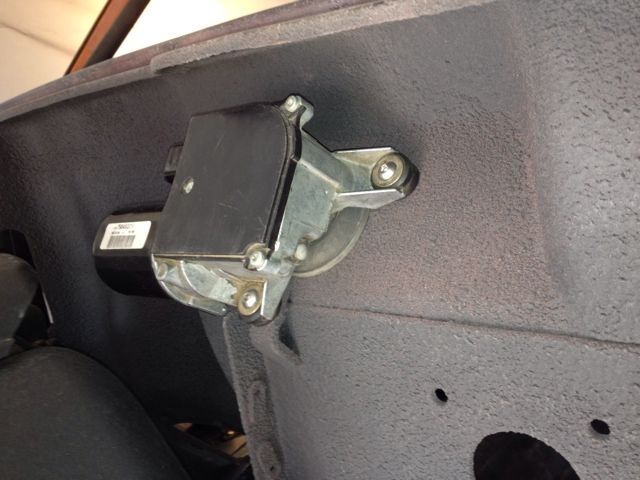
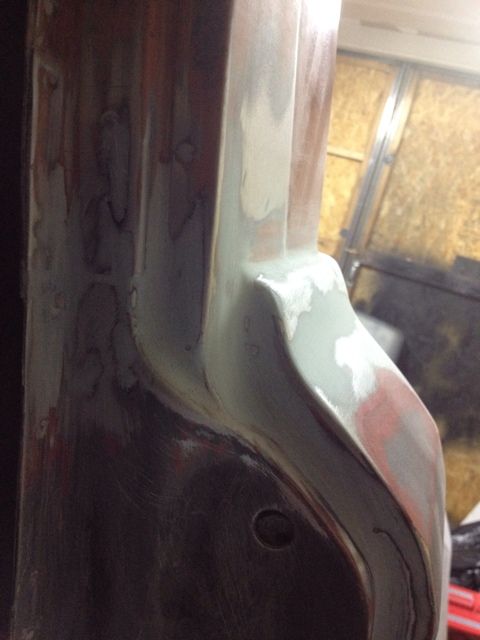
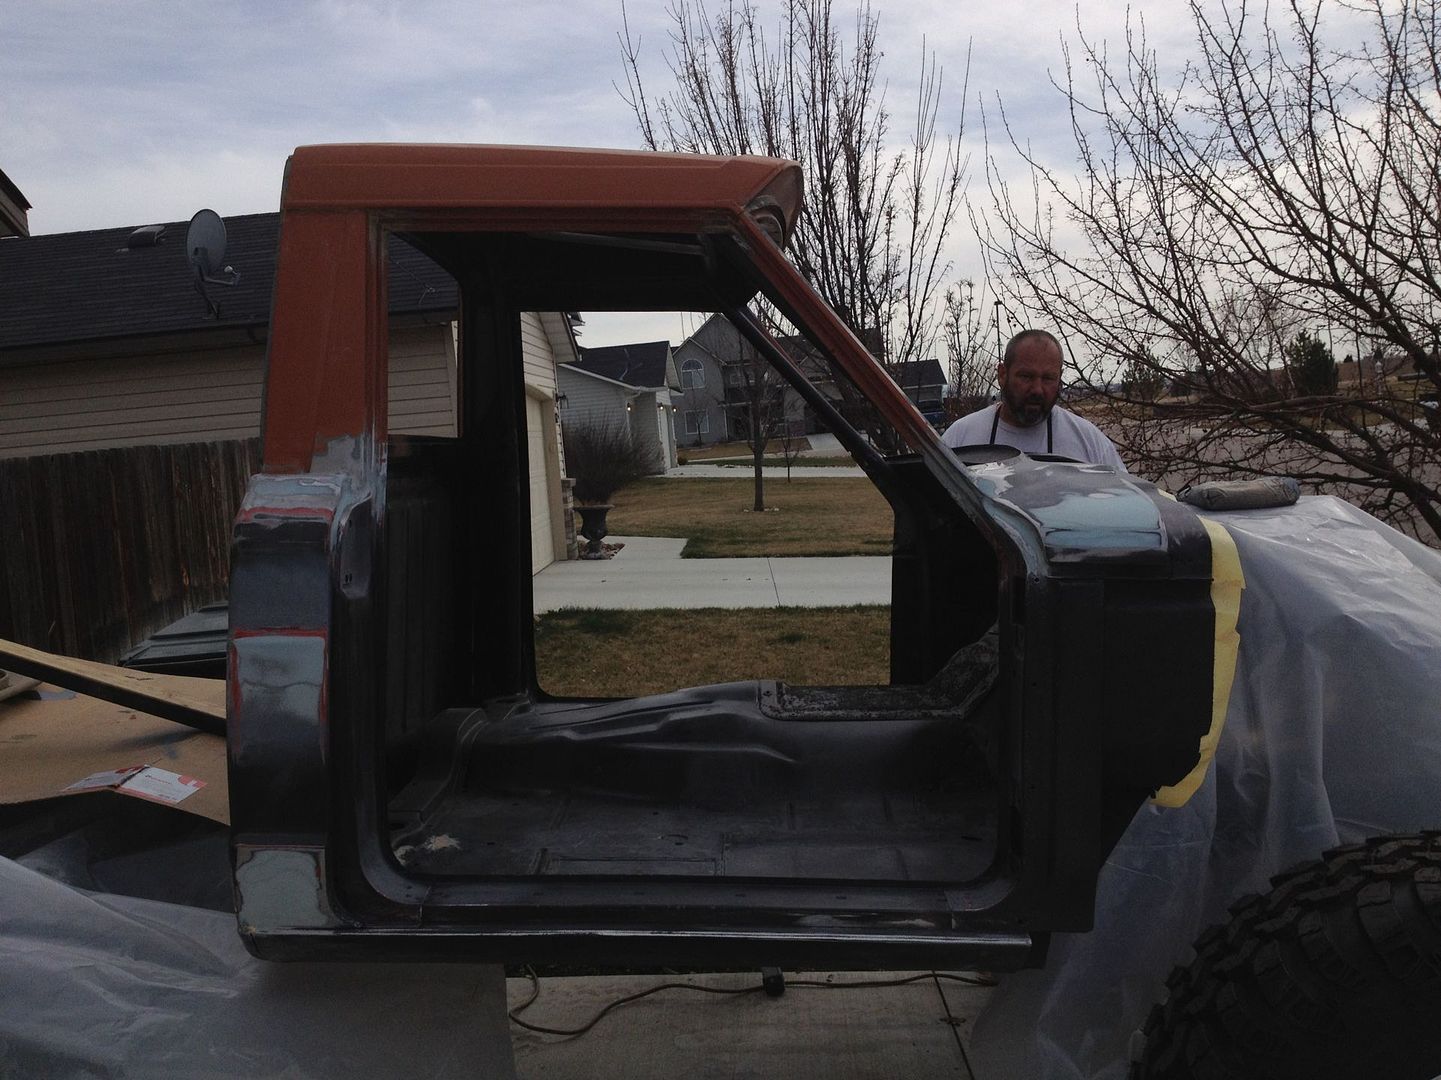
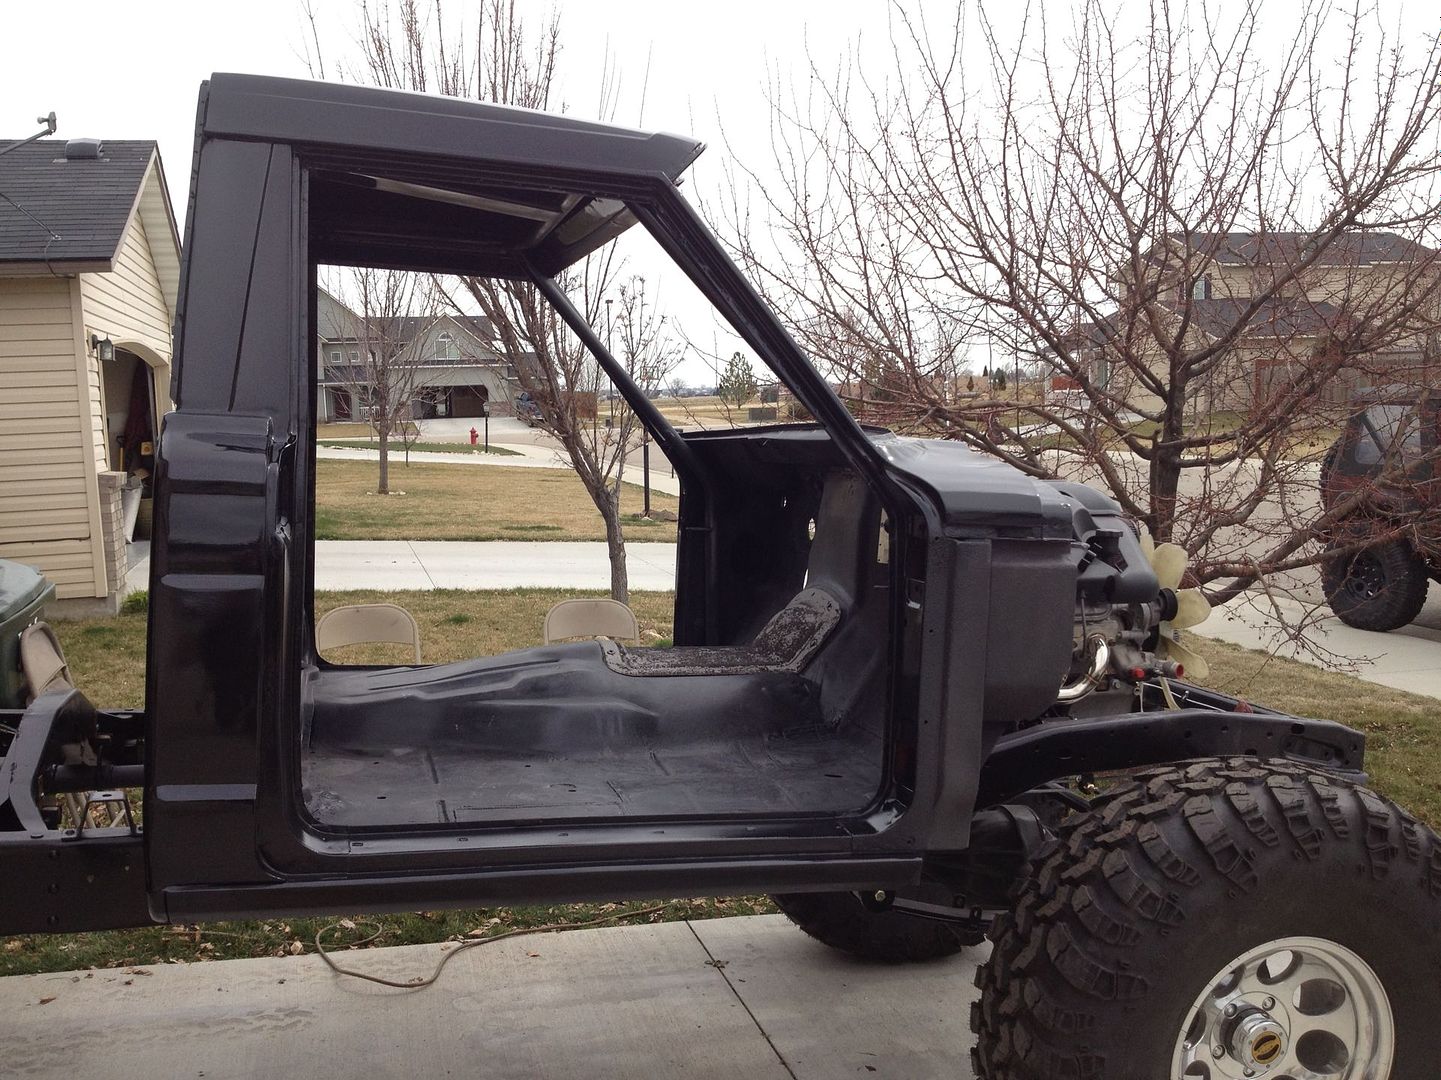
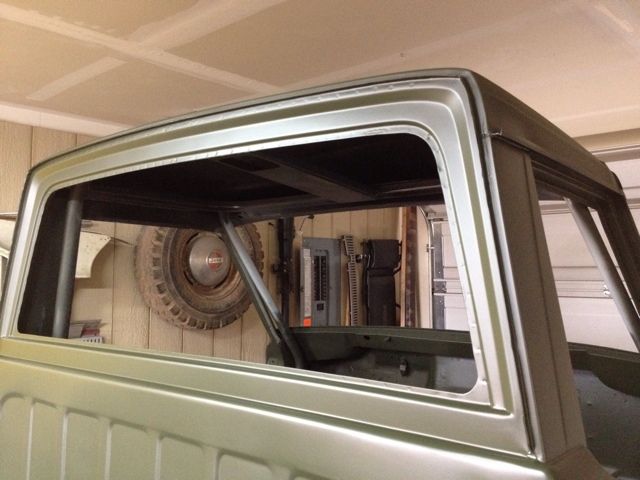
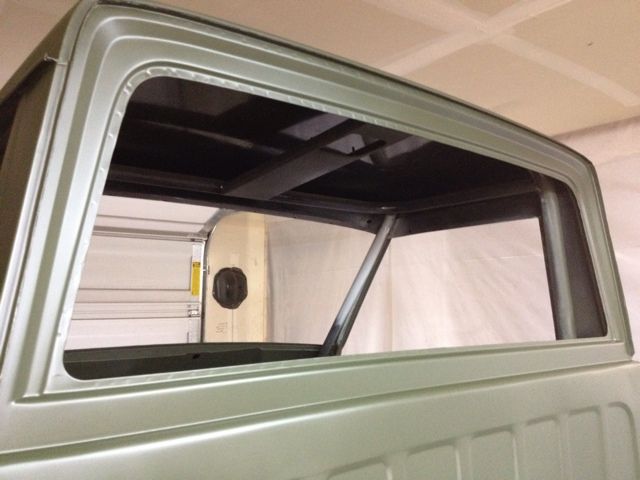
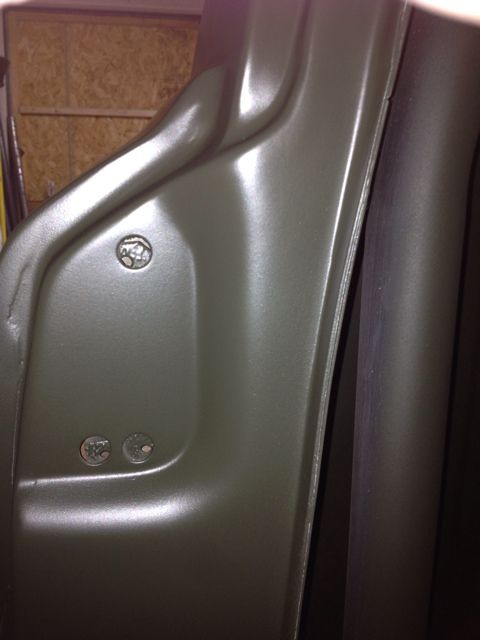
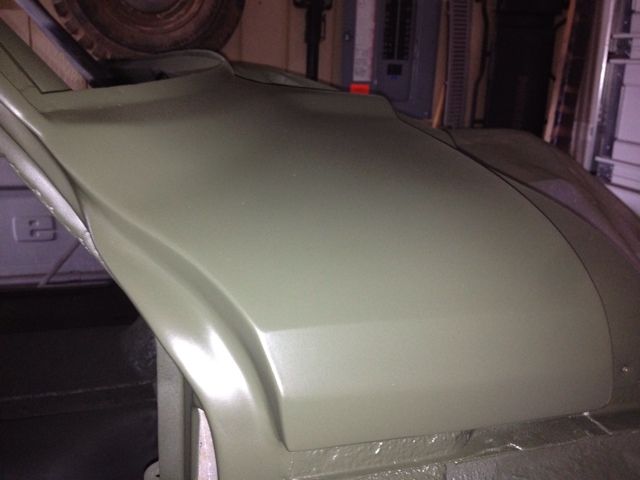
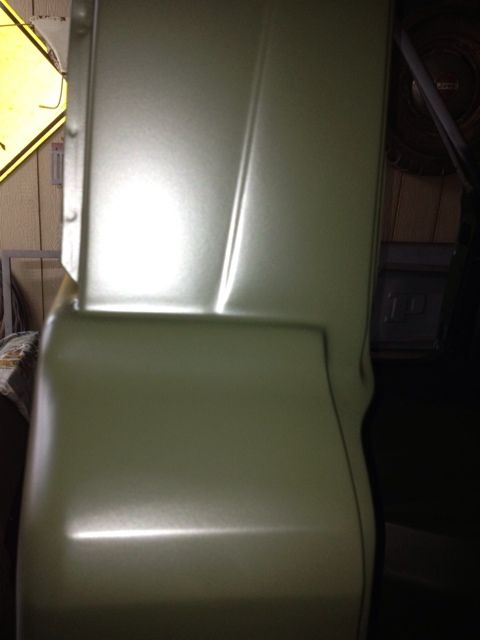
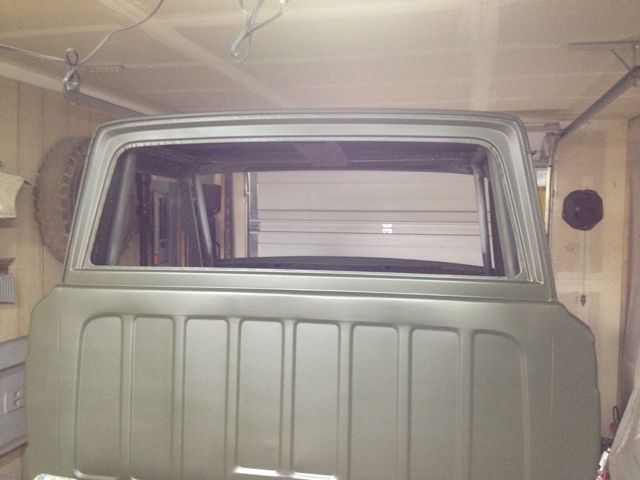
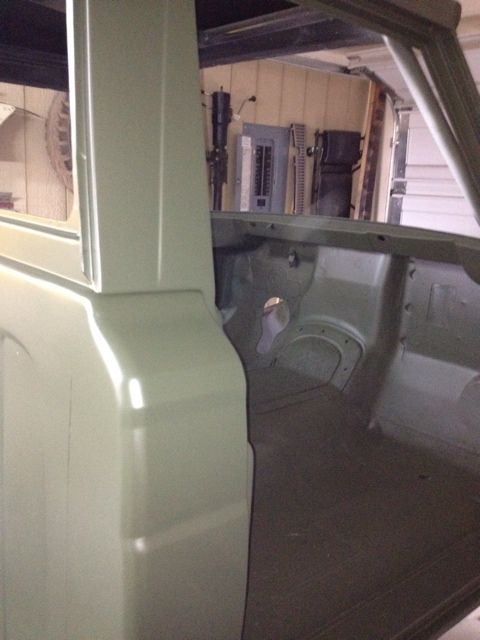
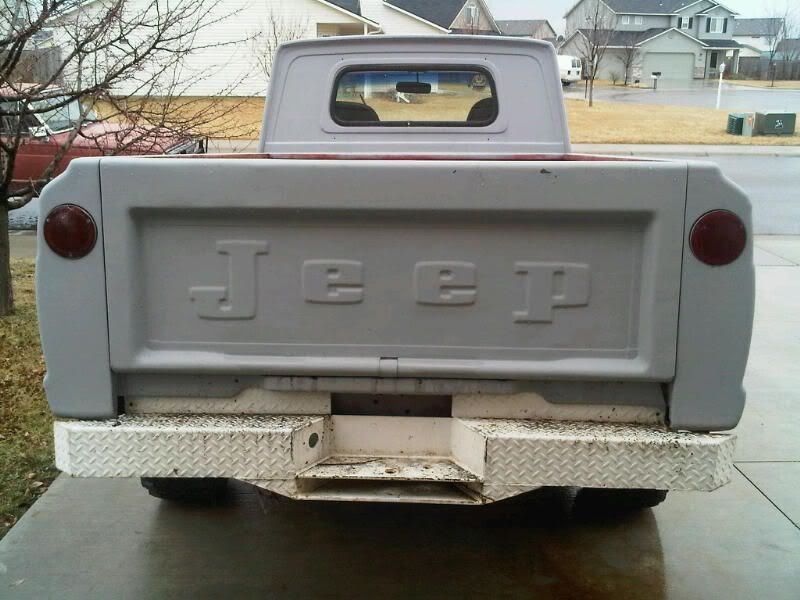
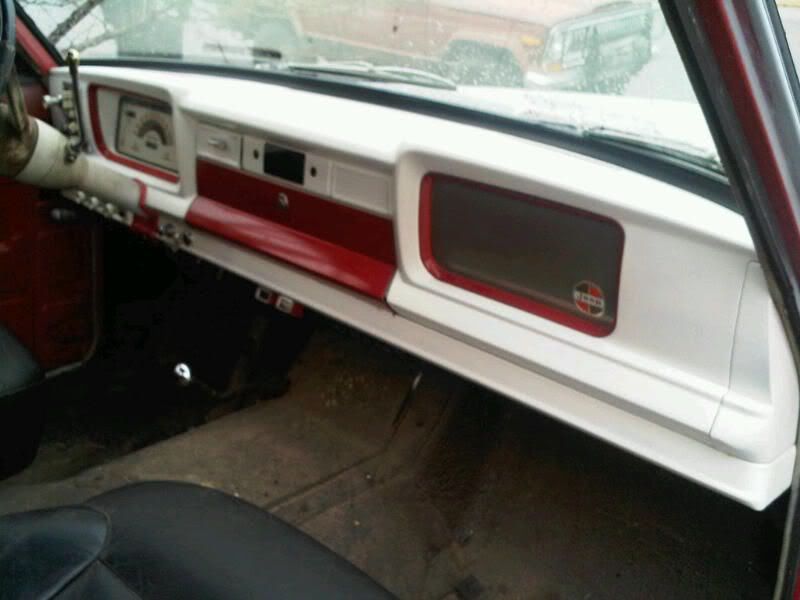
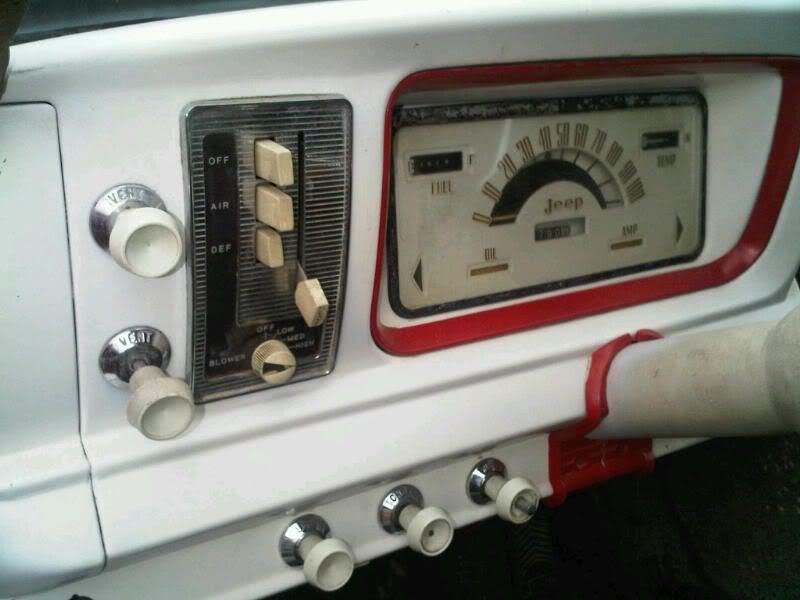
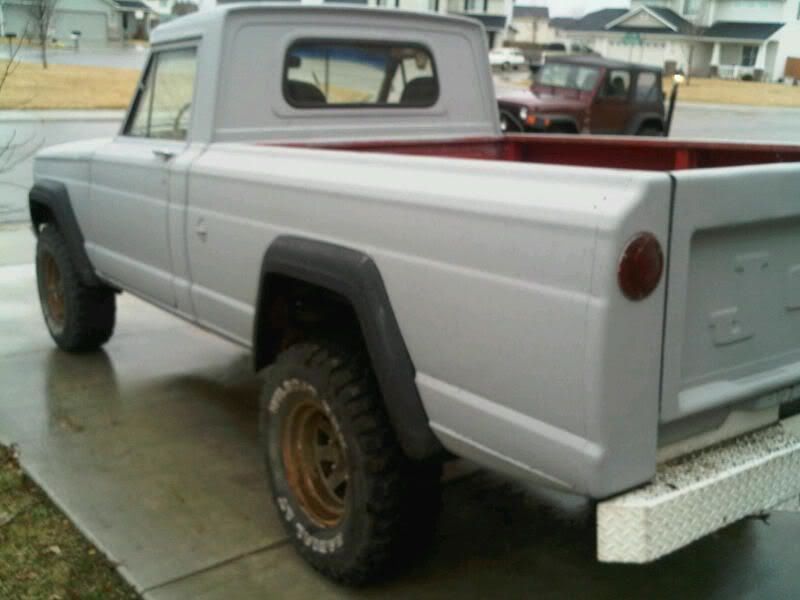
Here are some photos of it right after I got it home.


Image
Image
Image
Image
Image
Image
Image
Image
Image

I hope y'all enjoy the journey.

MB
Last edited by BigJ200 on Fri Dec 27, 2013 7:52 am, edited 2 times in total.
American Vintage 4x4
"Where four wheel drives are a way of life"
www.AV4x4.com
User avatar

Topic author
BigJ200
Posts: 228
Joined: Tue Jan 17, 2012 1:36 pm
Location: Kuna, Idaho
Contact:

Re: Wilderness Gladiator

Post by BigJ200 »

After the entire truck was stripped to the bones all the existing
drivetrain components that would not be needed were sold
or junked. Now there was enough room to get to work on the
rebuild.

The first step was to cut off the front section of the original
64J200 frame. Then the same front section from a
79 Cherokee Chief frame was grafted in its place. I did this
so the Gladiator would have the factory style power steering
mount and the crossmember in the right place. It took about 4 hours to complete the transfer.

Here are the pictures of the process:

The 64J200 frame has been cut off:

Image

Here is the difference between the 2 frames:

Image

All notched out in the exact same locations:

Image

Image

All aligned and welded together. The welds on the outside
will be sanded down smooth and an original style patch
will be welded on the inside. The factory welds were
horrible, by the way.

Image

Image

Image

Image

Image

After it was tack welded in place, approximately 6
different measurements were taken from various
angles and points to ensure that it is straight and true.
Everything was right on the money, so it was welded
all around. After that it was measured again and it
remained true. Once it's all done, it will look original.

Test fit of the AGR power steering box. Looks beautiful.

Image

Next step...
Last edited by BigJ200 on Sun Dec 29, 2013 7:37 am, edited 8 times in total.
American Vintage 4x4
"Where four wheel drives are a way of life"
www.AV4x4.com
User avatar

jaber
Vendor
Posts: 3067
Joined: Sat Aug 27, 2011 5:24 pm
Location: Chino Valley, Az.

Re: Wilderness Gladiator

Post by jaber »

WOW. :-bd
Last edited by jaber on Fri Dec 27, 2013 7:32 am, edited 1 time in total.
Jeff

'46 cj3a
'51 Willys p/u
'51 Willys Parkway Conversion
'74 CJ5
'75 J-20 Wrecker
'75 J-20 Cummins service truck
'77 J-10 p/u
'79 Cherokee
'88 Grand Wagoneer
http://s252.photobucket.com/albums/hh14/jeffaber/
User avatar

Topic author
BigJ200
Posts: 228
Joined: Tue Jan 17, 2012 1:36 pm
Location: Kuna, Idaho
Contact:

Re: Wilderness Gladiator

Post by BigJ200 »

Looks like this could be the original spare tire. It was carefully mounted on my wall without rubbing off the vintage dust and dirt. It really looks great. Jeep hubcap for added coolness.

Image

Image

Image
Last edited by BigJ200 on Sun Dec 29, 2013 7:40 am, edited 1 time in total.
American Vintage 4x4
"Where four wheel drives are a way of life"
www.AV4x4.com
User avatar

Topic author
BigJ200
Posts: 228
Joined: Tue Jan 17, 2012 1:36 pm
Location: Kuna, Idaho
Contact:

Re: Wilderness Gladiator

Post by BigJ200 »

Next step was to strip all original spring mounts, etc. from the frame to make way for all new mounts. The original spring mounts were attached to the outside of the frame. I located the new spring anchors under the frame. I used my own custom 6" shackles and mounted them through the frame. Everything was tacked in place for now. The new axles are also mounted temporarily to validate all measurements.

Image

Image

Image

The front now has a shackle reversal:

Image
The 6.0l, 4L60E and NP 241 were tacked in while the cab is on. I designed custom motor mounts to make it all work. They were cut out on the water jet. More about the drivetrain selection later...

Image

Image
American Vintage 4x4
"Where four wheel drives are a way of life"
www.AV4x4.com
User avatar

Topic author
BigJ200
Posts: 228
Joined: Tue Jan 17, 2012 1:36 pm
Location: Kuna, Idaho
Contact:

Re: Wilderness Gladiator

Post by BigJ200 »

Drivetrain...

2004 Gen III 6.0L Chevy engine with OBX headers, Denali engine covers, a Summit crossflow aluminum radiator, a high performance 4L60e 4 speed automatic, and an NP241C transfer case with a JB Conversions Super Short slip yoke eliminator (SYE) kit that removes 9" off the length of the transfer case and makes it possible to install a standard yoke. Great kit.

I built a custom Ford F350 high pinion Dana 60 for the front. It has 35 spline chromoly inner and outer Superior Evolution axles, Yukon Super Joints, Ballistic Fab high steer arms, a Detroit locker and Warn locking hubs. I also installed my own custom designed caliper brackets for 1/2 or 3/4 ton GM calipers along with 77 F150 rotors. Stock knuckles and spindles are installed with all new bearings, king pin parts, and seals. It is bullet proof.

I also built an older Ford rear full float Dana 60. I removed the OEM spindles. And I designed custom collars that press over the tubes and weld on. They fit together with my custom caliper brackets and GM calipers and it uses front Dana 60 spindles and hubs. I had custom 300M dual 35 spline axles made for it. It also has a Detroit Locker and Warn locking hubs just like the front.

On both the front and rear I had the 8 lug wheel hubs machined down to the Jeep 5 on 5 1/2" lug pattern. I just did it to see if I could, and it turned out awesome.

Brakes will be controlled from a 1 ton hydroboost set up and Corvette disc/disc master cylinder with no proportioning valve. Pressure is provided by an AGR power steering pump that controls the brakes and a Rock Ram System. The ram is connected to a custom 1 1/2" x .50 wall tie rod. And I built the same size drag link with QA1 rod ends.

The Gladiator will ride on Mickey Thompson Classic II polished aluminum wheels and 41" Irok radials.
Last edited by BigJ200 on Mon Jan 06, 2014 5:42 am, edited 3 times in total.
American Vintage 4x4
"Where four wheel drives are a way of life"
www.AV4x4.com
User avatar

Topic author
BigJ200
Posts: 228
Joined: Tue Jan 17, 2012 1:36 pm
Location: Kuna, Idaho
Contact:

Re: Wilderness Gladiator

Post by BigJ200 »

Here are the parts that I had powder coated semigloss black.

A few group shots of some of the stuff. It wouldn't all fit on the table.

Image
Image

My custom American Vintage 4x4 (AV4) shackles came out beautiful. I also had them do all of my custom spring plates.

Image
Image

And my 1/2" thick polished aluminum diff covers look amazing.

Image
Image

All 4 Dana 60 hubs that mount on the front and rear axles. I also had them powdercoat my front knuckles and my custom front and rear AV4 caliper brackets.

Image
Image

Pitman arm:

Image

Ballistic Fab high steer arms:

Image

I also decided to have them do the front grill light covers, headlight buckets and rings.

Image
Image
Image
Image

My AV4 motor mounts:

Image

I even had them do my exterior door handles. They were chrome, but will look much better with the forest green and black color scheme I am planning on. There will be no chrome or aluminum. It will either be black or green.

Image
Image

I also had them do my tie rod and drag link. I didn't snap a photo of them but they really turned out nice too.
American Vintage 4x4
"Where four wheel drives are a way of life"
www.AV4x4.com
User avatar

Topic author
BigJ200
Posts: 228
Joined: Tue Jan 17, 2012 1:36 pm
Location: Kuna, Idaho
Contact:

Re: Wilderness Gladiator

Post by BigJ200 »

Once all the fabrication and welding on the frame was completed, it was prepped for POR15 and BlackCOTE. It's a great way to attain a finish that will last a long time.

While the frame was drying, the axle housings were taken apart and painted with POR 15 and military forest green paint.

Image

Image

Image

Image

Image

Image

After that, everything was reinstalled in the newly painted frame. A big step forward.

Image

Image

Image

Image

Image
American Vintage 4x4
"Where four wheel drives are a way of life"
www.AV4x4.com
User avatar

Topic author
BigJ200
Posts: 228
Joined: Tue Jan 17, 2012 1:36 pm
Location: Kuna, Idaho
Contact:

Re: Wilderness Gladiator

Post by BigJ200 »

More pics of the completed components...

Image

Image

Image

Image

Image

Image

Image

Image

Image

Image

Image
American Vintage 4x4
"Where four wheel drives are a way of life"
www.AV4x4.com
User avatar

Topic author
BigJ200
Posts: 228
Joined: Tue Jan 17, 2012 1:36 pm
Location: Kuna, Idaho
Contact:

Re: Wilderness Gladiator

Post by BigJ200 »

More progress photos:

Image

Image

Image

Image

Image

Image

Image

Image
American Vintage 4x4
"Where four wheel drives are a way of life"
www.AV4x4.com

Locked and Loaded
Posts: 478
Joined: Wed Oct 03, 2012 7:57 pm

Re: Wilderness Gladiator

Post by Locked and Loaded »

That came out nice. Thanks,
Drink more Water
User avatar

jaber
Vendor
Posts: 3067
Joined: Sat Aug 27, 2011 5:24 pm
Location: Chino Valley, Az.

Re: Wilderness Gladiator

Post by jaber »

Would you mind getting pics of the inside of the rear axle rear spring frame mounts? I was going to do box hangers on the outside of the frame, but the more I see done this way the more I'm second guessing it.

You have done a great justice to that truck. :-bd :-bd
Jeff

'46 cj3a
'51 Willys p/u
'51 Willys Parkway Conversion
'74 CJ5
'75 J-20 Wrecker
'75 J-20 Cummins service truck
'77 J-10 p/u
'79 Cherokee
'88 Grand Wagoneer
http://s252.photobucket.com/albums/hh14/jeffaber/
User avatar

Topic author
BigJ200
Posts: 228
Joined: Tue Jan 17, 2012 1:36 pm
Location: Kuna, Idaho
Contact:

Re: Wilderness Gladiator

Post by BigJ200 »

Somehow, I didn't get many pictures of that section. Here is one that shows the initial plate and 1 3/4" tubing welded in place. I'll try to get some more for you.

Image

Hope this helps. It is a great way to keep the height down. Especially, in a springover situation.
American Vintage 4x4
"Where four wheel drives are a way of life"
www.AV4x4.com
User avatar

Topic author
BigJ200
Posts: 228
Joined: Tue Jan 17, 2012 1:36 pm
Location: Kuna, Idaho
Contact:

Re: Wilderness Gladiator

Post by BigJ200 »

After further evaluation of the body, I discovered that the previous owner had done some shoddy work on parts of the cab. He used screen door, chicken wire, lead, brass, expanding foam, and body filler as his slack jaw yokel solution. Stupid and unnecessary. It was possible to repair it correctly, but I chose to eliminate all of it. So, the top of the cab was removed. And I located a sweet top in a local parts yard for $25. It was welded in and all was right with the world. I took the time to build a roll cage while the top was out of the way. It tucks up nicely and adds some strength to the super thin A pillars. I did lose the small back window, but gained a nice new tinted glass slider. It all worked out.

Here is what was found after the headliner was removed and some wire wheeling was done. This is only a small part of it.

Image

Image

Here is the old top after it was removed:

Image

Here is the new J10 top.

Image

Here are a few "in progress" photos of the interior roll cage.

Image

Image

Image

Image
American Vintage 4x4
"Where four wheel drives are a way of life"
www.AV4x4.com
User avatar

Topic author
BigJ200
Posts: 228
Joined: Tue Jan 17, 2012 1:36 pm
Location: Kuna, Idaho
Contact:

Re: Wilderness Gladiator

Post by BigJ200 »

Here it is with the top welded back on. The cage is complete as well.

Image

Image

Image

Image

Image

Image

Image

Image

Image

Image
American Vintage 4x4
"Where four wheel drives are a way of life"
www.AV4x4.com
User avatar

Topic author
BigJ200
Posts: 228
Joined: Tue Jan 17, 2012 1:36 pm
Location: Kuna, Idaho
Contact:

Re: Wilderness Gladiator

Post by BigJ200 »

Lizard Skin (2 Parts)
1. Sound Control (SC)
2. Ceramic Insulation (CI)

Both SC and CI are water-based spray-on products. They are non-toxic and can be sprayed directly as it comes. No thinning and no chemicals are required and the finish is very nice. It doesn't smell bad at all. Actually, it smells just like latex paint, only less troublesome. It is UV resistant and can be painted with most automotive paints that have at least a 15% flex factor; according to a company technical representative I spoke with.

The kit I chose to buy came with two 2 gallon buckets of each product, a special cup gun and a long mixer that is made for a drill. A cordless drill worked great.

Image

Image

Image

There were some minor rusty areas on the front sections of the floor. It wasn't bad, but I don't do rust. So I bought new floor panels from BJ's OffRoad. The rusty parts were removed and the new panels were welded in. Then all the unused holes in the firewall were welded shut and sanded smooth. I made a few modifications to the firewall for a late model intermittent wiper motor and hydroboost brakes. After that everything was cleaned thoroughly and sprayed with epoxy primer. It was scuffed thoroughly with a scotch brite pad to ensure good adhesion. After that, all the gaps and seams were sealed up with Seam Sealer and allowed to fully cure for 3 days.

Image

Image

Once it was all cured, it was time to spray on the Lizard Skin Sound Control. When it is mixed thoroughly it is the consistency of cake batter. It takes about 5 minutes to mix it really well.

This is 2 coats sprayed on at 50 psi. It is a beautiful thing.

Image

Image

Image

Image

Image

Here are a few photos of the final Ceramic Insualtion coating on the firewall. It is basically the same as the Sound Control coating, except that it's a darker gray/black and it is a slightly rougher texture. Personally, I like the smoother texture of the Sound Control. It's much nicer. I would have only sprayed that if I had tested the CI. It all worked out very well though.

By the way, these pictures also show that all of the unused holes in the firewall were welded up and smoothed out. Plus, the entire area where the original brake and clutch master cylinders were located has been cut out and replaced with a new piece that matches the hydroboost and corvette master cylinder setup. The hole where the front wiring harness came through the firewall remains.

Image

Image

Image

In upper right side of this photo, you can see that the original Gladiator wiper motor bracket has been removed. Now the GM wiper motor bolts up perfectly and connects to the original FSJ wiper linkage. It looks like it came that way originally.

Image

Image
American Vintage 4x4
"Where four wheel drives are a way of life"
www.AV4x4.com
User avatar

TUDrewser
Posts: 1306
Joined: Mon Aug 12, 2013 9:40 pm
Location: Mesa, AZ

Re: Wilderness Gladiator

Post by TUDrewser »

Good lord this is a beautiful thread. Very nice work.
1990 GW "saved by Jerry" edition
will e wrote:I guess life is better if you are not moving too fast.
User avatar

Topic author
BigJ200
Posts: 228
Joined: Tue Jan 17, 2012 1:36 pm
Location: Kuna, Idaho
Contact:

Re: Wilderness Gladiator

Post by BigJ200 »

Joe is finishing the last bit of bodywork in preparation for paint.

Some photos of the day.

Image

Image

Image

Image

Image

My PA-108 ammo boxes (fat 50's) for my Optima batteries. The lid closes perfectly and seals. Just need a simple spacer between the battery top and lid to hold it in place.

Image

Image

Image
Last edited by BigJ200 on Fri Dec 27, 2013 7:45 pm, edited 1 time in total.
American Vintage 4x4
"Where four wheel drives are a way of life"
www.AV4x4.com
User avatar

Topic author
BigJ200
Posts: 228
Joined: Tue Jan 17, 2012 1:36 pm
Location: Kuna, Idaho
Contact:

Re: Wilderness Gladiator

Post by BigJ200 »

Here is Joe finishing up the last bit of body filler and sanding. Then he sprayed the cab with DP90 Epoxy Primer. It turned out very nice.

Image

Image

Image

Image

Image

Image

Image

Image

Image

Image


More significant progress on the cab. It couldn't have been a more beautiful day. Absolutely perfect. It was in the 70's and the warmth felt so good on my bones!

Joe started the morning with one primary goal. To true up the body lines and then spray multiple coats of high fill primer. It turned out beautifully. At the end of the day he sprayed a quick guide coat on everything. The guide coat makes it possible to clearly see high any low spots during the final sanding and shaping process. You will never even know that a 78 top was welded on to a 64 cab.

Image

Image

Image

Image

Image

Image

Image

Image

Image
American Vintage 4x4
"Where four wheel drives are a way of life"
www.AV4x4.com
User avatar

Topic author
BigJ200
Posts: 228
Joined: Tue Jan 17, 2012 1:36 pm
Location: Kuna, Idaho
Contact:

Re: Wilderness Gladiator

Post by BigJ200 »

A few sneak peaks of the painted cab. I really love the color.

Image

Image

Image

Image

Image

Image

Image

Image

Image

Image

Image

Image

Image

Image

Image
American Vintage 4x4
"Where four wheel drives are a way of life"
www.AV4x4.com
Post Reply