Got the driver side internals and A-pillar welded in this weekend. Made a few mistakes that Im going to have to work on later but overall it went very well.
In the last A-pillar repair post the Sections had been fit up, and I was working on the inner cowl/A-pillar tie in section.
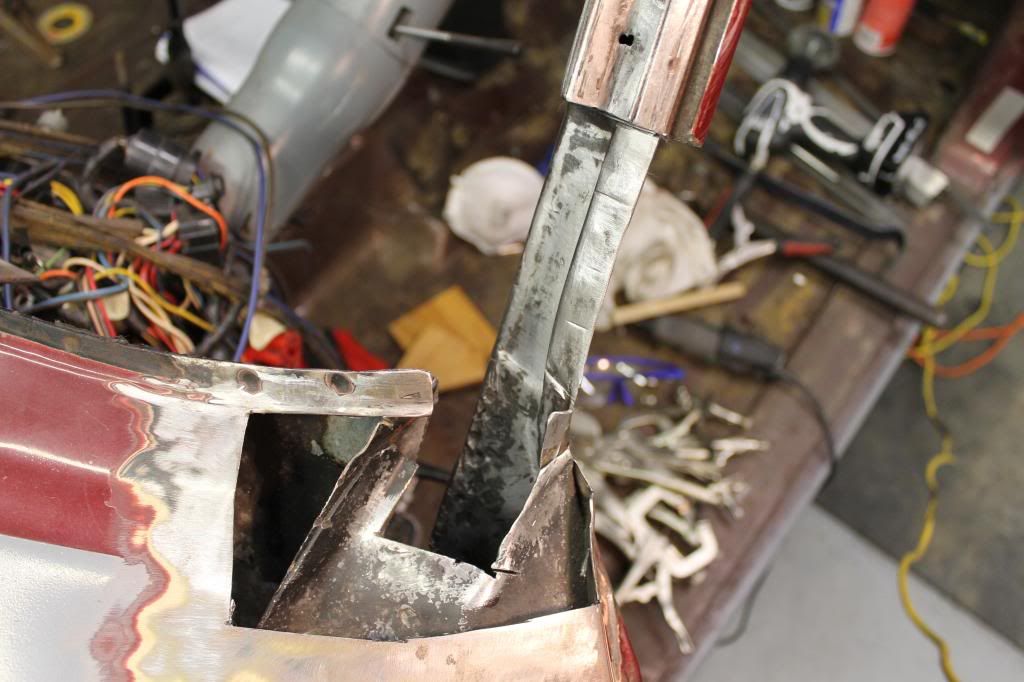
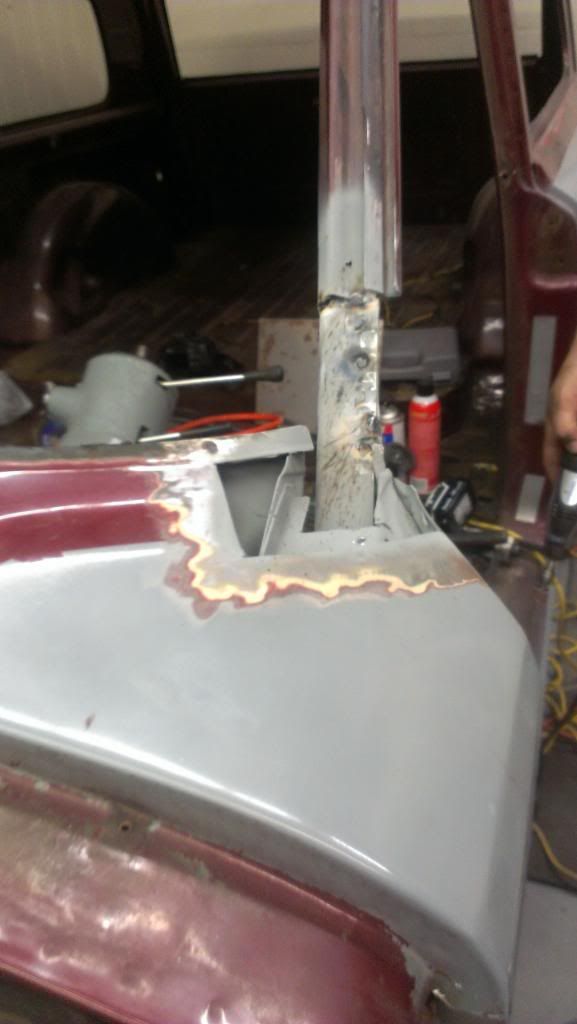
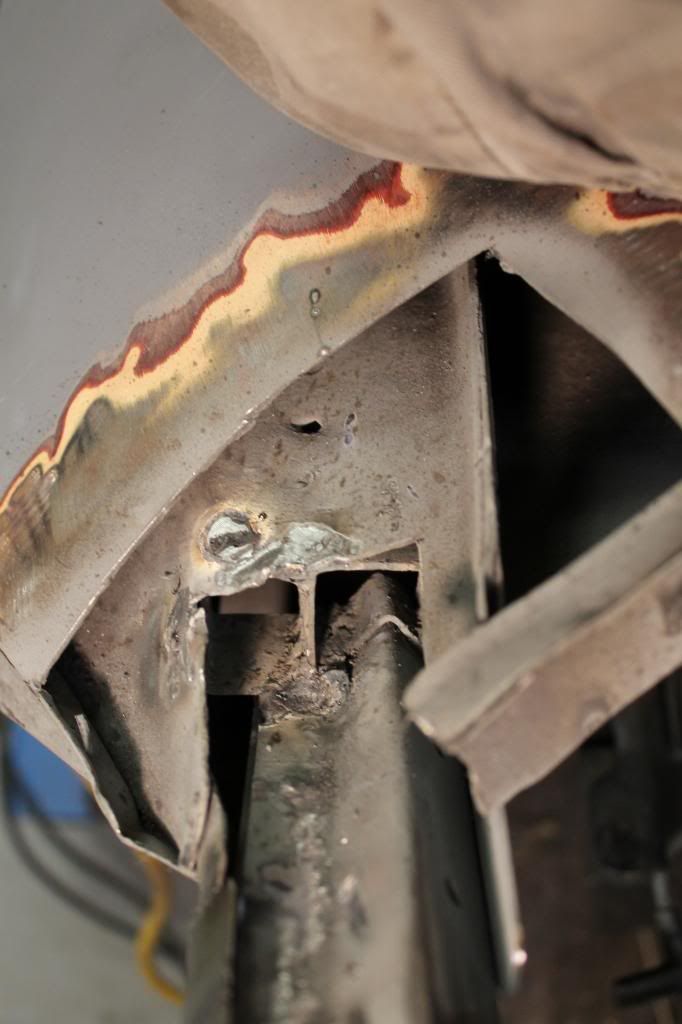
To clarify... (since I realize that probably no one has 3 layers of their jeep cut away to see this first hand) ... the Cowl , A-pillar, Windshield gasket molding, firewall, and door jamb hinge area all tie into this corner that I have disected in the previous photos. The original design supported and tied all these layers together by a series overlaping flanges spot welded together on top of the A-pillar and under the lower/inner cowl wall. My Cherokees internals in that area were disentegrated so that non of the flanges were connecting any longer. To recreate this original design was noot possible so I needed to find a simple but effective replacement.
The internal support ties need to span the gap between the outer firewall/ hinge bulkhead across to the inner firewall (immediatly behind the dash). It needs to connect at the top to the inner cowl bulkhead and on the bottom to the A-pillar shaft itself. The issue is that its not a square or rectangle inside.. Its a "whatthefishagram" the a-pillar has its specific shape, and the inner cowl and outer firewall are tapered in opposite diections...
Im sorry, Im trying to make it not confusing but this stuff is hard to explain.
So here is the solution to the inner brace:
expanded:
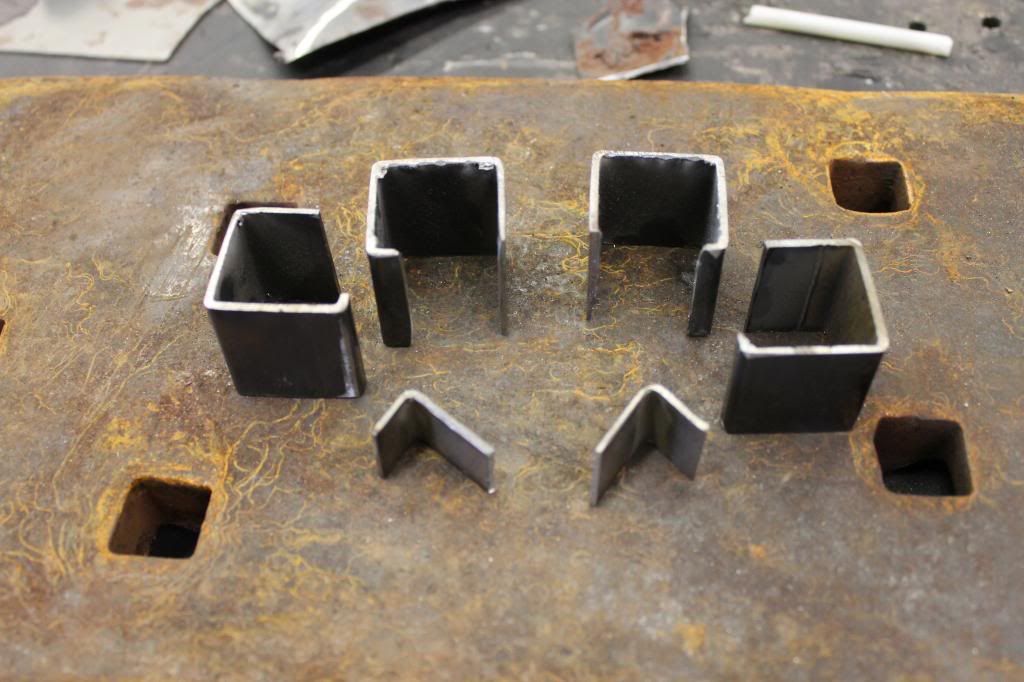
together:

welded:
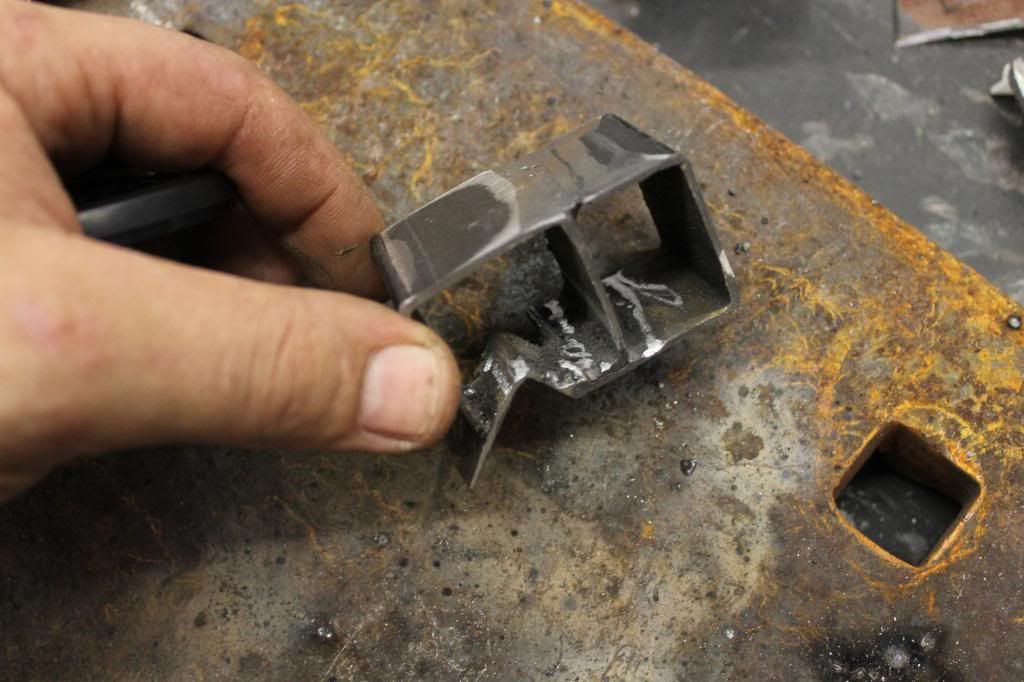
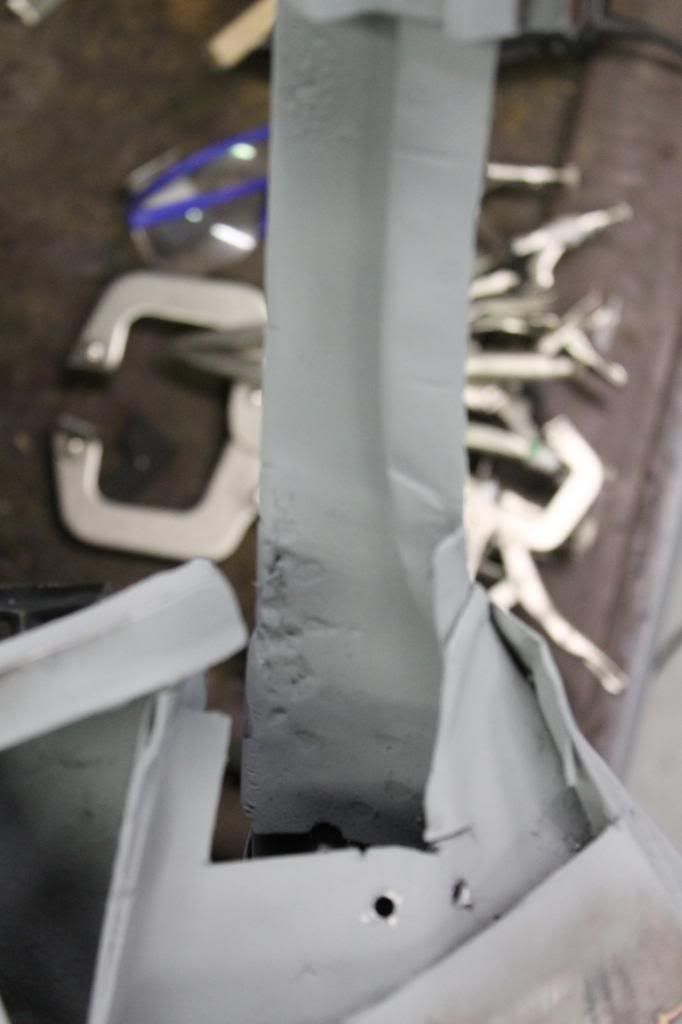
Ok remeber this piece for later in the picture sequence....
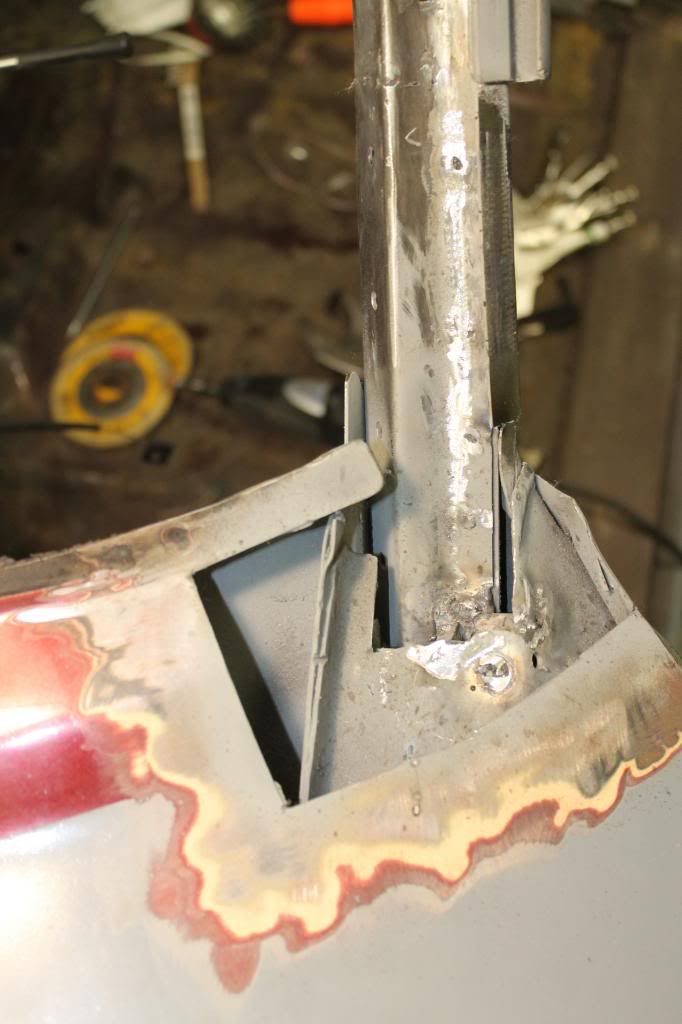
So with the brace fabricated the different layes of the A-Pillar were drilled for Plug welds.
Here is where a very stupid mistake was made...I was super stoaked to have finally finished the braces and actually have them fit. In the the excitement I rushed the marking of the plug weld locations without thinking it through. The center holes are useless...there is a big gap under the crest of that section... now I have all these holes to fill in when i get finished... grumble...
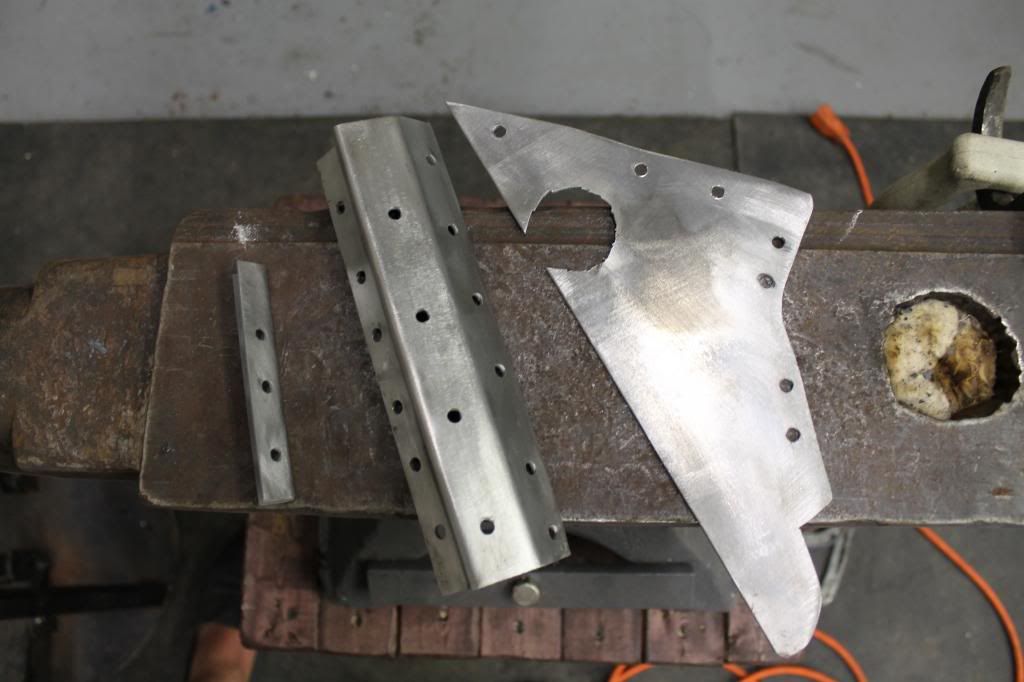
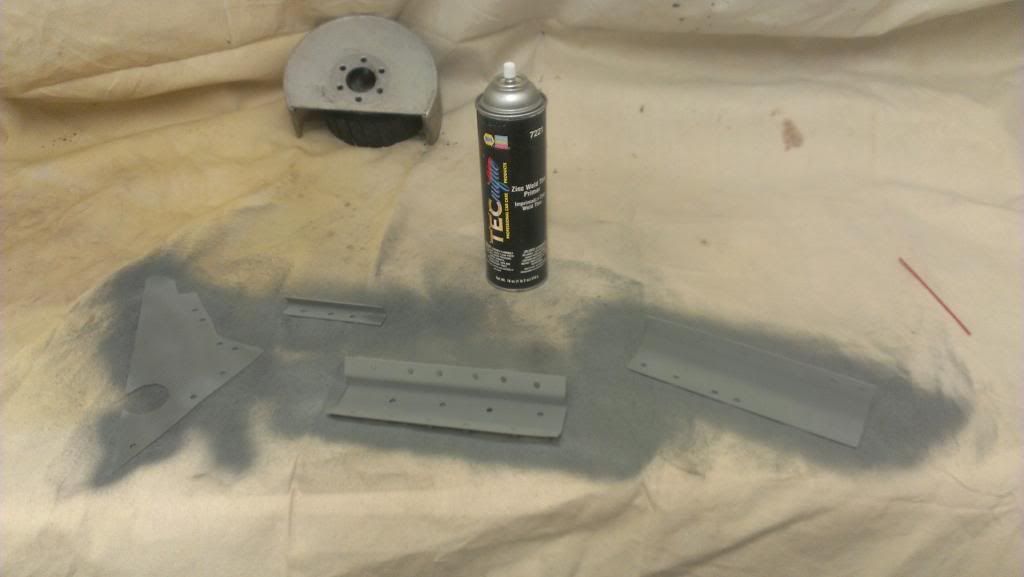
The areas were wire wheeled for the final time and brought to the cleanest level possible. All the replacemet metal was sanded clean, roughed up, and cleaned with brake cleaner to remove all oils before primer was applied.
Next the entire area and every nook and corner i could reach was coated in High Zinc Weld Through Primer. I should note that epoxy primer was recommended over the weld through, but it was very costly and needed almost a week! to cure before you were supposed to weld on it...
The individual pieces were also coated.
Inner layer clamped and ready...No going back now..
Welded:
(ugly but actually got some good welds considering how nervouse I was)
Reapplied primer where needed and welded in the upper section and gasket rail.
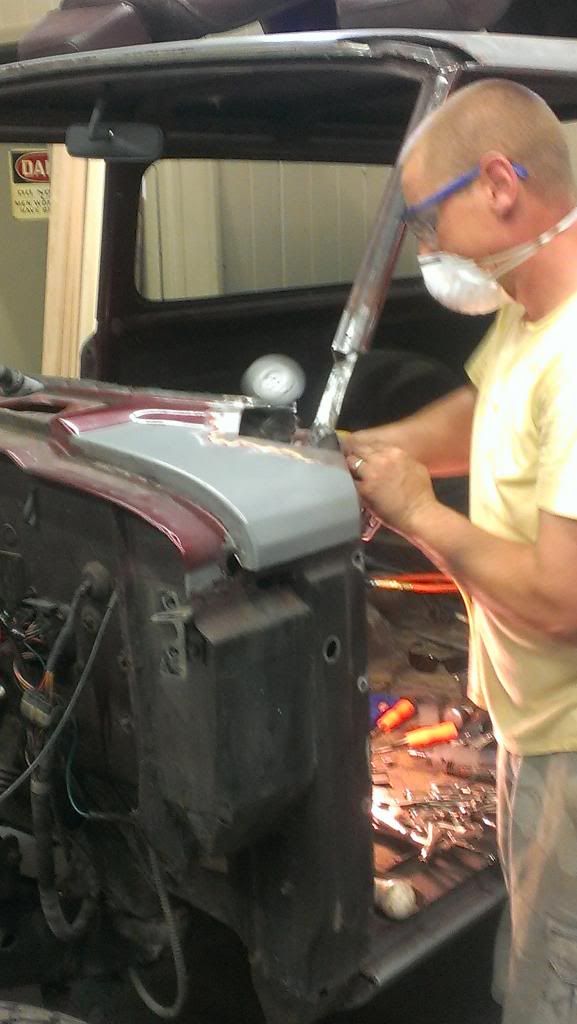
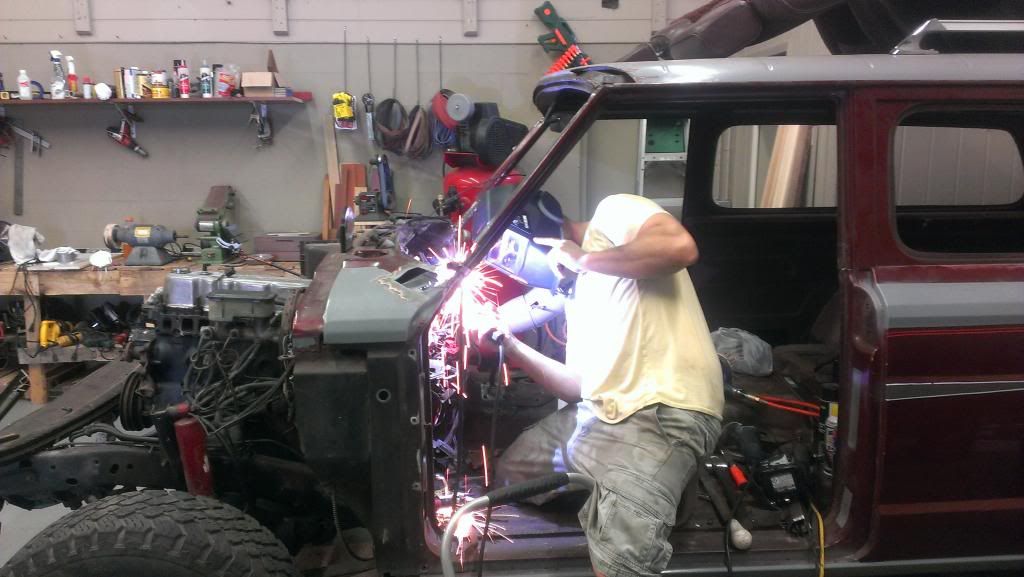
Guitarsail (Jarod) snagged this pic of the majical dance between me and my HF 90amp stick welder... Yup ...
Welded and ground down fairly flush.. The stick welder just wouldnt lay it down clean enough to get the perfect "all weld" repacement I was hopeing for... Im going to look into lead filler techniques but if thats not worth it a little!!! filler will be enough to blend the pinholes and minor imperfections.
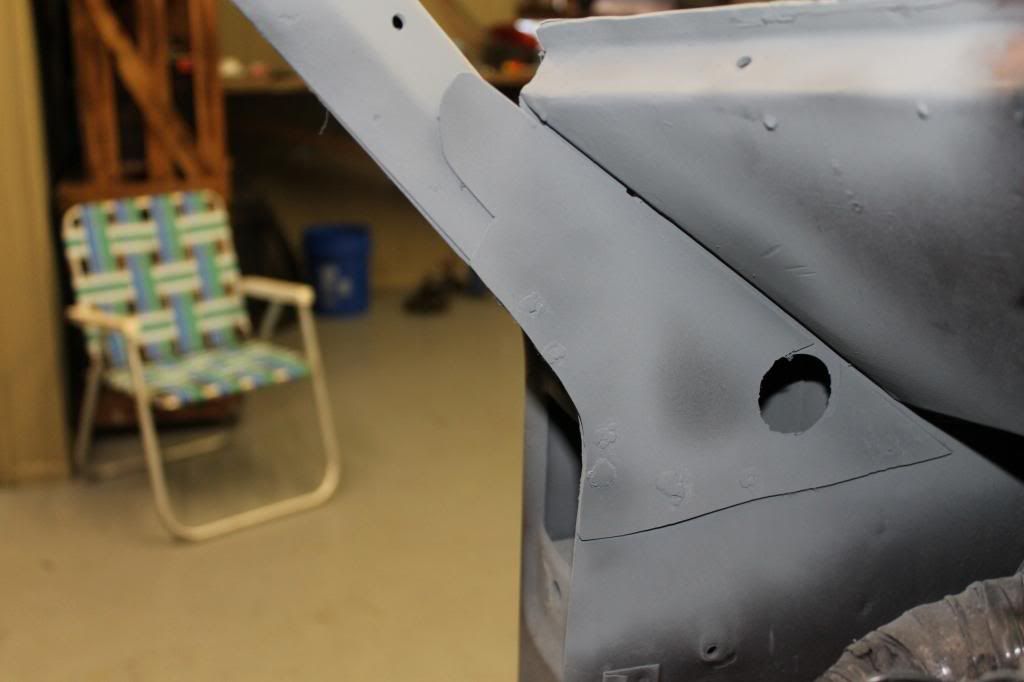
okay remeber that little insert from the beginning of this post?
Here is where it come into play:
In order to get it situated now that the A-pillar is filling up its fair share of space you have to access it through the side wall. the tag that was left hanging over the inside was drilled for a plug weld and tacked on through the inner panel to hold it in place while the rest of the connections were made.
I admit this isnt beautiful and shiny like the stuff above the cowl line but I seiously hope that NO ONE! ever has to cut this thing open like this again and spending time grinding and polishing out a section that is never going to be seen was not a priority at this point.
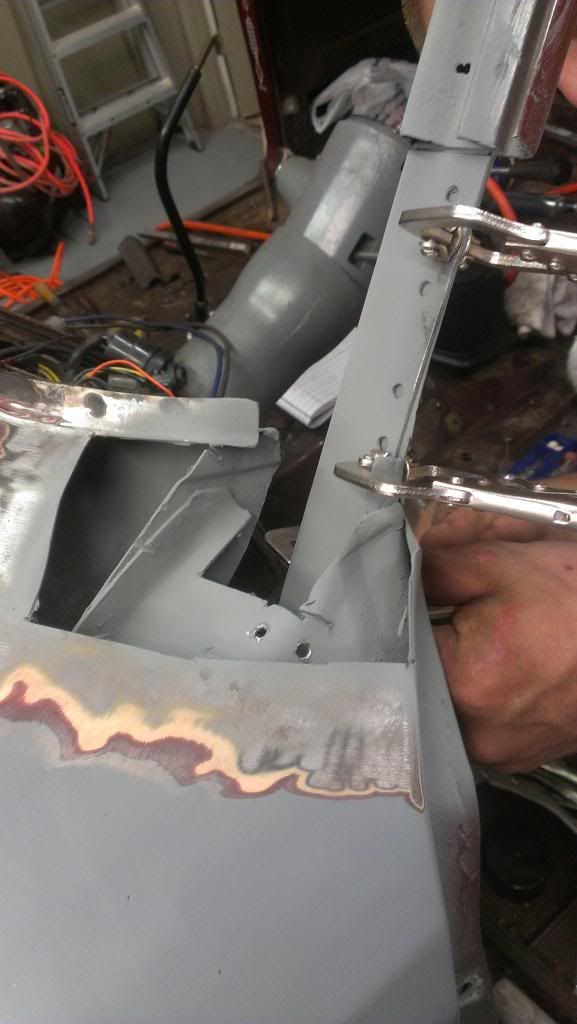
Inner cowl panel removed and brace in place:
this is looking down the A-pillar into the guts of the cowl... Its plug welded twice to the top, once through the side, onto the pillar itself, and plugged through a hole in the inside to the inner cowl.
At this point I shot everywhere i could reach from the side panel access with high zinc primer. most of these areas are not in direct exposure to the elements but i figured why not.
then,
Inner cowl pannel replacement installed
The upper seems need to be sealed. I cut out the fatory stuff and will do all the seals at the same time once the fab work is finshed. I know the plug welds are ugly but the dash and brake sit right over it so i didnt exactly shoot for the stars for finish.
last but not least the internal cowl/ a-pillar area got slightly overkill High Zinc primer application. Before its sealed up its going to get a top coat of something but i havent decided yet.
The actually pillar still needs to have the finish work done to it but since its going to be a while before i get the rest of the winshield corners completed it got a coat of rust preventitive primer as well. :;):