The motors I've had the best luck with are the 76 and later models.
When my stock 66 heater blower fan just wasn't putting out the volume needed, I swapped in a 77 blower motor with the plastic fan and it made a huge difference.
I did the same type of swap on the panel delivery and got the same results: increased air volume. I have also used mid 70's chevy blazer heater blower motors as they really put out the air. The chevy swap is a common swap in the CJ7. If I remember correctly, the chevy swap requires a mod on the fan itself in order to fit the FSJ.
1962 j-200 Thriftside Father & Son 4.0 AW4 D300 Project
-
 66stepside
Topic author - Posts: 3793
- Joined: Sat Oct 13, 2012 9:59 pm
- Location: Spokane Valley, WA.
-
Nikkormat
- Posts: 3623
- Joined: Sun Jun 29, 2014 11:45 pm
- Location: Salt Lake City
Re: 1962 j-200 Thriftside Father & Son 4.0 AW4 D300 Project
Hmmm. I'll have to take my fan to the junkyard and do some matching. When I replaced the old one we ran the part number through the computer and it came up a as 73 Cadillac Eldorado's blower motor.
Gabe, "reformed" Jeep hoarder.
-
twisted frame
- Posts: 637
- Joined: Wed Mar 27, 2013 9:41 am
- Location: Massachusetts
Re: 1962 j-200 Thriftside Father & Son 4.0 AW4 D300 Project
Thanks for the info on the blower motor - didn't know about the Blazer swap.
Also, I never asked. I'm guessing you're using a MIG when you do body work. What kind and how do you like it? Is it a household current unit or 220? Thanks!
Also, I never asked. I'm guessing you're using a MIG when you do body work. What kind and how do you like it? Is it a household current unit or 220? Thanks!
73 J4000. 360, MC 2100, T18A, D20, stock closed knuckle Dana 44 front, 60-2 rear. Warn Lock-O-Matics, Warn/Belleview electric winch, true duals with glasspacks, old-school front diff skid plate, used 265 Toyos on 16" AR wheels.
-
66stepside
Topic author - Posts: 3793
- Joined: Sat Oct 13, 2012 9:59 pm
- Location: Spokane Valley, WA.
Re: 1962 j-200 Thriftside Father & Son 4.0 AW4 D300 Project
The mid 70's Blazer motor is the best swap for volume. On the CJ7's, you had to trim the hole on the firewall about 1/8-1/4" all the way around, but the stock gasket between the motor and the firewall still sealed it all. On the CJ's, you could also plug the windshield channel so the heated air did not have to go through the whole windshield frame before it came out the lower windshield vents. When I had my 85 CJ7, those two mods alone made the weak heating SOOOO much more effective- that mod even got the wife's approval!Nikkormat wrote:Hmmm. I'll have to take my fan to the junkyard and do some matching. When I replaced the old one we ran the part number through the computer and it came up a as 73 Cadillac Eldorado's blower motor.
As far as the Blazer motor in a FSJ goes, there's a few ways to do it. Most of the holes line up for the mounting, but there's a small gap along one edge- an easy fix. I believe their plastic fan is bigger, so swap in the FSJ fan and that should be enough to clear the depth of the FSJ housing. The Blazer fan puts out the air, so swapping in a smaller smaller fan gives it a bit more umph, if you know what I mean.
The other way is leaving the blazer fan on the motor and shimming the motor enough to fit depth-wise onto the FSJ housing- then seal the gap all the way around, and seal off excess screw holes, too. I am a bigger fan of the other way (pun intended).
I imagine if a blazer fan works, then almost any Chevy truck, GM, or GMC fan would work- especially in the larger GM rides. I don't think all fans are created equal.
You're welcome. I am using a Hobart MIG, gas-less, 110 on everything. I've never had a problem, even when I built the truck bed trailer. I ran a 200 power box in the shop for a 220 welder (I never bought the 220 welder), but never used the 220 box.twisted frame wrote:Thanks for the info on the blower motor - didn't know about the Blazer swap.
Also, I never asked. I'm guessing you're using a MIG when you do body work. What kind and how do you like it? Is it a household current unit or 220? Thanks!
My father-in-law works for the City and while they use the big welders mounted on their trucks, for the last 20 years he said they'll use the 110 welders most of the time do to the tight spaces of where they have to work and the welds hold up just fine unless the metal is super thick. His buddy built a sweet all steel bodied street rod and only used the 110 gas-less Hobart- even on the frame! He just runs a double pass on thicker metal. Both guys have to weld for their line of work. I guess if I built hardcore truggies, or extreme 4x4 rigs, I might step up to the 220 for frame repair/work, but for the occasional weekend wheeler (me) the 110 works great. all in all, the 110 Hobart can be dialed up, or down, mostly dialed down for the body work repair. I did turn up the juice on the trailer frame and that frame held up to the abuse.
1960 FC170 DRW 401/TH400/D20
1966 J3000 401/T18/D300
19?? Quadcab Thriftside, 5.3, 4L60-E, NP261XHD
1968 M715, 454, sm465, np205, 14 bolt rear, 60 front
1966 J3000 401/T18/D300
19?? Quadcab Thriftside, 5.3, 4L60-E, NP261XHD
1968 M715, 454, sm465, np205, 14 bolt rear, 60 front
-
66stepside
Topic author - Posts: 3793
- Joined: Sat Oct 13, 2012 9:59 pm
- Location: Spokane Valley, WA.
1962 j-200 Thriftside Father & Son 4.0 AW4 D300 Project
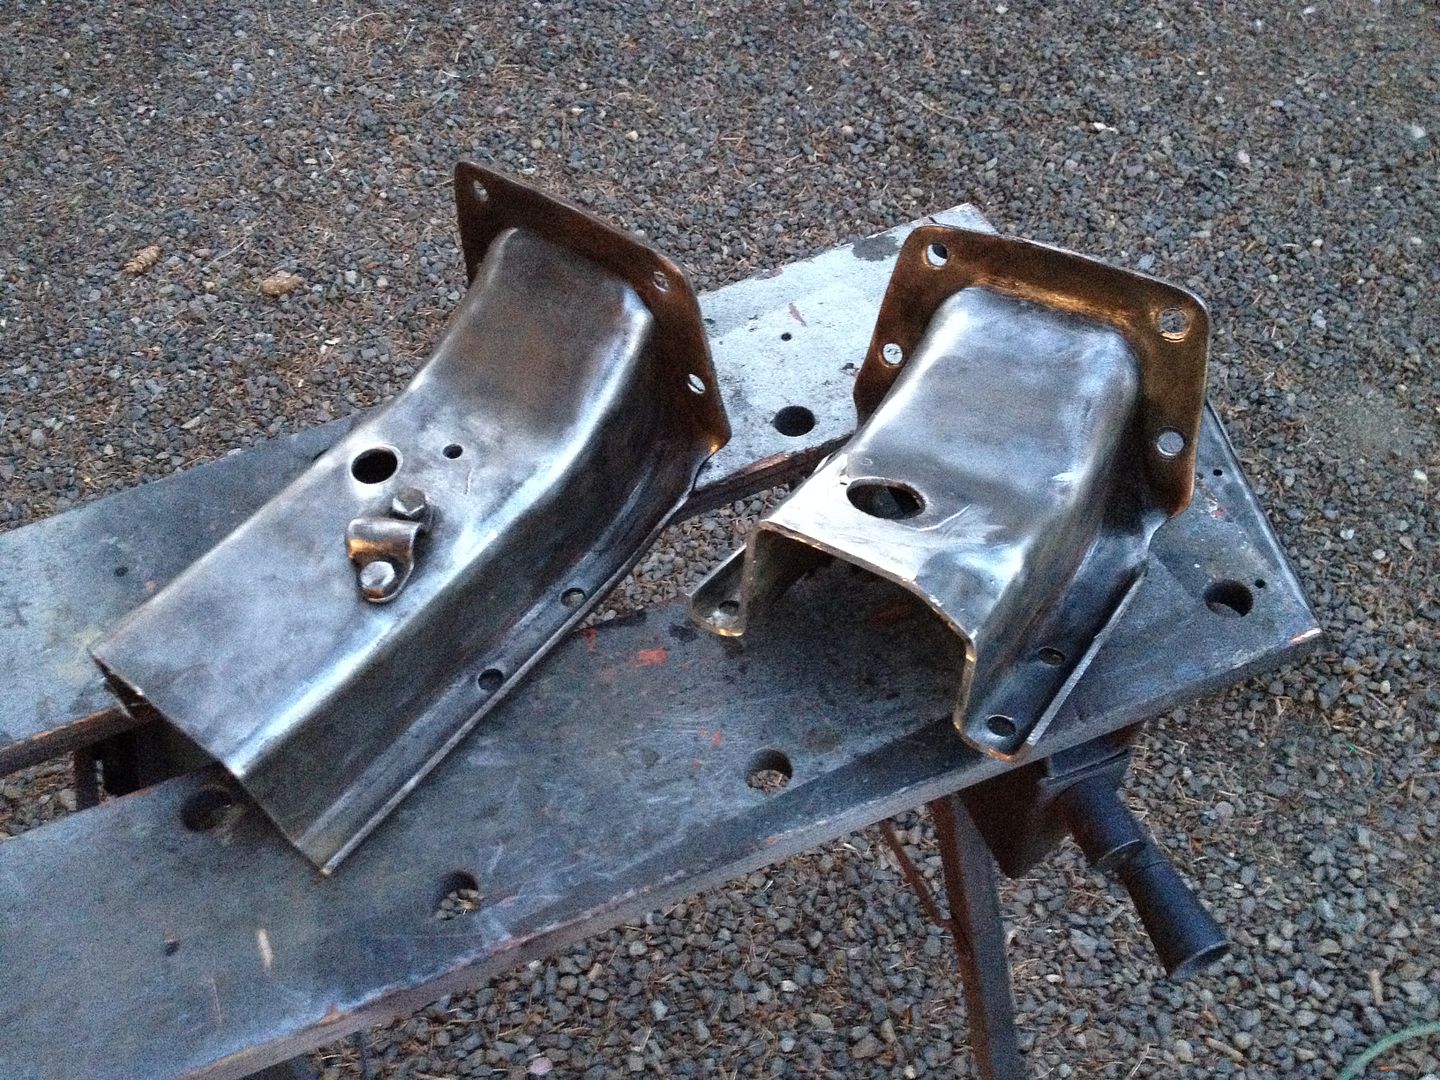
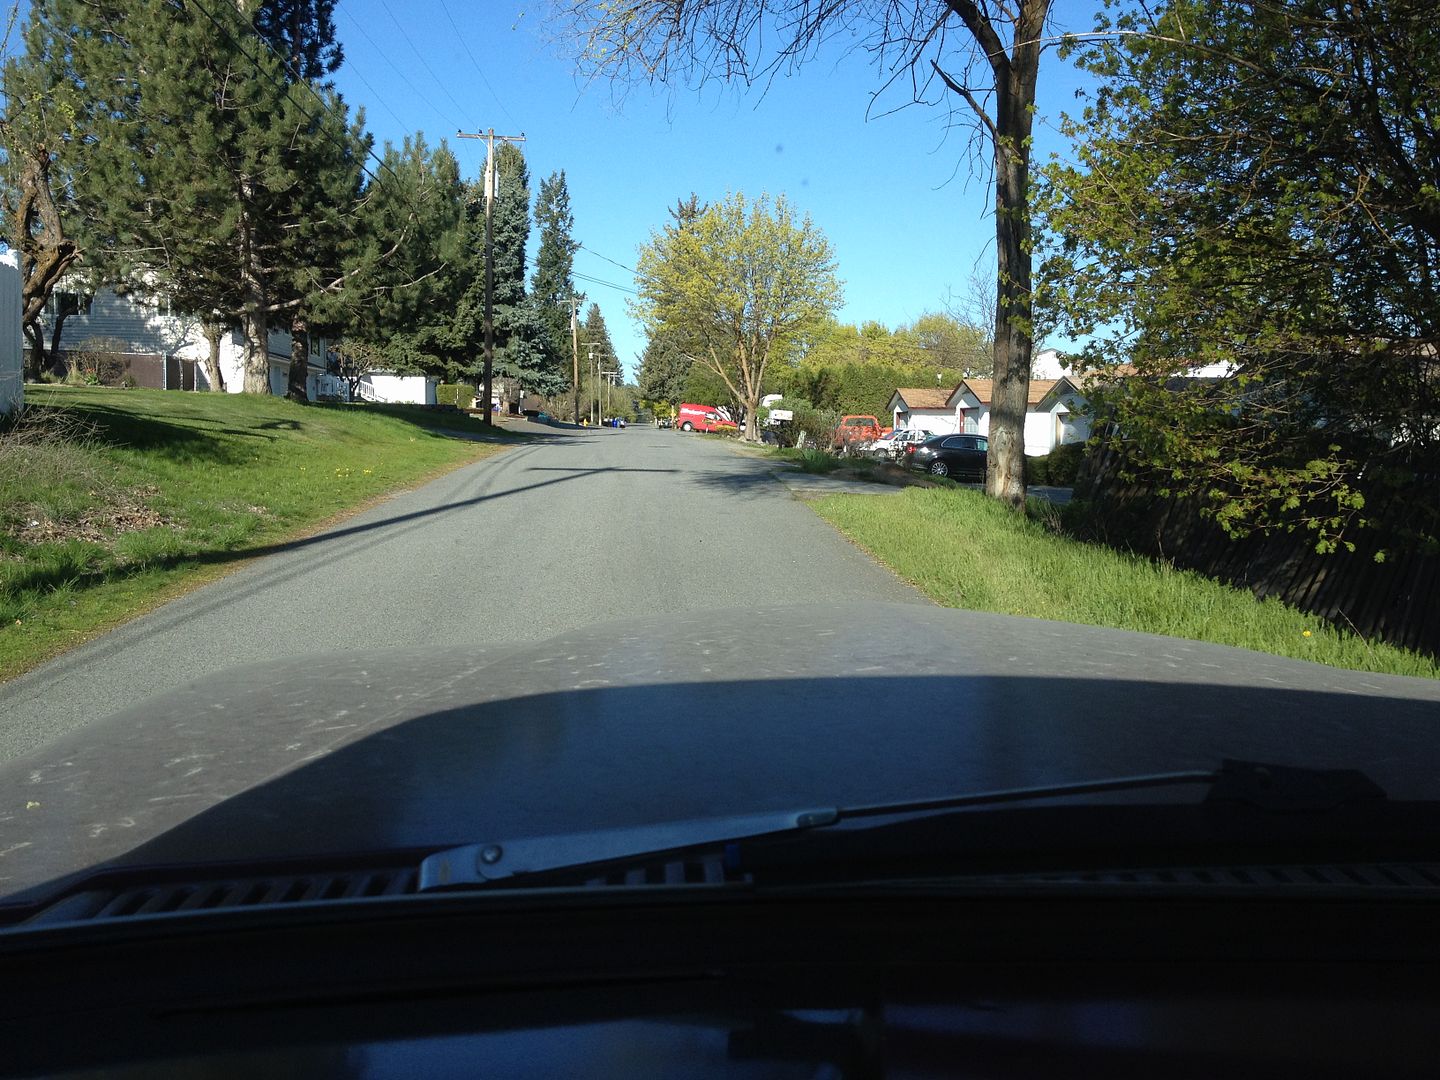
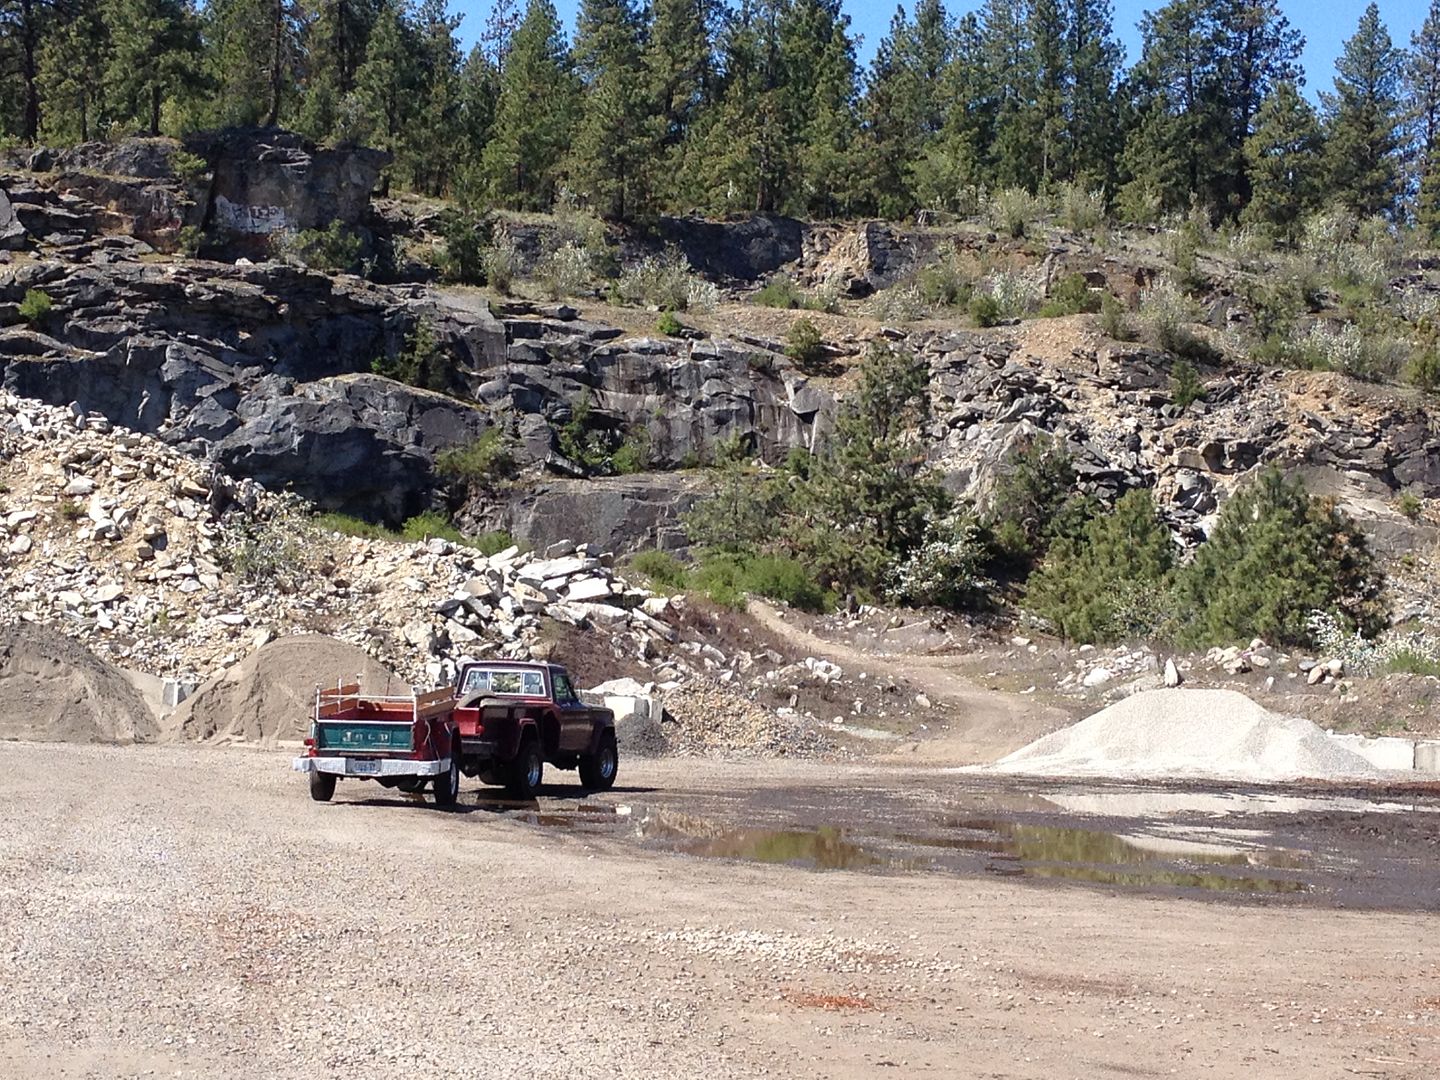
I cleaned out the back of the truck and then we turned it around in the event we meet the goal of the engine swap in the upcoming weeks.
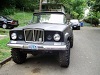
I just took a shot of her head on before we moved it.


The dash is almost ready to install.
I just took a shot of her head on before we moved it.
The dash is almost ready to install.
-
twisted frame
- Posts: 637
- Joined: Wed Mar 27, 2013 9:41 am
- Location: Massachusetts
Re: 1962 j-200 Thriftside Father & Son 4.0 AW4 D300 Project
What a great shot of the truck from above!
Have you, by any chance, ever tried to cross-reference the washer fluid pump? That part was missing from my truck when I bought it years ago and I've gotten by with a generic fluid pump I found at Napa, but it would cool to find a correct stock one.
Have you, by any chance, ever tried to cross-reference the washer fluid pump? That part was missing from my truck when I bought it years ago and I've gotten by with a generic fluid pump I found at Napa, but it would cool to find a correct stock one.
73 J4000. 360, MC 2100, T18A, D20, stock closed knuckle Dana 44 front, 60-2 rear. Warn Lock-O-Matics, Warn/Belleview electric winch, true duals with glasspacks, old-school front diff skid plate, used 265 Toyos on 16" AR wheels.
-
66stepside
Topic author - Posts: 3793
- Joined: Sat Oct 13, 2012 9:59 pm
- Location: Spokane Valley, WA.
1962 j-200 Thriftside Father & Son 4.0 AW4 D300 Project
Thanks!twisted frame wrote:What a great shot of the truck from above!
Have you, by any chance, ever tried to cross-reference the washer fluid pump? That part was missing from my truck when I bought it years ago and I've gotten by with a generic fluid pump I found at Napa, but it would cool to find a correct stock one.
No, and I haven't found one that's been in working condition either. Someone near Bend, OR. has an NOS one, but I couldn't tell from the pic if it had the washer fluid pump. I've thought about wiring up the XJ's version as the pumps are attached to the hard plastic reservoir.
EDIT:
The wiring is done, I wrapped it up- literally, tonight.
I drove it into the regular garage as that has the concrete floor needed to do the swap.

So, barring any unforeseen problems, we've got the next 8 days to accomplish the swap. If we don't 'git er dun' in 8 days, then oh well. We've got nothing but time- no rushing on this one.
-
 62Thriftside
- Posts: 29
- Joined: Sun Aug 11, 2013 12:52 pm
1962 j-200 Thriftside Father & Son 4.0 AW4 D300 Project
Hi guys, me and my dad have done a lot over the weekend. Everything is unhooked after 2 days of work. All we have to do now is de-pressurize the fuel system and the engine and tranny are ready to pull.

Sent from my iPod touch using Tapatalk
Sent from my iPod touch using Tapatalk
-
66stepside
Topic author - Posts: 3793
- Joined: Sat Oct 13, 2012 9:59 pm
- Location: Spokane Valley, WA.
1962 j-200 Thriftside Father & Son 4.0 AW4 D300 Project

Phase One complete.
EDIT:
Phase 1.01 Complete.

Phase 1.02

Phase 1.03-1.04

Phase 1.05
Beer.
Onto the next phase.
-
66stepside
Topic author - Posts: 3793
- Joined: Sat Oct 13, 2012 9:59 pm
- Location: Spokane Valley, WA.
1962 j-200 Thriftside Father & Son 4.0 AW4 D300 Project
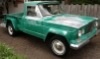
Phase 1.06 is done- painted Novak's motor mount kit. The grey is weld-thru primer, as those brackets will be welded to the frame. They're originally for a LS engine, but can easily be adapted for the inline six.
We also painted the XJ's cross member after a cleaning and degreasing session- painted the new motor mounts, as well as a new transmission mount, too.


We also painted the XJ's cross member after a cleaning and degreasing session- painted the new motor mounts, as well as a new transmission mount, too.


-
greatwindowsss
- Posts: 2
- Joined: Fri Jan 23, 2015 12:53 am
- Location: Herminie
- Contact:
Re: 1962 j-200 Thriftside Father & Son 4.0 AW4 D300 Project
I'm also new here and I'm looking forward to learn from you guys.
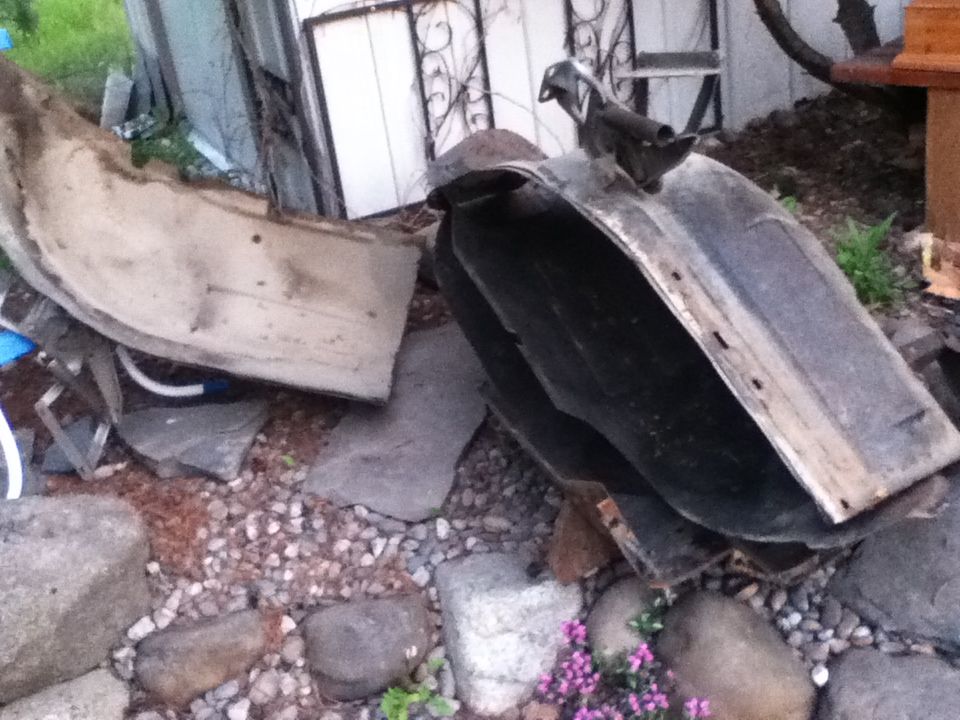
Does anyone have experience of repairing the wooden roof of an old car ?
Does anyone have experience of repairing the wooden roof of an old car ?
-
66stepside
Topic author - Posts: 3793
- Joined: Sat Oct 13, 2012 9:59 pm
- Location: Spokane Valley, WA.
1962 j-200 Thriftside Father & Son 4.0 AW4 D300 Project
Welcome to the forum, we're happy to help.greatwindowsss wrote:I'm also new here and I'm looking forward to learn from you guys.
Does anyone have experience of repairing the wooden roof of an old car ?
I once built a large wooden plow with a buddy named Pecos Bill way back in the day, but after we plowed one very grand canyon, I sort of gave up on wood working. So my experience with wood work is somewhat limited to experimental plow craft, but a quick internet search yeilded this gem:
http://www.oldclassiccar.co.uk/forum/ph ... 7106f4acc5
Most cars back in the day that used wooded roofs now have kits available online that you can buy for restoration purposes. They even make the woodie sides, but prepare your wallet for a big expense because the kits are never cheap.
Phase 1.07 completion:


If no one locally wants the axles, wheels, vin plate/title, suspension, and/or braking system- it'll all go to scrap.
Onto motor mounts, mounting the dana 300, and, of course, modding the transmission cross-member. Would that be Phases 1.08-1.10? Two days to see.
Last edited by 66stepside on Sun Apr 12, 2015 4:46 pm, edited 1 time in total.
-
 carnuck
- Posts: 3881
- Joined: Sun Mar 04, 2012 2:48 pm
- Location: Lynnwood, WA
- Contact:
Re: 1962 j-200 Thriftside Father & Son 4.0 AW4 D300 Project
Probably 3.55 ratio 8.25 rear and non-vac D30 front. Should sell pretty easy.
Check my parts for sale near Seattle
-
66stepside
Topic author - Posts: 3793
- Joined: Sat Oct 13, 2012 9:59 pm
- Location: Spokane Valley, WA.
1962 j-200 Thriftside Father & Son 4.0 AW4 D300 Project
So far, not one call. 75.00 a piece isn't so bad. But if it's still here on my next day off, it's all getting scrapped.carnuck wrote:Probably 3.55 ratio 8.25 rear and non-vac D30 front. Should sell pretty easy.
Meanwhile, the motor mounts are in, and we're ready for the crossmember, BUT apparently you do need the dana 300 to AW4 clocking ring. So that part is on order and we wait. It wasn't a total loss though, 62 took the angle grinder for a spin using the wire brush attachment so he could clean a spare j truck cross member piece in the event we'll need it, or parts of it, for the custom tranny mount sometime next weekend.

We moved the project back into the shop after we braced the tranny in place.
-
66stepside
Topic author - Posts: 3793
- Joined: Sat Oct 13, 2012 9:59 pm
- Location: Spokane Valley, WA.
1962 j-200 Thriftside Father & Son 4.0 AW4 D300 Project
The clocking ring came earlier in the week. So after work we went out and prepped the t case for installation as per the instructions.
It should be ready to install today.
But first I'm taking the XJ to the scrap yard, putting new brake pads on the front of the TJ, and replacing the TJ's sway bar linkage due to a one the the ball and socket joints failing epically turning into the parking lot of the grocery store.

It should be ready to install today.
But first I'm taking the XJ to the scrap yard, putting new brake pads on the front of the TJ, and replacing the TJ's sway bar linkage due to a one the the ball and socket joints failing epically turning into the parking lot of the grocery store.

-
66stepside
Topic author - Posts: 3793
- Joined: Sat Oct 13, 2012 9:59 pm
- Location: Spokane Valley, WA.
Re: 1962 j-200 Thriftside Father & Son 4.0 AW4 D300 Project
I think this covers up to Phase 1.95.
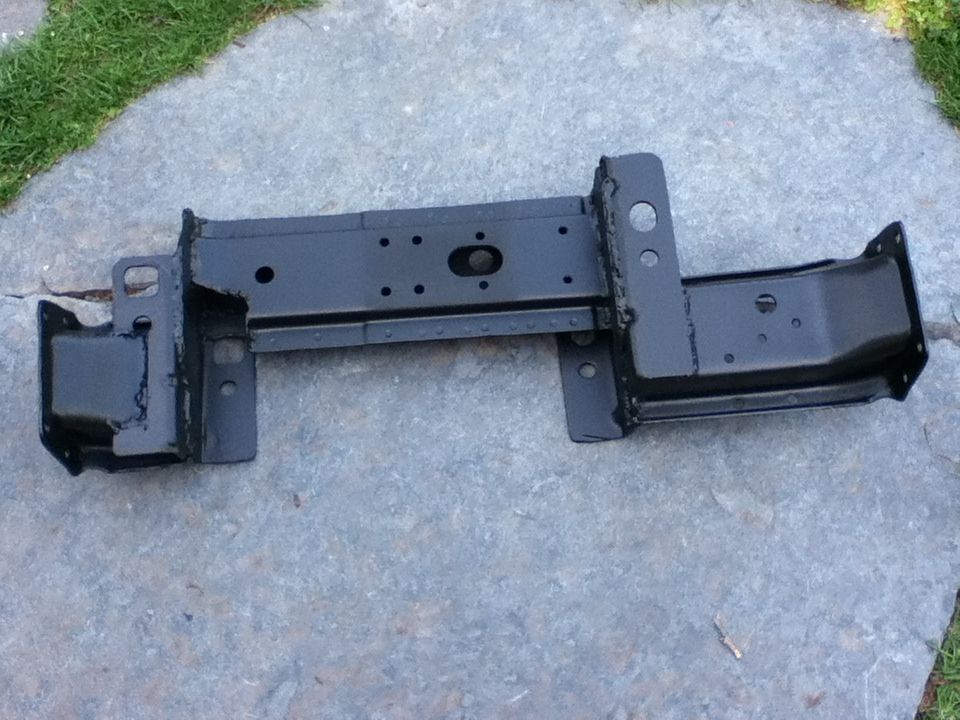
It's in, the XJ crossmember was sliced and diced to tuck up in-between the frame rails and it will be welded to the ends of the stock tranny mount:
I'll post pics of the modded XJ's mount when I yank it out to do the finalized welds. I installed and uninstalled it 4, or 5 times trimming it here and there to get it right.
I sent the last of the XJ to the scrap yard:
When they used the forklift to move it, the air bag deployed! I wish I had the video camera on, the guy's reaction was priceless.

I looked at a potential waggie (the two waggies I had a verbal agreement on in S. Idaho seem to have fallen through, again).

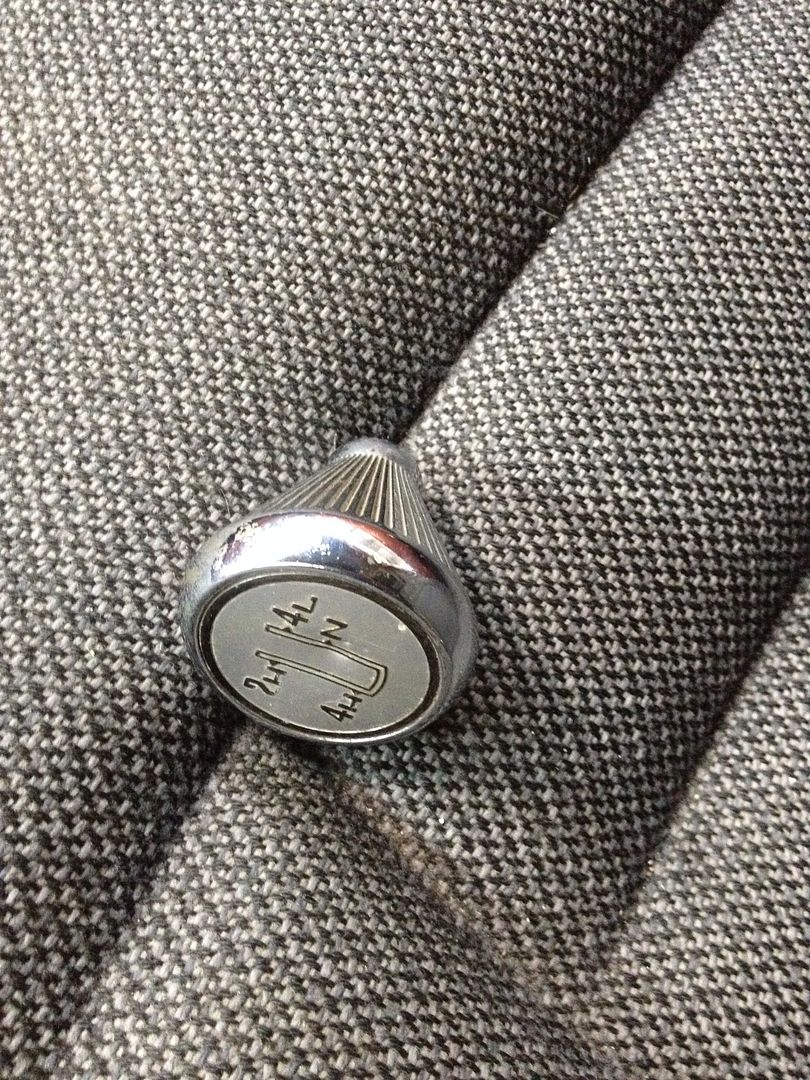
Passed on it, but bought this off it:
Grabbed 1.5 yards of crushed gravel:
Did a bunch of yard work with the kids, getting ready to enjoy the new space in the shop now that the XJ is gone, but

my father-in-law wants me to help him sell his fishing boat so he can buy a bigger one. Now it rests in the shop, it's cramped in there, more so than before. I did tell him that I get to use it until it sells. He agreed!
We updated the to-do list:

School's in session this summer- as usual.
It's in, the XJ crossmember was sliced and diced to tuck up in-between the frame rails and it will be welded to the ends of the stock tranny mount:

I'll post pics of the modded XJ's mount when I yank it out to do the finalized welds. I installed and uninstalled it 4, or 5 times trimming it here and there to get it right.
I sent the last of the XJ to the scrap yard:


When they used the forklift to move it, the air bag deployed! I wish I had the video camera on, the guy's reaction was priceless.

I looked at a potential waggie (the two waggies I had a verbal agreement on in S. Idaho seem to have fallen through, again).

Passed on it, but bought this off it:

Grabbed 1.5 yards of crushed gravel:

Did a bunch of yard work with the kids, getting ready to enjoy the new space in the shop now that the XJ is gone, but

my father-in-law wants me to help him sell his fishing boat so he can buy a bigger one. Now it rests in the shop, it's cramped in there, more so than before. I did tell him that I get to use it until it sells. He agreed!
We updated the to-do list:

School's in session this summer- as usual.
1960 FC170 DRW 401/TH400/D20
1966 J3000 401/T18/D300
19?? Quadcab Thriftside, 5.3, 4L60-E, NP261XHD
1968 M715, 454, sm465, np205, 14 bolt rear, 60 front
1966 J3000 401/T18/D300
19?? Quadcab Thriftside, 5.3, 4L60-E, NP261XHD
1968 M715, 454, sm465, np205, 14 bolt rear, 60 front
-
66stepside
Topic author - Posts: 3793
- Joined: Sat Oct 13, 2012 9:59 pm
- Location: Spokane Valley, WA.
Re: 1962 j-200 Thriftside Father & Son 4.0 AW4 D300 Project
Phase I is complete.
The cross member is buttoned up. It'll get installed some time this upcoming week.
Phase II is mocking up the radiator support and inner fender wells for modifications for smog, wiring and the air cleaner.
The cross member is buttoned up. It'll get installed some time this upcoming week.

Phase II is mocking up the radiator support and inner fender wells for modifications for smog, wiring and the air cleaner.
1960 FC170 DRW 401/TH400/D20
1966 J3000 401/T18/D300
19?? Quadcab Thriftside, 5.3, 4L60-E, NP261XHD
1968 M715, 454, sm465, np205, 14 bolt rear, 60 front
1966 J3000 401/T18/D300
19?? Quadcab Thriftside, 5.3, 4L60-E, NP261XHD
1968 M715, 454, sm465, np205, 14 bolt rear, 60 front
-
66stepside
Topic author - Posts: 3793
- Joined: Sat Oct 13, 2012 9:59 pm
- Location: Spokane Valley, WA.
Re: 1962 j-200 Thriftside Father & Son 4.0 AW4 D300 Project
The tranny mount went in, grade 8 bolts n thread locker.
Next up, phase II:
Next up, phase II:

1960 FC170 DRW 401/TH400/D20
1966 J3000 401/T18/D300
19?? Quadcab Thriftside, 5.3, 4L60-E, NP261XHD
1968 M715, 454, sm465, np205, 14 bolt rear, 60 front
1966 J3000 401/T18/D300
19?? Quadcab Thriftside, 5.3, 4L60-E, NP261XHD
1968 M715, 454, sm465, np205, 14 bolt rear, 60 front
-
66stepside
Topic author - Posts: 3793
- Joined: Sat Oct 13, 2012 9:59 pm
- Location: Spokane Valley, WA.
1962 j-200 Thriftside Father & Son 4.0 AW4 D300 Project
Phase 2.01: scrub 4 nasty inner fender wells.
Phase 2.02 mock up radiator support.
Phase 2.03 mock up driver's side inner fender well.
Phase 2.04-2.11 separate wiring harness, lay it out, mount portions of harness permanently to firewall, permanently mount emissions canister and emissions lines.
2.12-2.20 Measure the location of the 4.0 air cleaner and slice n dice a bit less I measure so as not not cut too much off at a time. Repeat slice and dice as/if/when needed.
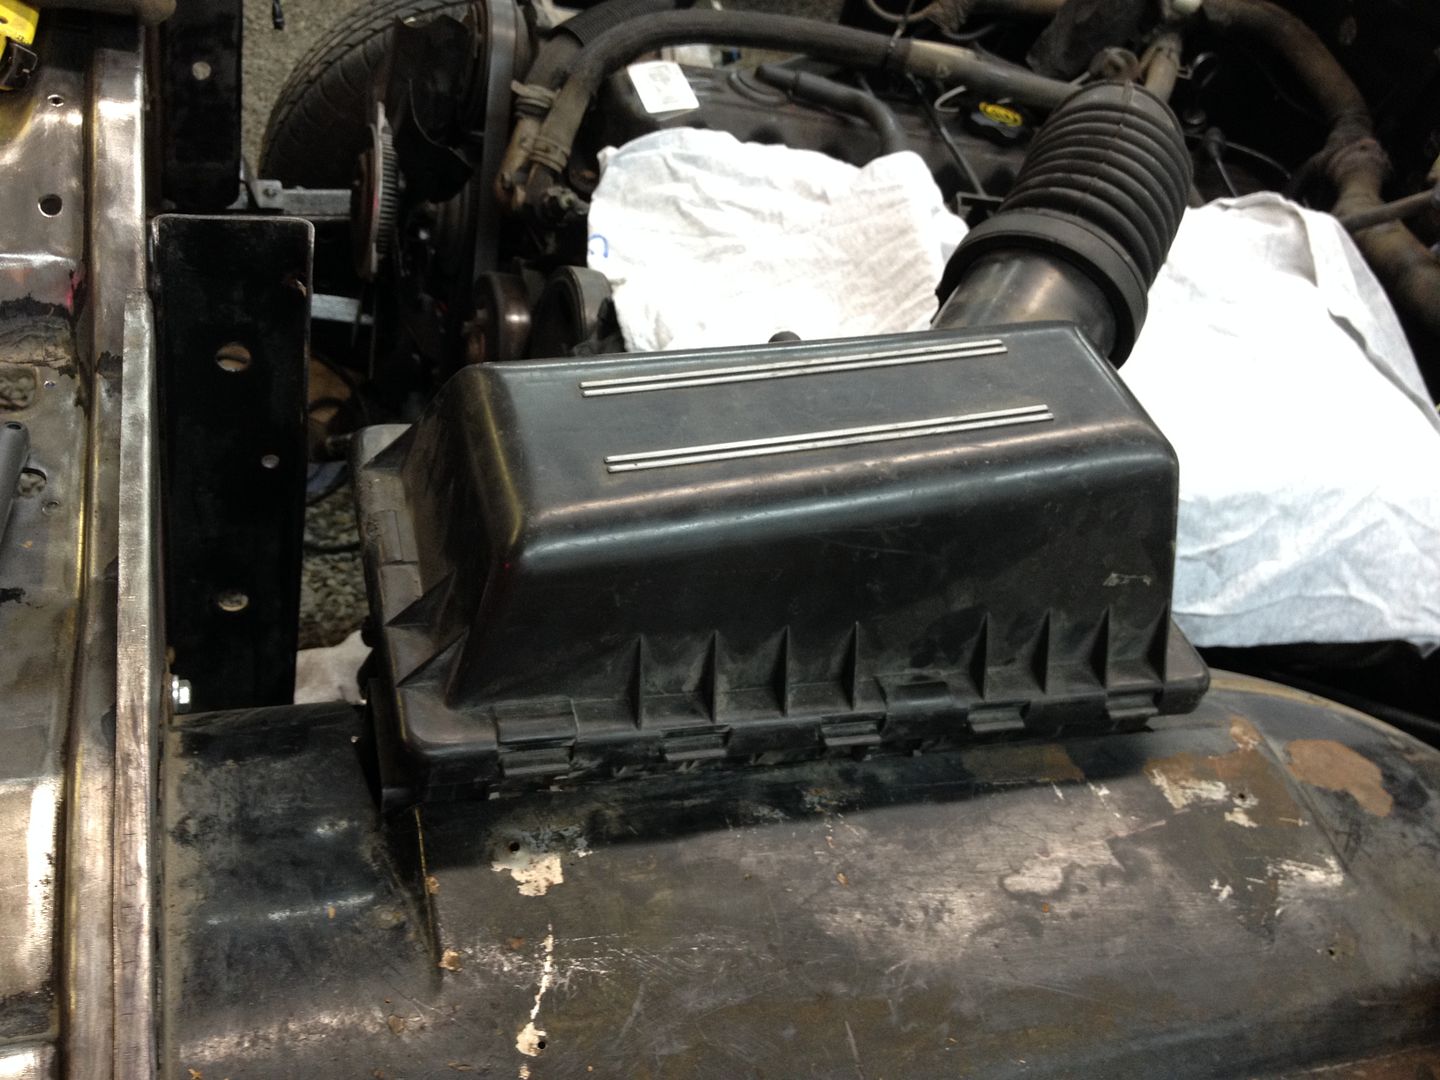
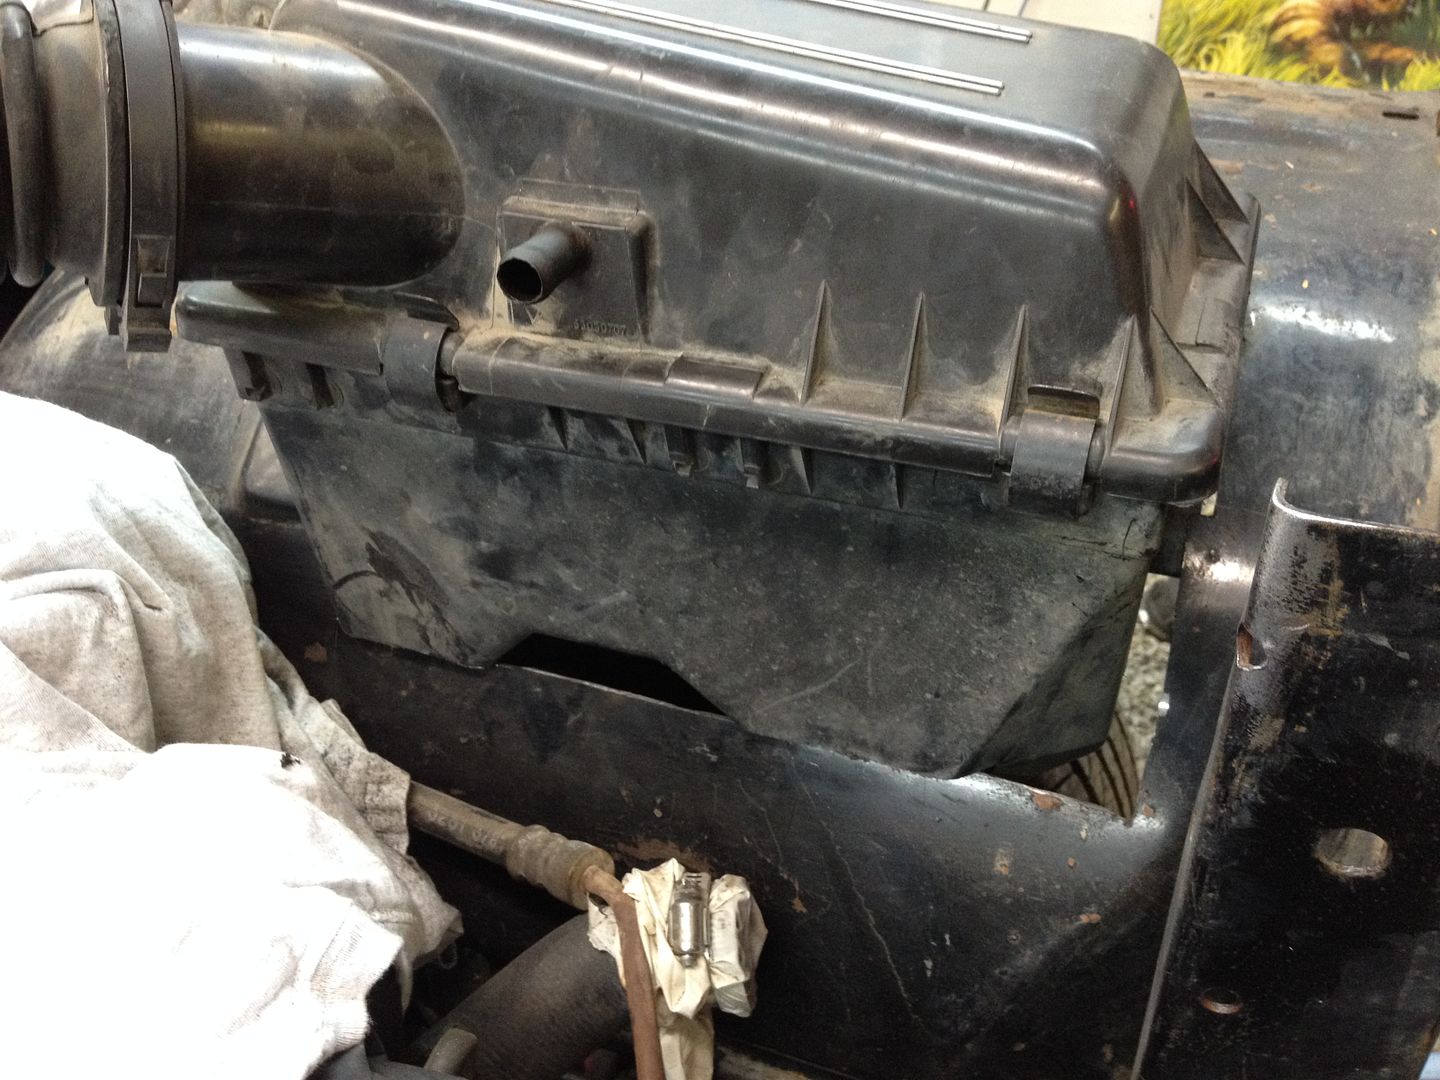
I've got a few more slices to make in order to tuck it in a bit more, but not a bad start for just a few hours after work.
Last edited by 66stepside on Thu May 14, 2015 12:23 pm, edited 2 times in total.
-
 44bz
44bz
- Posts: 1081
- Joined: Fri Jun 08, 2012 6:17 pm
- Location: Oregon City, OR
1962 j-200 Thriftside Father & Son 4.0 AW4 D300 Project
Man, I forgot how bulky the 4.0L air box is. Why not ditch it for a cold air intake and save some space?
Sent from my iPhone using Tapatalk
Sent from my iPhone using Tapatalk